

Understanding the Basics of Lighting Setup for Video
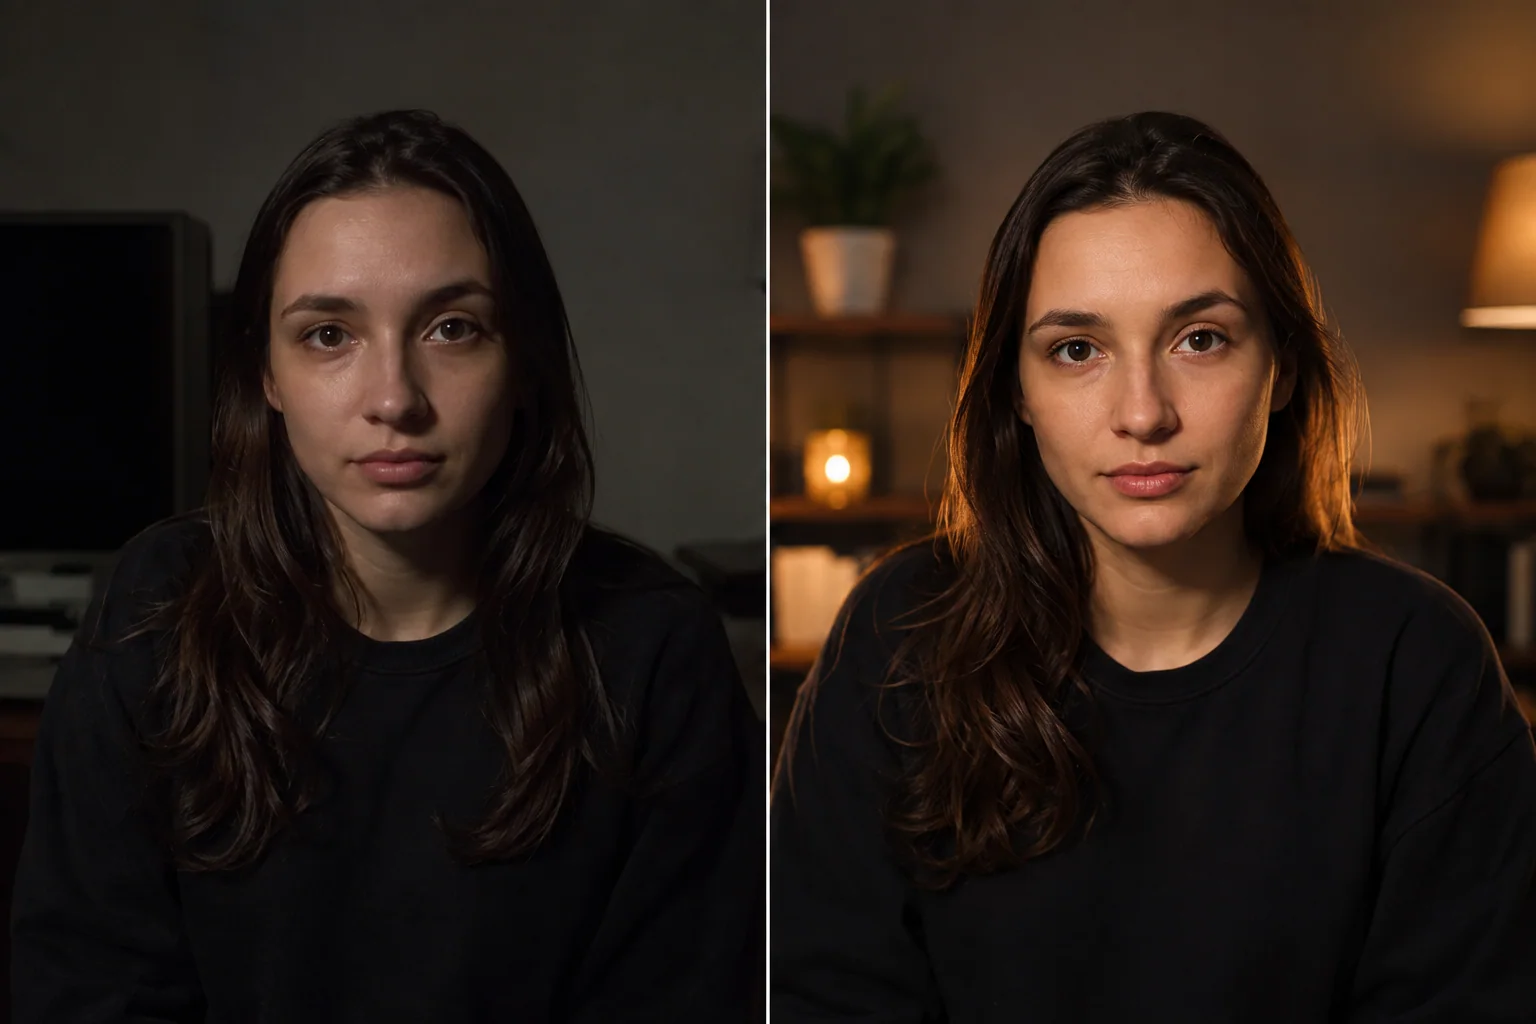
Creating quality video takes more than just a good camera and editing skills. One of the most important elements shaping video quality is lighting. Proper lighting helps set the mood, highlight the subject, and give your video a clean, professional look. Whether you’re filming an interview, a tutorial, or a creative project, a solid grasp of lighting setup is essential.
The Three-Point Lighting Setup
Before moving on to more advanced lighting techniques, it’s important to understand the basic principles. The goal — to clearly light the subject while creating depth and dimension — is effectively achieved through three-point lighting, which includes:
- Key Light: the primary and brightest light source, shaping and emphasizing the subject’s texture and form;
- Fill Light: placed opposite the key light to soften the shadows it creates;
- Back Light: placed behind the subject to separate them from the background and add visual depth.
This technique balances light and shadow so the subject looks striking without overly harsh contrast.
Practical Lighting Setup Tips
- Use softboxes or diffusers to soften harsh light and avoid unflattering shadows.
- Position the light source at roughly a 45-degree angle to the subject for a natural-looking result.
- Adjust the intensity of each light source to avoid overexposure or underexposure.
Experiment with the distance between the light and the subject to control brightness and shadow sharpness.
Choosing the Right Lighting Equipment for Your Shoot
Choosing lighting equipment depends on your budget, space, and type of video. Popular options include:
- LED panels: energy-efficient, with adjustable brightness and color temperature, suitable for most indoor shoots;
- ring lights: ideal for close-up shots and beauty videos, since they produce even light without shadows;
- softboxes: excellent at diffusing light for a soft, natural look;
- reflectors: useful for bouncing light and filling in shadows without needing an extra power source.
Color Temperature
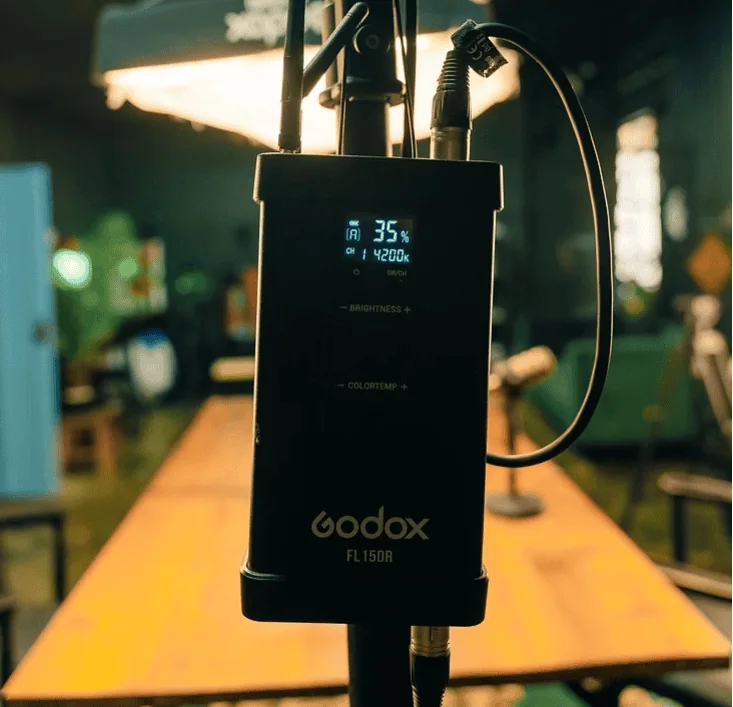
When buying lighting equipment, look for the ability to adjust color temperature (measured in Kelvin) to match ambient light or create a specific mood. For example, 3200K produces a warm tone similar to indoor lighting, while 5600K mimics daylight.
Setting Up Your Lighting Equipment
- Use light stands for safe, stable placement of your equipment.
- Use clamps and mounts for flexibility in tight spaces.
- Keep cables neatly arranged to avoid tripping hazards and maintain an orderly set.
What Lighting Do YouTubers Use?
YouTube creators typically rely on flexible, affordable lighting solutions to improve their video quality. The most common choices are:
- ring lights: provide soft, even light on the face and reduce shadows, making them popular for beauty, lifestyle, and tutorial channels;
- softbox kits: widely used to create a professional look with soft, diffused light;
- LED panels: valued for their portability, flexibility, and adjustable color temperature depending on shooting conditions;
- natural light: some creators make the most of sunlight, filming by a window and adding reflectors to fill in shadows.
For beginners, combining a simple ring light with natural lighting can already significantly improve video quality without a big investment. More experienced creators typically build out a full three-point lighting system for a more cinematic result.
Lighting Tips for Different Shooting Scenarios
Lighting for interviews:
- use three-point lighting to highlight the subject’s face and create depth;
- avoid harsh shadows by using diffused key and fill light;
- position the back light to separate the subject from the background.
Outdoor shooting:
- shoot during the “golden hour” (morning or late afternoon) for soft, warm natural light;
- use reflectors to redirect sunlight and fill in shadows;
- avoid shooting under direct, harsh midday sun to prevent hard shadows and squinting.
Product shoots:
- use soft, even lighting to highlight product details;
- use light tents or light cubes for small items to minimize shadows;
- experiment with colored gels for creative visual effects.
Creative and cinematic lighting:
- play with contrast and shadow to build atmosphere;
- use colored light sources or gels to evoke specific emotions;
- experiment with backlighting and silhouettes for striking results.
Elevating Video Quality with Professional Lighting
Achieving a professional look requires attention to detail and the right equipment. Take the time to learn lighting control techniques, and you’ll significantly improve your video quality. For anyone looking to level up their recordings, professional video lighting offers the quality and flexibility needed for different types of projects.
Additional Lighting Tips
- Always test your lighting setup before you start recording.
- Use a light meter or your camera’s histogram to check exposure.
- Pay attention to your background; lighting it separately can add visual depth.
- Consider the color of your walls and surroundings, as they can reflect light and affect your final image.
Conclusion
Mastering the art of lighting for video is a process that combines technical knowledge with creative experimentation. Start with the fundamentals, invest in versatile equipment, and adapt your lighting to each project’s needs. With practice, your videos will look more appealing, professional, and visually compelling. Remember: good lighting is the foundation of strong video content.