

Common Mistakes When Recording Webinars and Educational Videos (And How to Avoid Them)
Creating professional webinars, live streams, and educational videos is no easy task, but it’s essential for making a great impression on your audience. Yet many hosts still make common mistakes that can drastically lower the quality of their content. Whether it’s the wrong choice of clothing, poor lighting, or ignoring the basics of video production, these mistakes can cost you dearly.
Below, we break down the most common mistakes and offer practical advice to help you avoid them and produce outstanding results every time.
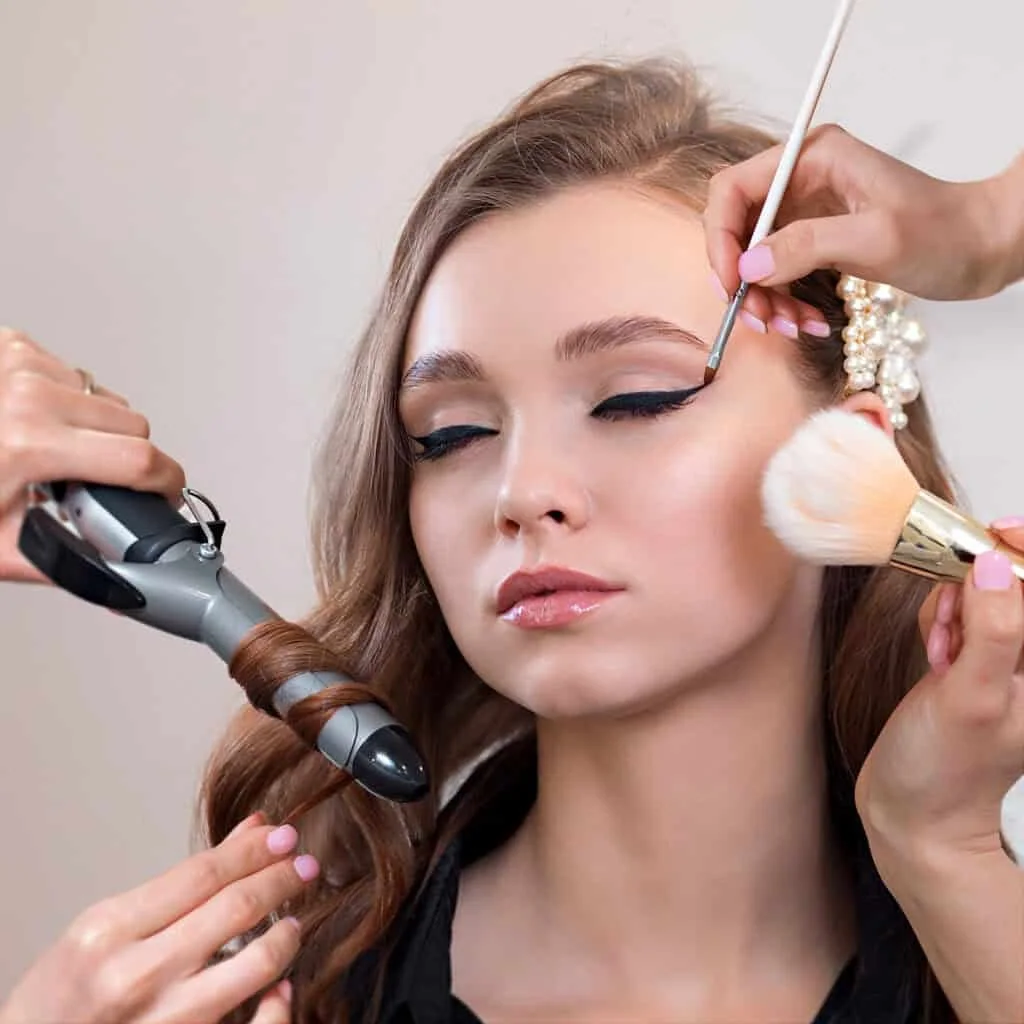
1. “I don’t need makeup; I’d rather look natural.”
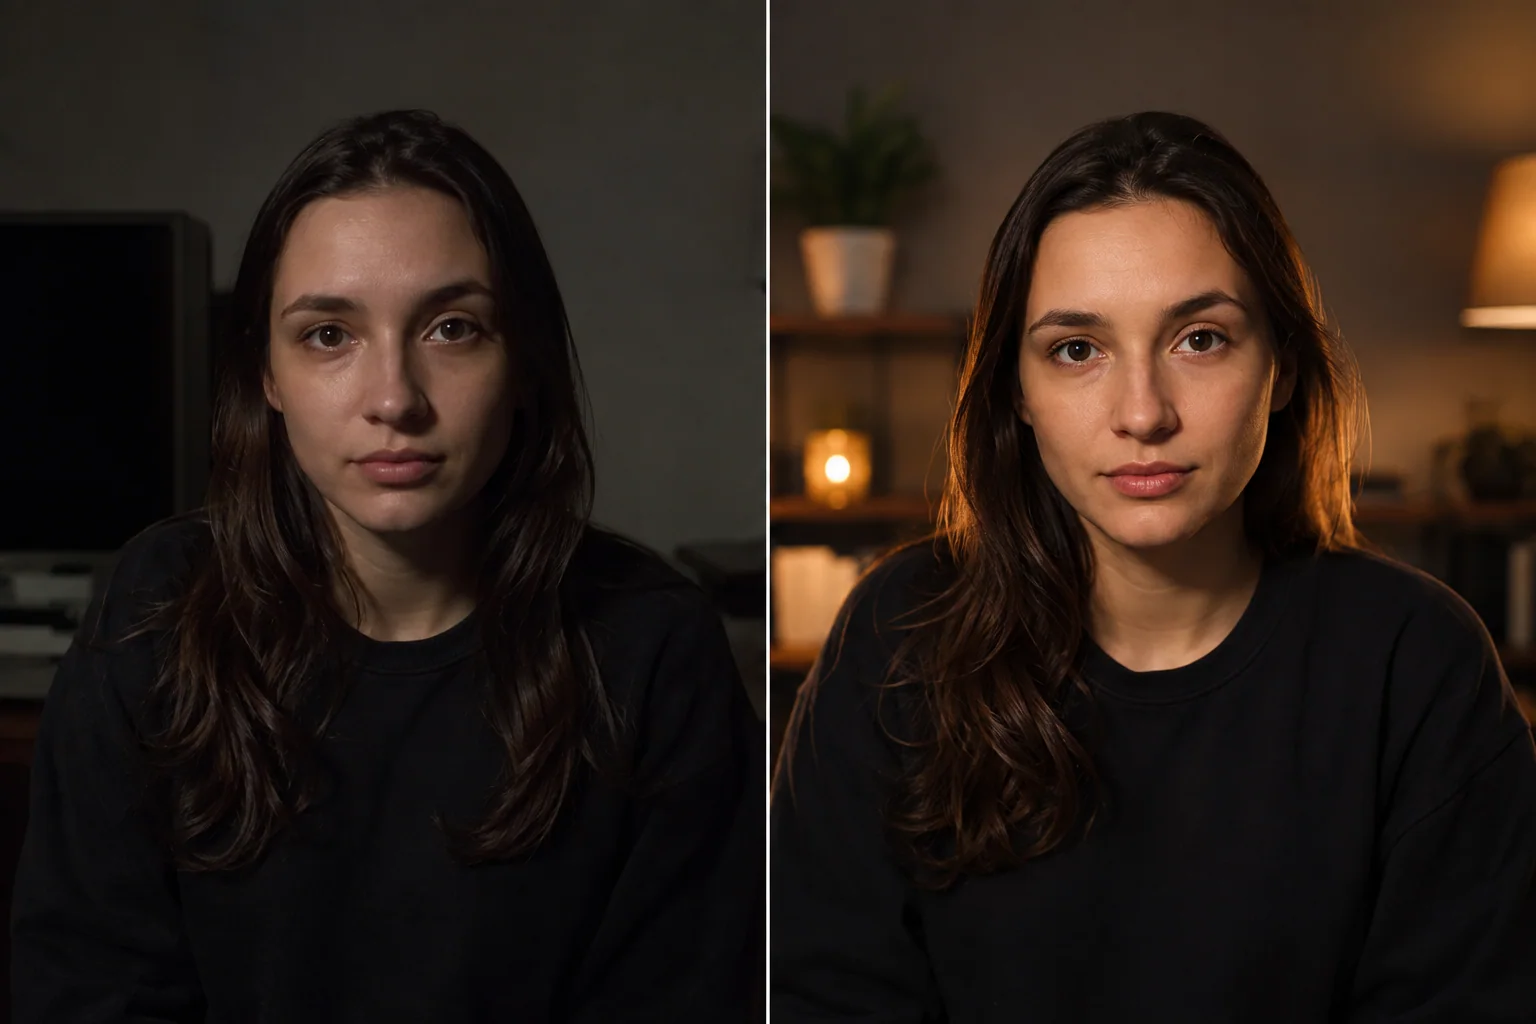
Cameras tend to amplify imperfections like blemishes, dark circles, and oily skin. While editing can fix some of this, it’s always better to address it upfront with makeup. Even a light application can significantly improve how you look on camera.
How to get it right:
- Wear makeup, even if it looks too heavy in the mirror — it will look natural on camera.
- Use a matte foundation or powder to avoid shine. Cover dark circles and blemishes.
- Keep oil-absorbing tissues on hand to control oiliness during long shoots.
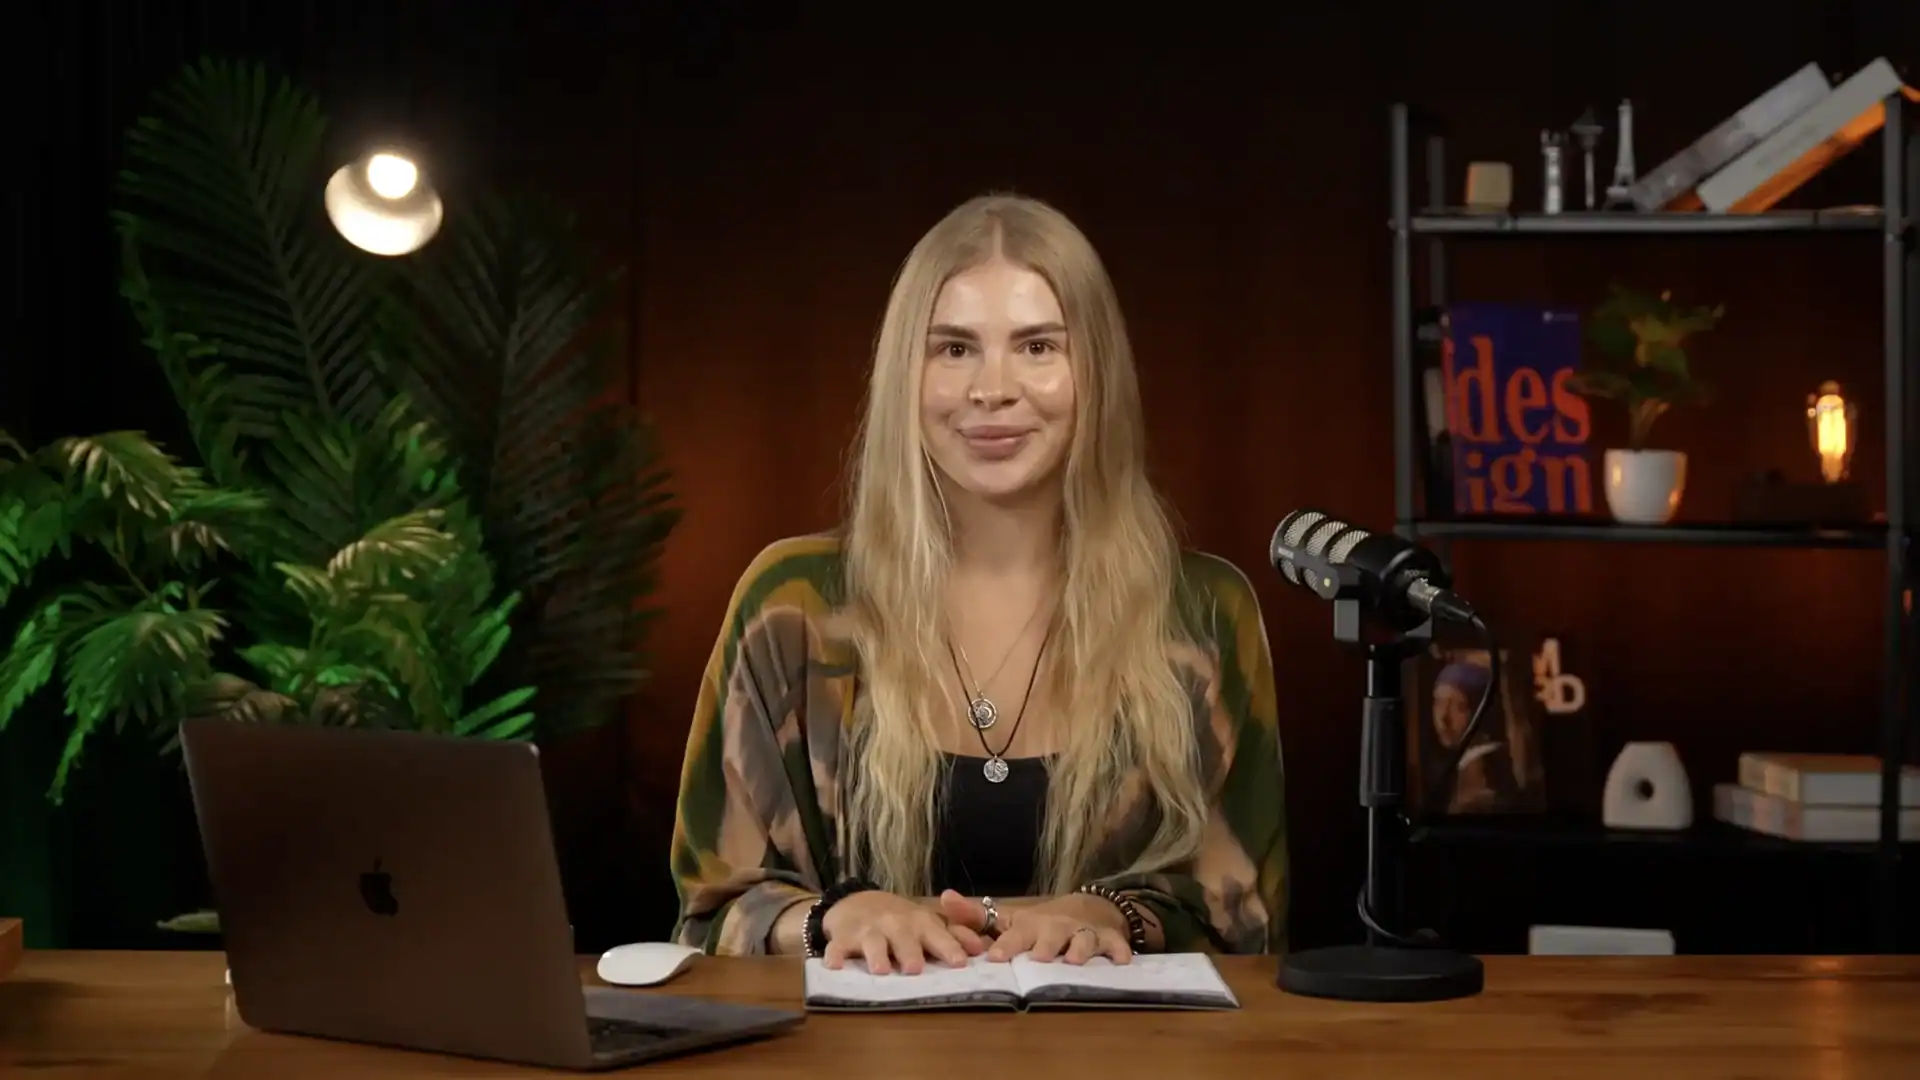
2. “I’ll wear bright clothes to stand out.”
Wearing clothing with thin stripes, checkered patterns, or overly bright fabrics can create distracting visuals on camera, causing unwanted glare and optical illusions. Skin-toned clothing, in particular, can make you look “unprofessional” on video.
How to get it right:
- Choose solid, muted-color clothing. Avoid sequins, beads, and complex patterns.
- Avoid satin or shiny fabrics that can reflect too much light.
- Choose a relaxed fit; tight clothing can look unflattering and create visible creases.
3. “Sitting is more comfortable for me.”
Sitting might seem like the easier choice, but it can affect your energy and posture on camera. A great seated shot requires either expert know-how or a professional team monitoring your appearance.
How to get it right:
- Stand while recording whenever possible. Standing allows for better posture and presence.
- If sitting is necessary, keep an upright posture by sitting at the front edge of the chair and avoid leaning back against the backrest.
- Add some body language or body movement so your delivery doesn’t look stiff or static.
- Make sure the camera is positioned at chest height for a better angle.

4. “Natural light from the window looks great.”
Lighting can make or break the quality of your video. Poor lighting can result in dark, grainy footage, while incorrect placement can dramatically change your appearance, highlighting features you’d rather not emphasize.
How to get it right:
- Use soft lighting like ring lights or LED panels. If the light is too harsh, use a white cloth or paper to diffuse it.
- Avoid positioning yourself with a window behind you, as this creates backlighting.
- Avoid using an overhead ceiling light as your main light source, as it can create unflattering shadows on your face.
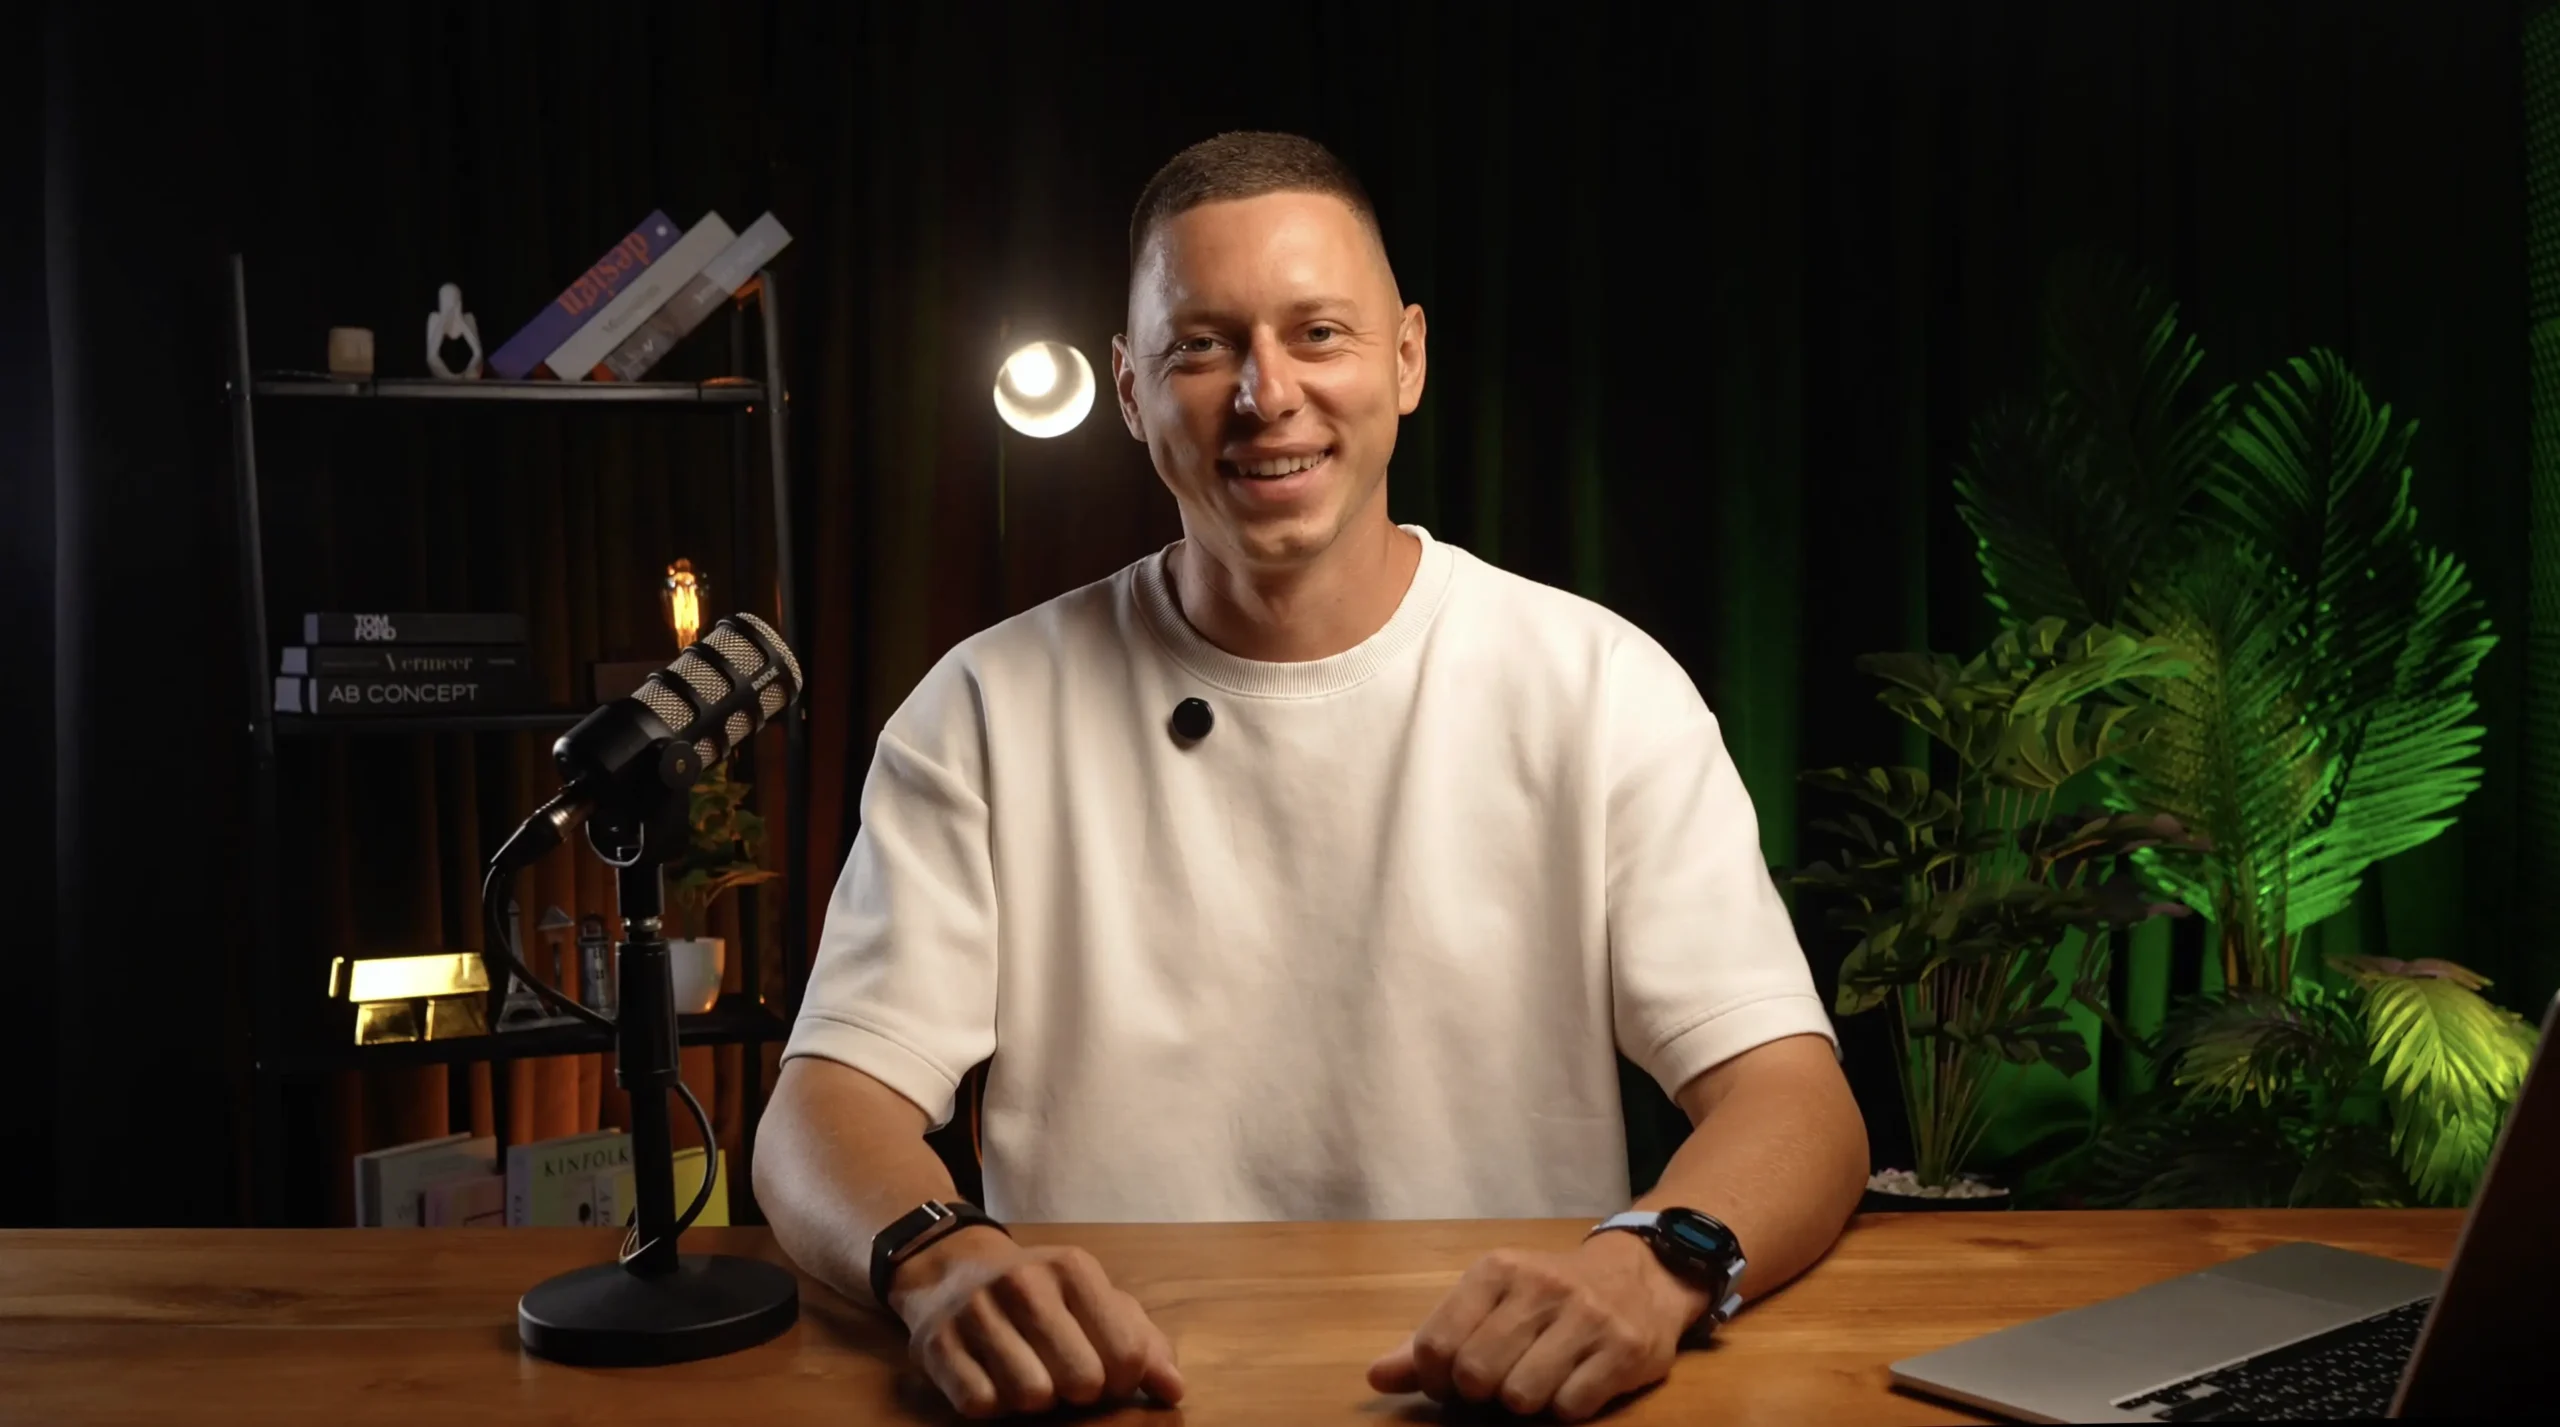
5. “The more detail in the background, the more interesting it is.”
A cluttered background can easily distract viewers and pull focus away from your main message. Too many objects in the background will make the scene look chaotic and unprofessional.
How to get it right:
- Keep the background simple and tidy. Use a solid-color backdrop whenever possible.
- Choose props relevant to your profession (for example, a stylist could display a clothing rack in the background).
- Consider using a collapsible backdrop if you don’t have a suitable location for filming.
6. “My laptop microphone is good enough.”
Audio quality is crucial. Bad sound will drive your audience away faster than minor video flaws. Even if your content is strong, poor audio will make it hard for people to keep watching.
How to get it right:
- Invest in a quality external microphone. Even budget-friendly models can significantly improve your sound quality.
- Dampen the sound in your room using blankets, rugs, or cushions to reduce echo.
- Always check for background noise before you start recording.
7. “Why prepare? I already know the topic.”
No matter how experienced you are, it’s easy to lose your train of thought in front of the camera. Preparing talking points, or even using a teleprompter, can help you stay focused and deliver your message smoothly.
How to get it right:
- Prepare an outline or key points to help you stay on track.
- Practice delivering your content naturally, as if you were explaining it to a friend.
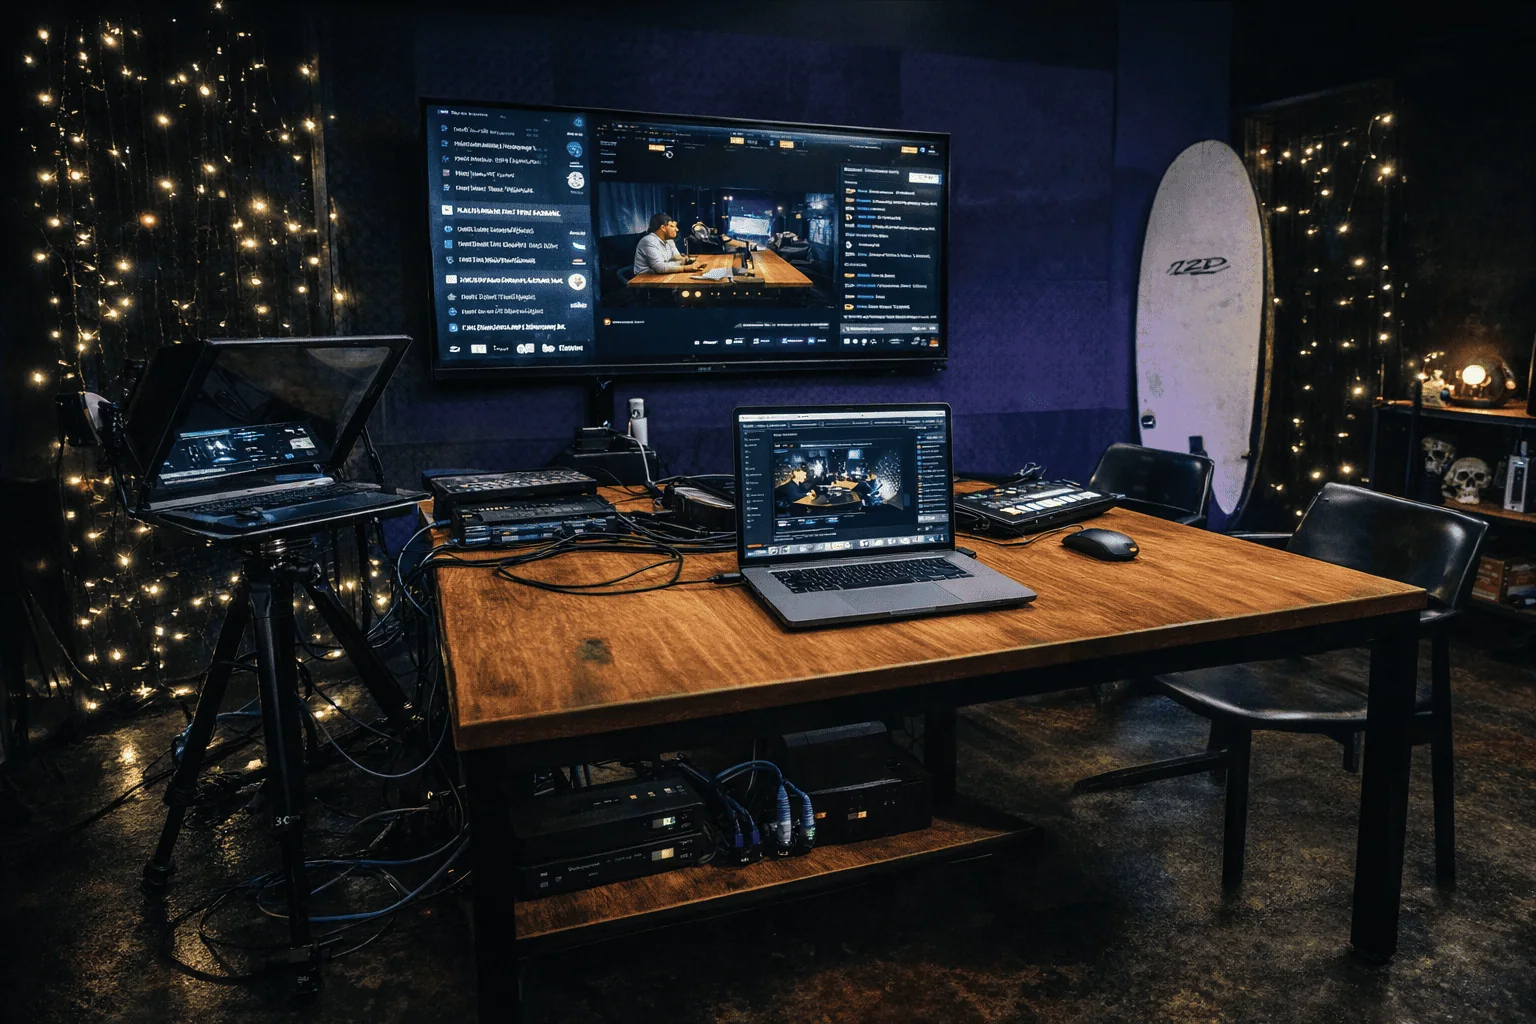
- Consider using a teleprompter if you tend to forget key points.
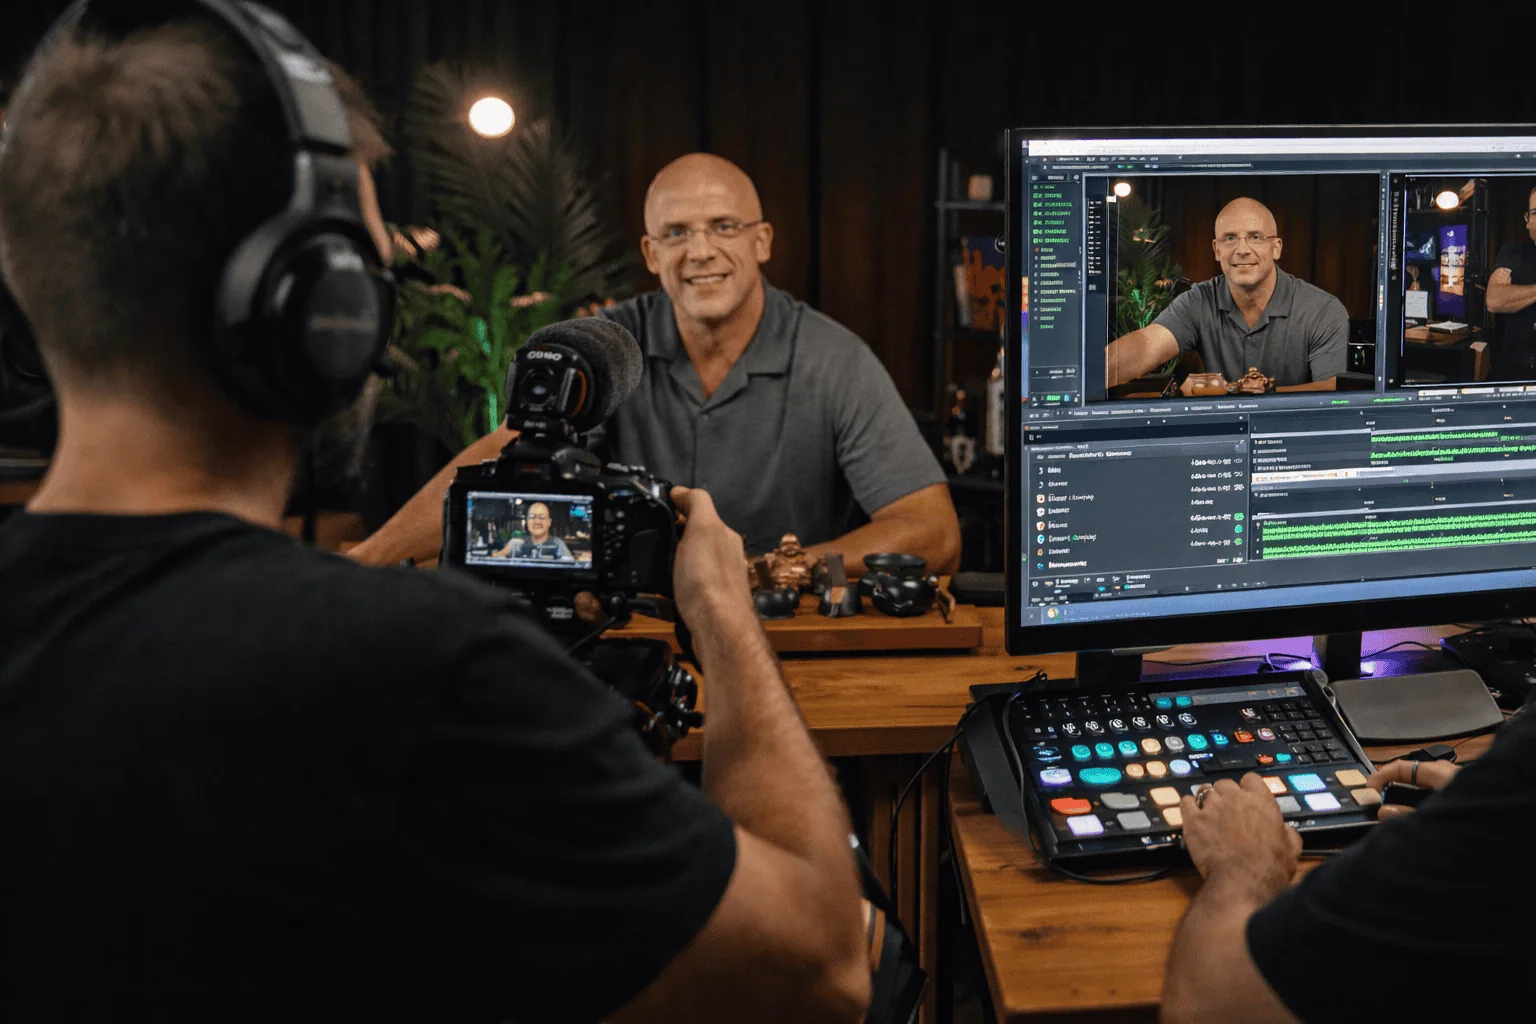
8. “I don’t need editing; the video’s already good.”
Editing is a crucial step in making a video look polished and professional. Simple cuts can remove awkward pauses, mistakes, or filler words like “uh” and “um.”
How to get it right:
- Always review your footage and cut out anything unnecessary.
- Don’t stop recording if you make a mistake. Instead, repeat the sentence and edit out the error later.
- Watch for filler words and remove them during editing for a smoother flow.
9. “I can’t post the same video on different platforms.”
Each platform has its own specifications, but you don’t need to make a separate video for each one. It’s much easier to create one high-quality video and then reformat it for different platforms.
How to get it right:
- Record in landscape mode (16:9 ratio) for flexibility.
- Record in high resolution so you can crop without losing quality.
- Leave a bit of extra space in your frame so you can adjust it to different formats, such as YouTube, Instagram, or LinkedIn.
Creating professional webinars and educational videos takes time and effort, but by following these tips, you can avoid common mistakes and produce content that truly shines. At Villo Studio, we offer fully equipped video studios for recording your webinars, courses, and live streams. Let us handle the technical side while you focus on delivering your message.