

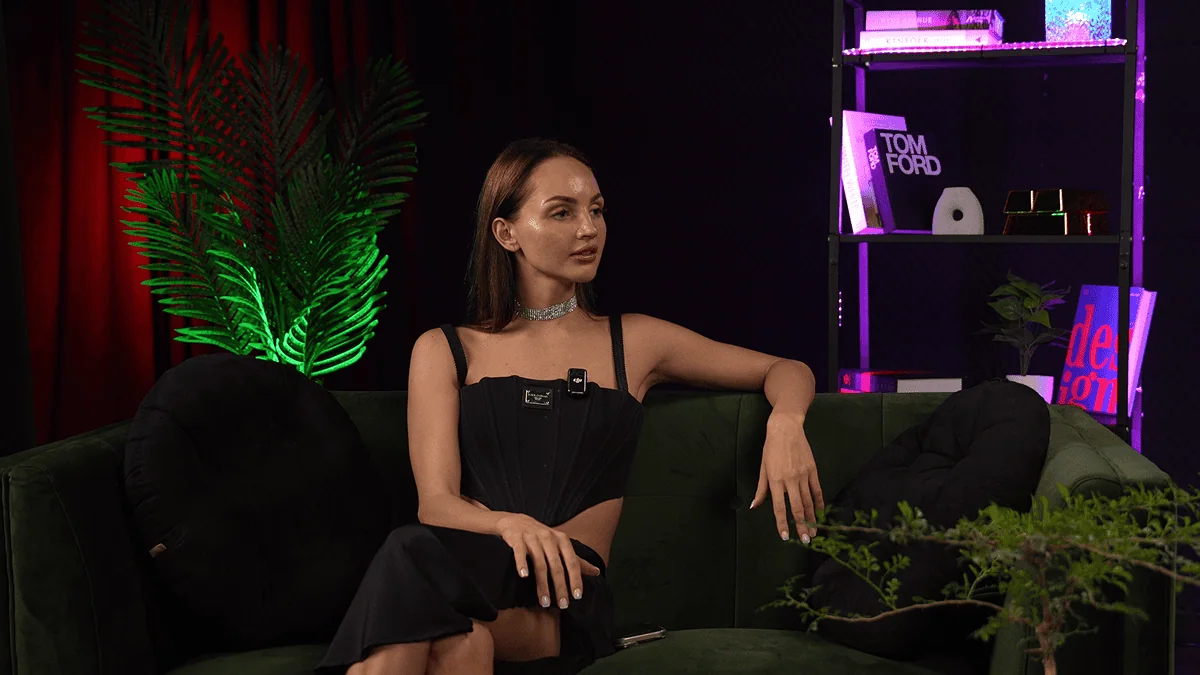
A Step-by-Step Guide to Building a Home Studio for Creators
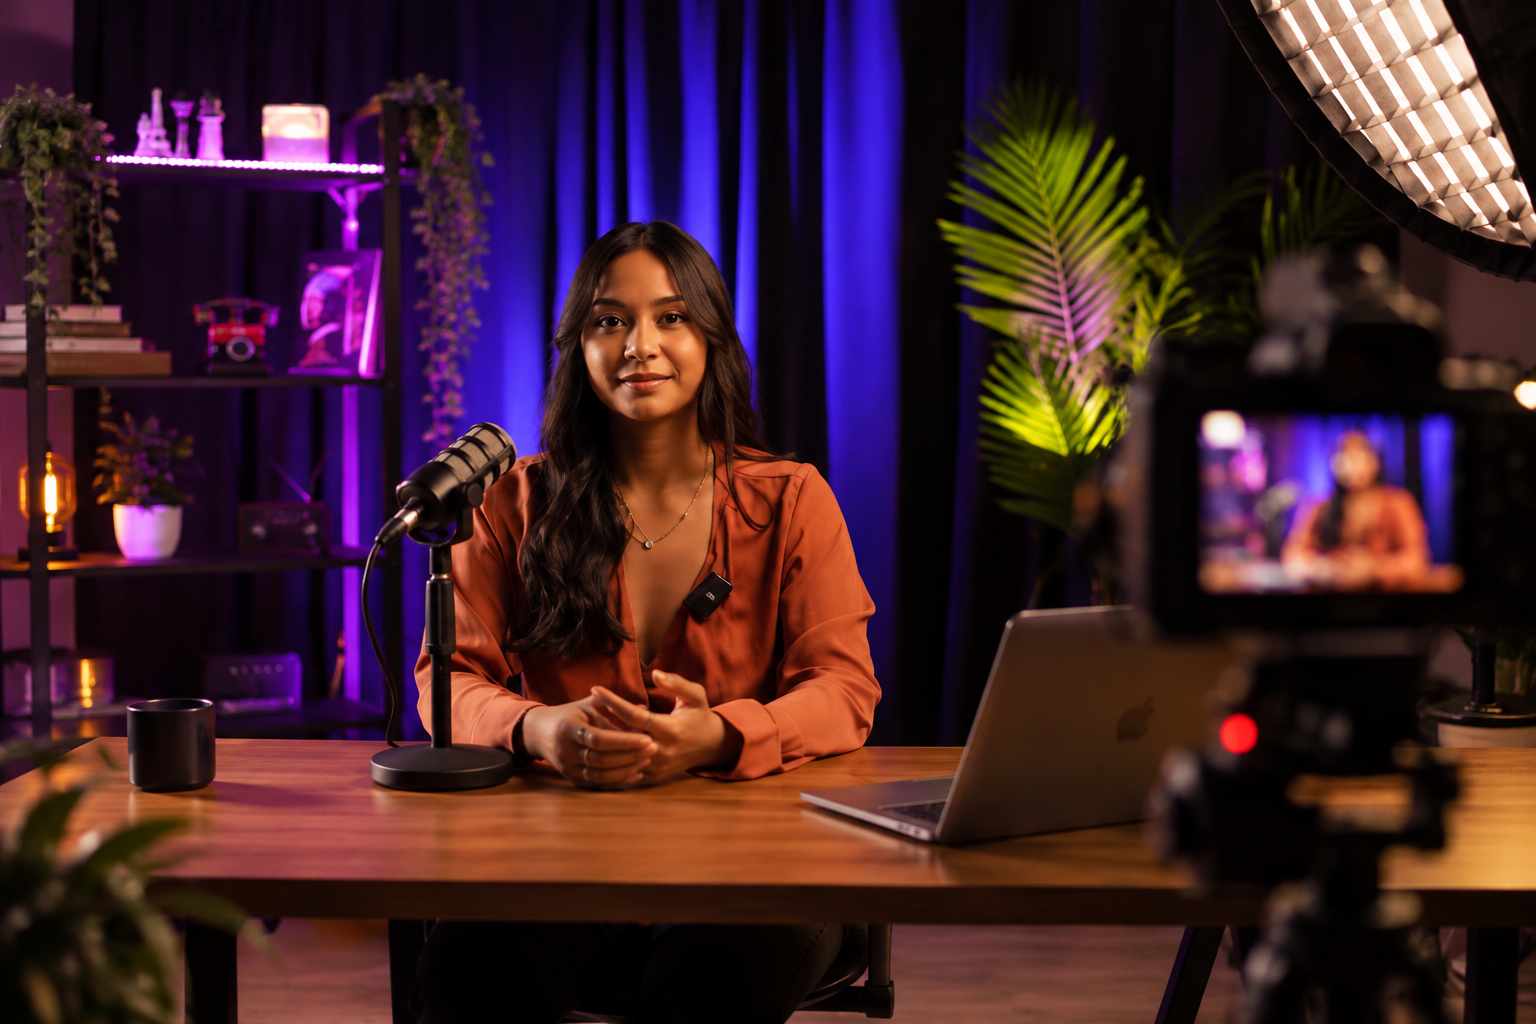
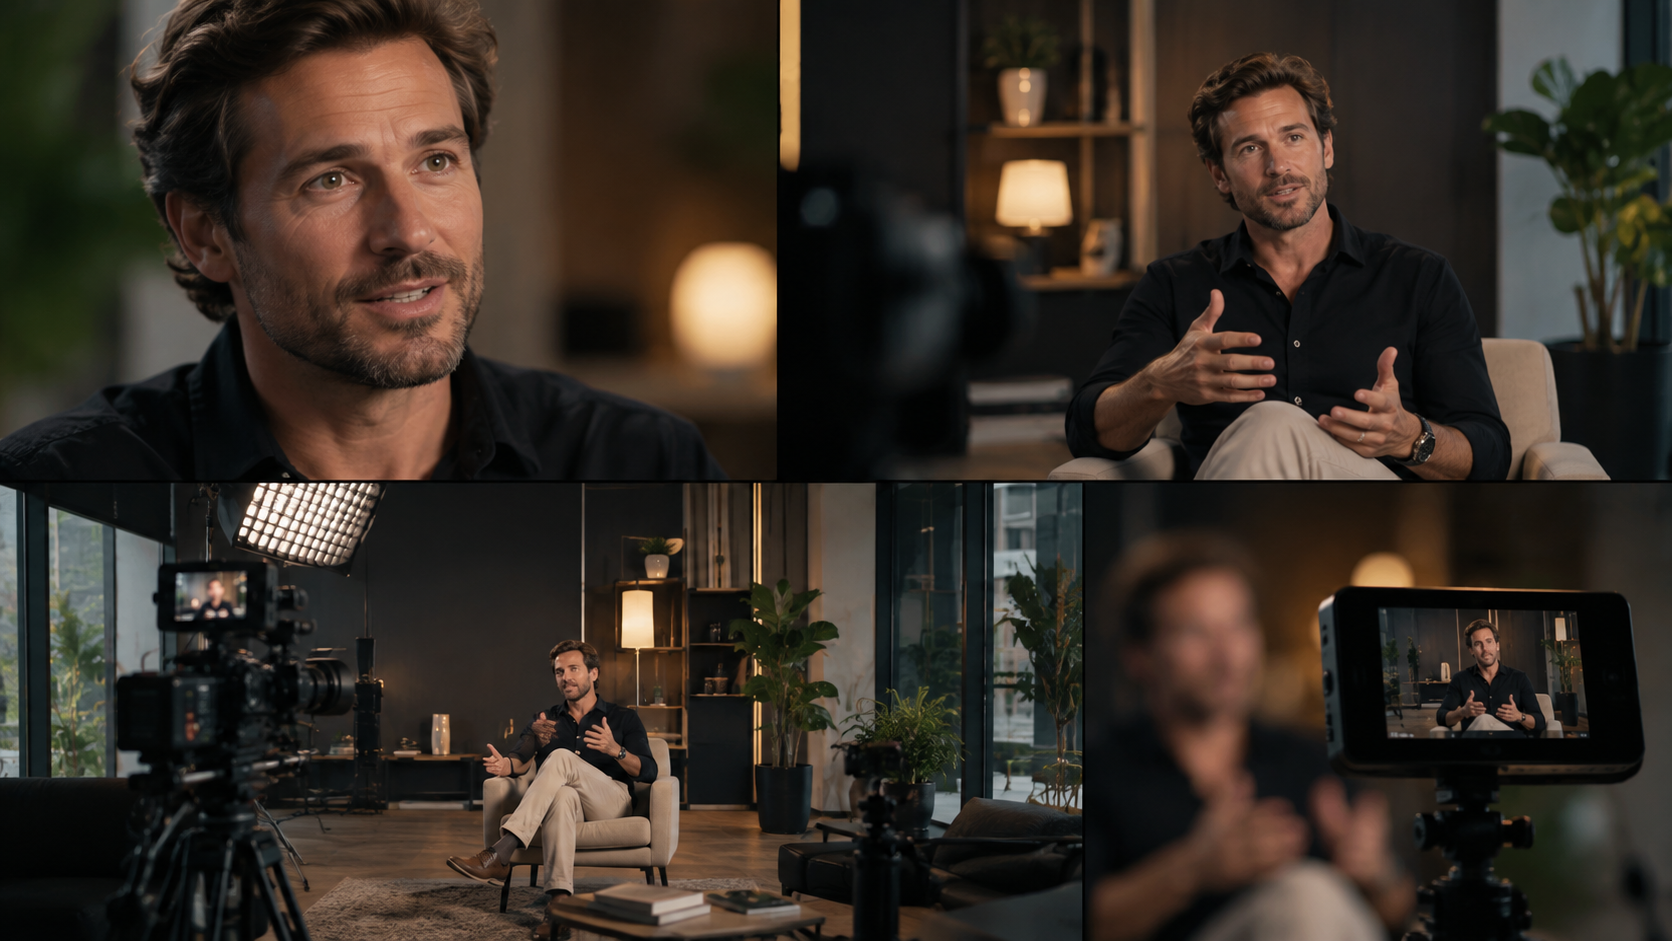
With the growing popularity of content creation, more and more people are choosing to set up home studios for shooting quality photos and videos or recording podcasts. Setting up a functional home studio may seem like a daunting task, but with the right approach you can create a versatile space that meets your needs. Follow this detailed guide to transform your room into a true creative hub!
Also read:
How to Earn on Social Media with Quality Studio Content
How to Create Compelling Podcast Content: Tips and Tricks to Keep Your Listeners Engaged
Real Estate Photographers in Bali
Step 1: Choose the Right Room or Space
The first step in creating a home studio is finding a suitable space. Ideally, the room should have the following characteristics:
- Quiet and isolated: Away from high-traffic areas to avoid noise interference — particularly important for podcast recording.
- Spacious: Make sure there is enough room for equipment, backdrops, and your movement, especially for photo and video shoots.
- Natural light: A room with good natural light can save on lighting equipment, particularly for photography. However, if the room has windows, consider installing blackout curtains to control the light when needed.
If space is limited, even a corner of a larger room will do. Simply be mindful of potential noise sources and the availability of natural light.
Step 2: Invest in the Right Equipment
Creating quality content requires the right tools. Here is a breakdown of the necessary equipment by content type:
Photography
Camera: A DSLR or mirrorless camera with interchangeable lenses is ideal.
Lenses: To get started, a versatile 24–70mm zoom lens and a 50mm prime lens for portraits will serve you well.
Tripod: A sturdy tripod is essential for sharp shots, especially when shooting in low light.
Lighting: Softboxes, ring lights, or LED panels will help you control indoor lighting.
Backgrounds and props: Purchase a few plain-coloured backdrops and experiment with props to enhance your shots.
Videography
Camera and lenses: Choose a camera capable of high-resolution video (at least 4K if possible) and a set of lenses suited to your needs.
Microphone: Audio quality in video is crucial. Consider a shotgun or lavalier microphone for clean, directional sound.
Stabilisers and tripods: Using gimbals or reliable tripods will ensure smooth, professional footage.
Lighting: Dimmable LED lights are popular among videographers for their flexibility.
Podcasting
Microphone: Invest in a quality microphone — either condenser or dynamic — for clean audio recording.
Audio interface: An audio interface connects your microphone to your computer and helps manage audio levels.
Headphones: Closed-back headphones prevent sound leakage, allowing you to monitor your audio track without feedback.
Soundproofing: Soundproofing materials such as acoustic panels will help eliminate unwanted noise and improve audio quality.
Step 3: Set Up Your Lighting
Lighting can make or break your studio work, especially for photo and video content. Here are some lighting tips:
- Three-point lighting: This classic setup — comprising key light, fill light, and back light — adds depth and dimension.
- Soft light for photography: Softboxes and diffused light prevent harsh shadows, creating a flattering look for portraits.
- Dynamic lighting for video: Use LED panels or RGB lighting to create different moods and styles.
- Consistent lighting for podcasts: Ensure the lighting in your podcast studio remains soft and even to avoid harsh glare.
Consider using adjustable lights that allow you to change brightness or colour temperature — this provides greater flexibility for different tasks.
Step 4: Soundproof the Room
For quality audio — especially in videography and podcasting — minimising background noise is essential:
- Acoustic panels: Placing panels on the walls helps reduce echo.
- Carpets and curtains: Sound bounces off hard surfaces, so adding carpets, curtains, or soft furnishings will help absorb it.
- Isolate equipment: Keep noisy equipment (such as computers or air conditioners) away from the recording area, or invest in quieter models.
Step 5: Set Up Backgrounds and Décor
Backgrounds and décor allow you to personalise the space and make it versatile for different projects:
- Backgrounds for photography: Invest in a backdrop stand and a selection of fabric or paper backdrops in neutral colours or patterns that match your brand.
- Backgrounds for video: For video, style the space to add personality, but avoid clutter. Plants, framed artwork, or shelving units are popular choices.
- Backgrounds for podcasts: While audio is the priority for podcasts, a visually interesting background adds professionalism and personality if you film your episodes.
Step 6: Optimise Your Workflow
Organise your space and equipment so that everything is within easy reach and your actions are streamlined:
- Workstation: Set up a dedicated area with your computer, audio interface, and editing software.
- Storage systems: Keep equipment organised using containers, shelving, or wall mounts so the studio stays clutter-free.
- Cable management: Secure cables with clips or cable channels to avoid trip hazards and keep the space tidy.
Step 7: Test and Adjust
Once everything is set up, take time to test your equipment and configuration to find the best arrangement:
- Check lighting and shadows: Experiment with different angles and lighting intensities.
- Audio levels: Record test clips to ensure the sound is clean and free from background noise.
- Visual quality: Take a few test shots or video clips to confirm the settings deliver the best quality for your content type.
Conclusion
Setting up a home studio takes time, effort, and resources, but the result is a personal space dedicated to bringing your creative ideas to life. However, if you are short on time or budget but still want access to quality equipment and space, come to Villo Studio!
We provide a fully equipped professional studio environment, perfectly suited for photography, videography, and podcast recording. Let us handle the setup so you can focus on what you do best: creating exceptional content.
Visit us at Villo Studio to book your session today!