

Live streaming has gone from a niche broadcasting format to one of the most important communication channels for brands, creators, educators, and businesses. Whether you’re running a webinar that converts cold leads to customers, broadcasting a product launch to a global audience, hosting a regular Twitch stream, or producing a hybrid conference — the quality of your stream now directly affects how seriously your audience takes you.
The good news: professional-quality live streaming is more accessible than ever. The bad news: there’s also more that can go wrong. A dropped frame, muffled audio, or a crashed encoder during a high-stakes broadcast can undo months of preparation. This guide walks you through every element of a professional live stream setup — cameras, audio, software, internet — and shows you how to either build it yourself or use the ready-made infrastructure at Villo Studio in Bali.
1. Understanding What “Professional” Actually Means
Before buying gear, it’s worth defining what a professional live stream actually looks like. The standard isn’t “broadcast TV” — it’s whatever quality keeps your specific audience watching.
For most use cases, professional live streaming means:
Reliable connection: no dropped frames, no buffering, no disconnects mid-broadcast.
Clean audio: dialogue that sounds natural, no echo, no background noise, no clipping.
Clear video: well-lit, well-framed, in focus, with consistent colour.
Dynamic visuals: for longer streams, multiple camera angles or visual elements that keep attention.
Polished graphics: lower thirds, logos, transitions that look intentional rather than thrown together.
Confident technical execution: no fumbling with software on screen, no awkward pauses for technical issues.
Hit those marks and your stream will outperform 90% of what’s currently broadcast on most platforms. Miss any of them and viewers will leave within seconds.
2. Cameras: What You Actually Need
Camera choice is the most over-debated topic in streaming. The truth: viewers don’t care what camera you use, only how the final image looks.
Webcam streaming: a good modern webcam (Logitech Brio, Insta360 Link) delivers acceptable quality for solo creators and small webinars. The limitations show up in low light and dynamic range, not in the resolution.
Mirrorless camera streaming: a step up — Sony, Canon, and Fuji mirrorless cameras provide far better image quality, depth of field, and low-light performance. Most modern mirrorless cameras support direct USB streaming or HDMI capture via a card like Elgato Cam Link.
Cinema camera streaming: for high-stakes streams, cinema cameras (Sony FX3, Blackmagic) deliver broadcast-grade image quality with full manual control.
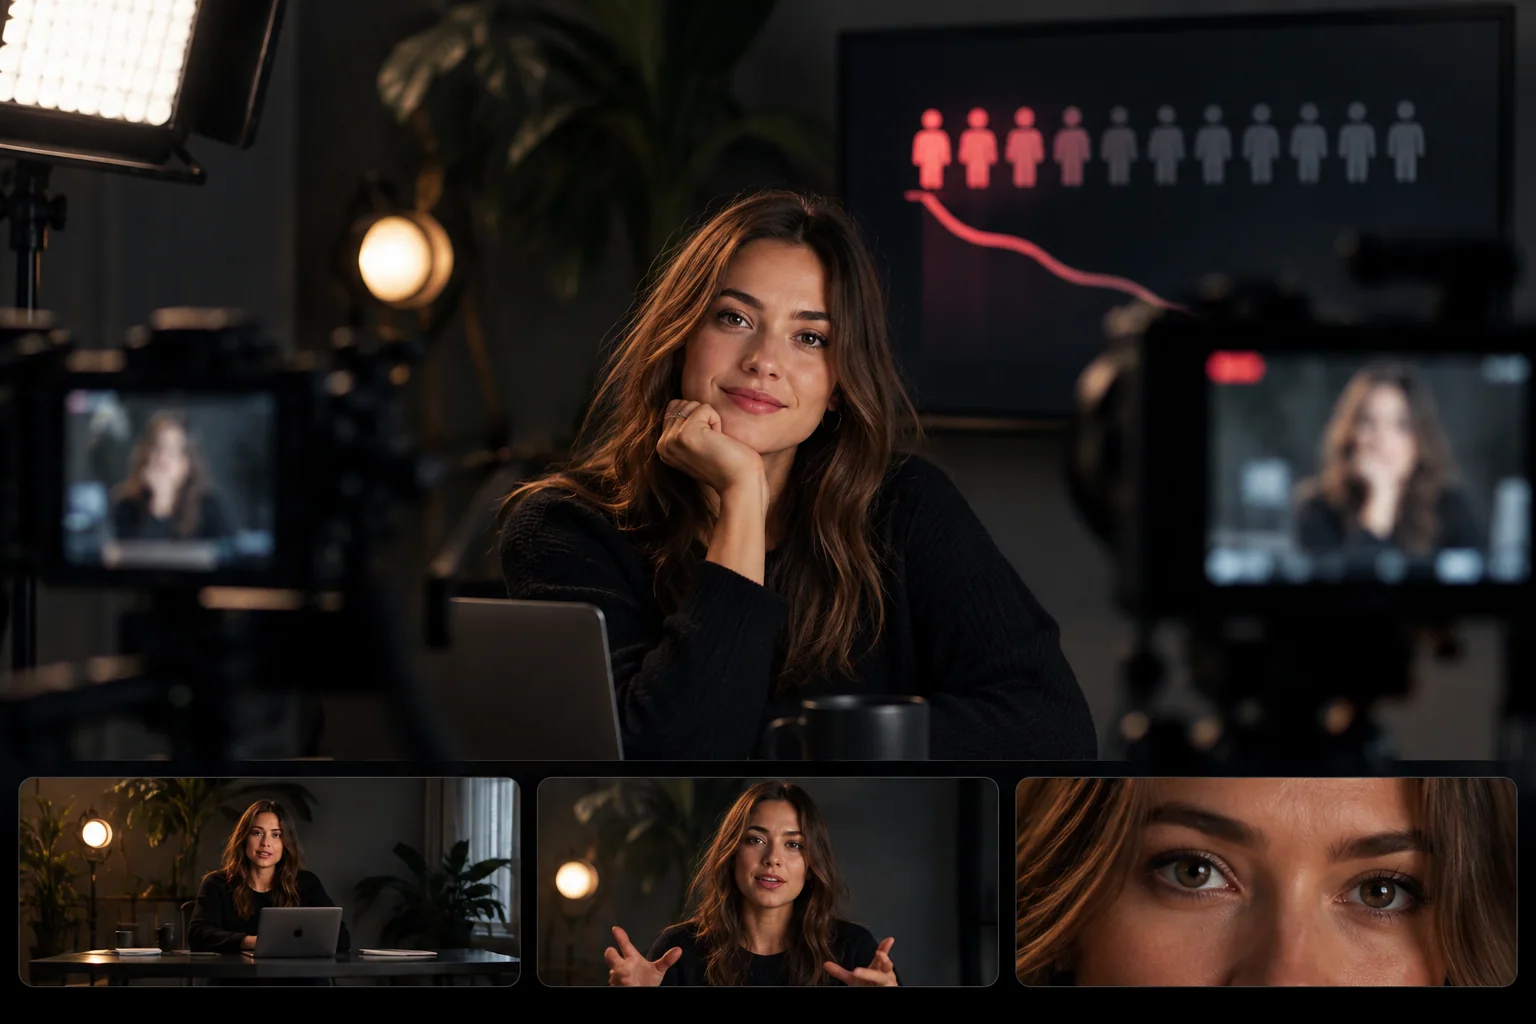
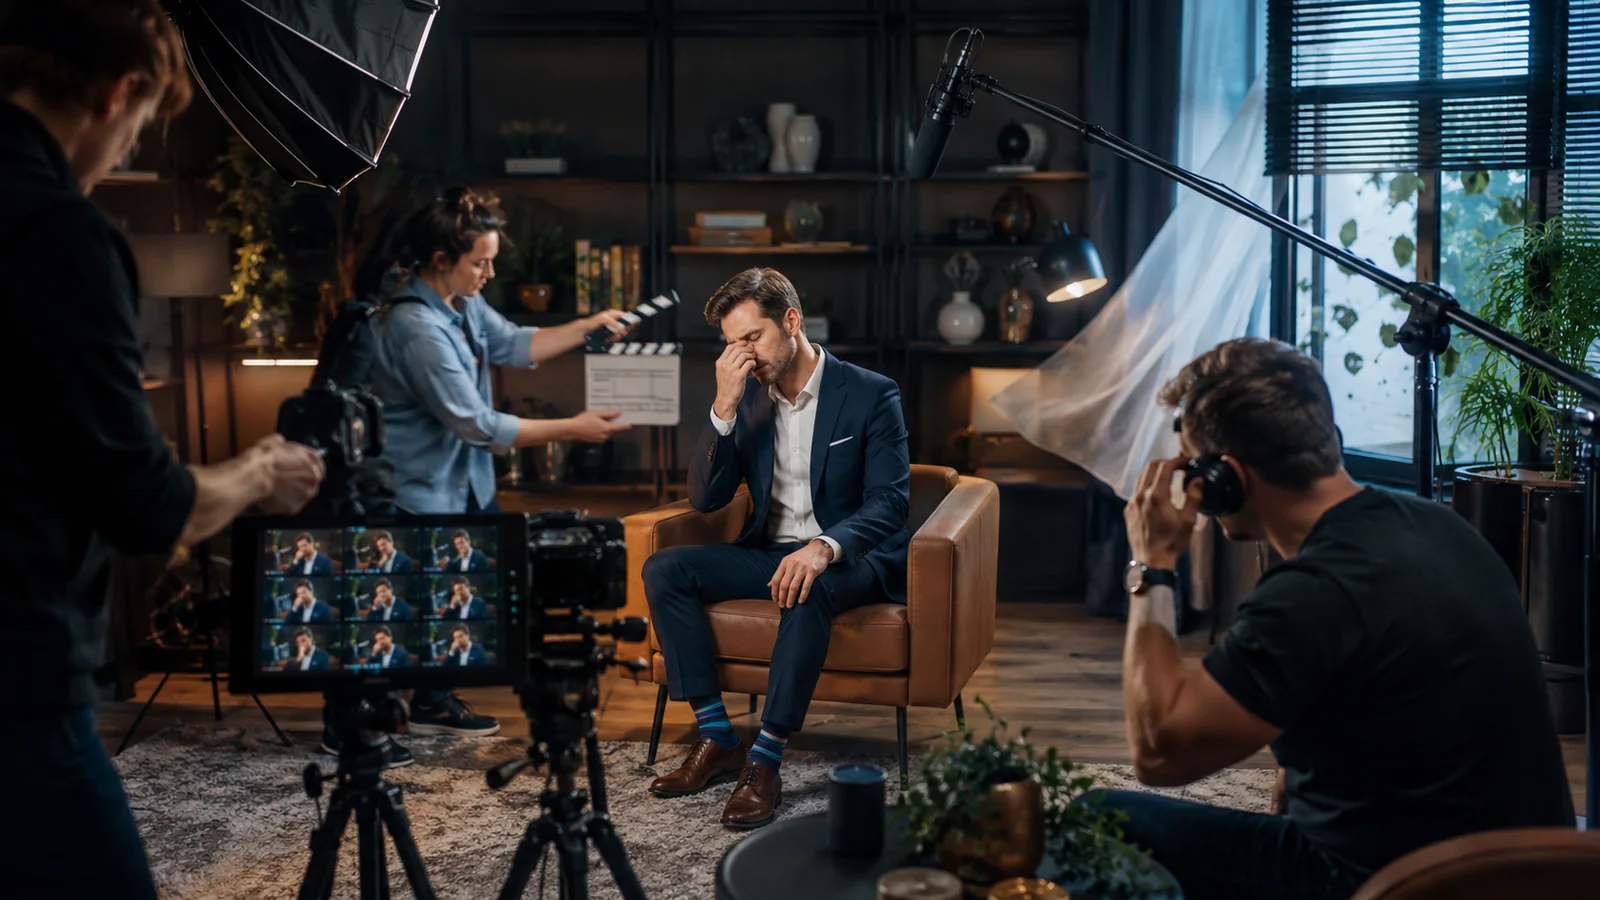
Multi-camera setups: two or more cameras let you cut between angles, which dramatically increases viewer retention for longer streams. This is the single biggest upgrade most streamers can make.
What’s actually important:
Consistent exposure that doesn’t shift mid-stream
Proper white balance — not “auto”
Manual focus locked in place
Framing that puts you in the upper third of the frame, not centred
Background that has depth and visual interest
A $500 camera with good lighting beats a $5,000 camera with bad lighting every time.
3. Lighting: The Real Upgrade Most Streamers Skip
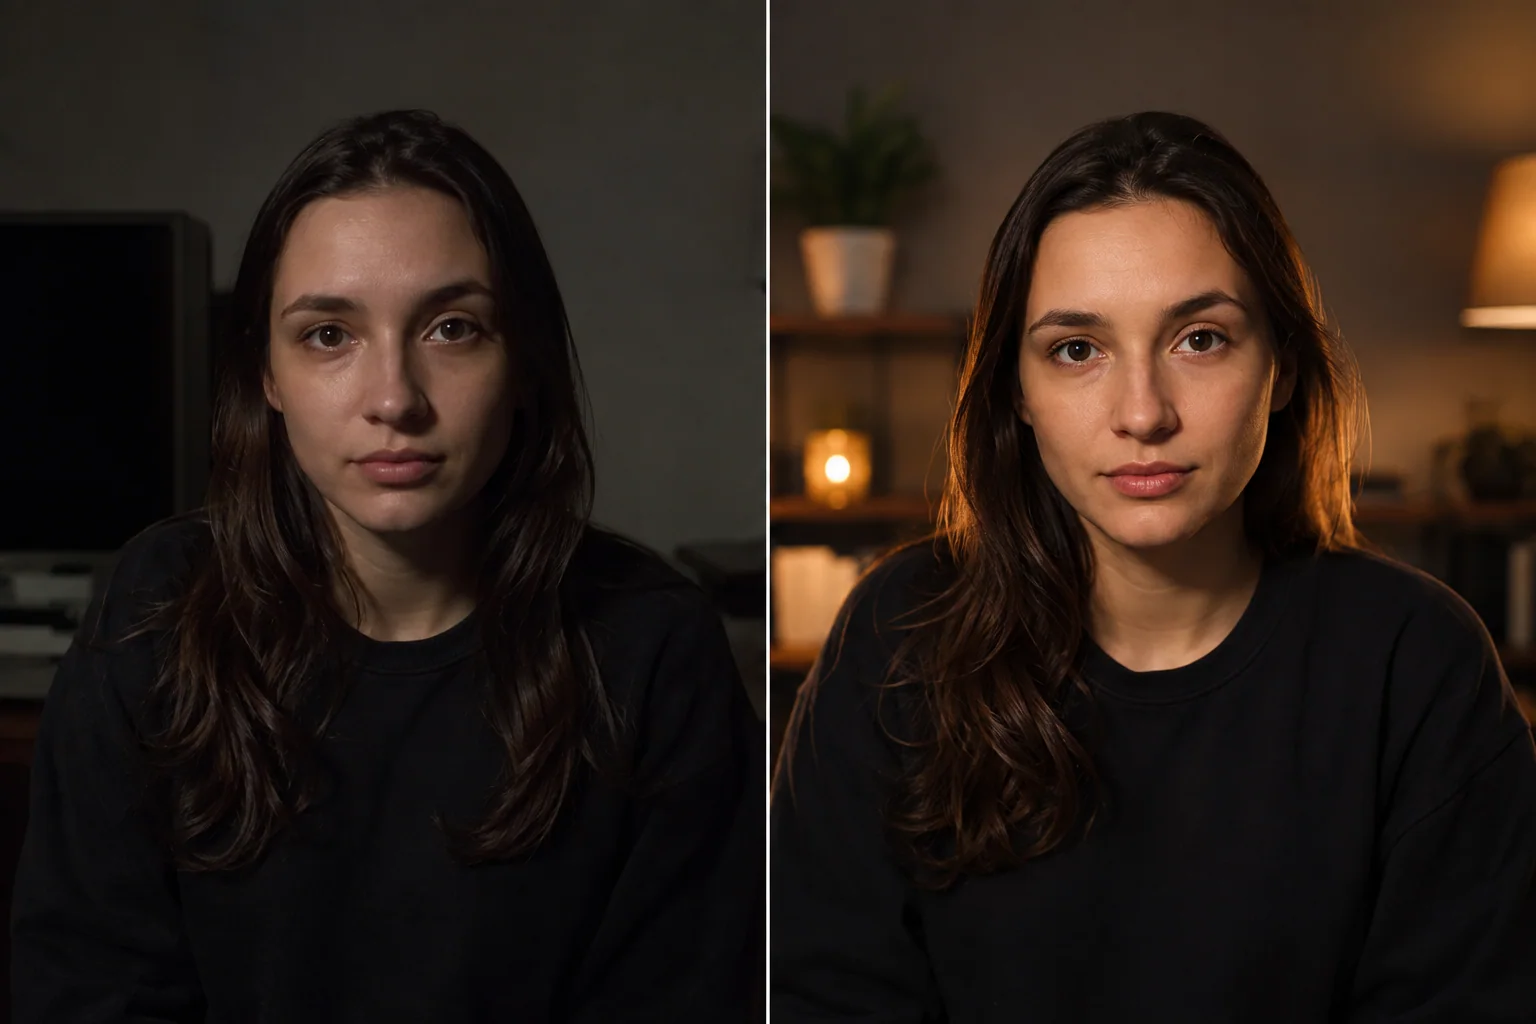
If you have a budget of $500 to improve your stream, spend it on lighting before you spend it on a new camera. Lighting fixes more problems than gear does.
Basic three-point lighting setup:
Key light: the main light, positioned in front of you and slightly to one side. Soft, diffused, and bright.
Fill light: a softer light on the opposite side to reduce shadows on the unlit side of your face.
Backlight or rim light: behind you, slightly off-axis, to separate you from the background.
Common lighting choices:
LED panels (Aputure, Godox, Elgato Key Light) for clean continuous light
Softboxes for diffused, flattering quality
Ring lights for beauty-style framing (less professional looking on broadcast)
RGB accent lights to add colour and depth to the background
What to avoid:
Overhead room lighting only — creates harsh shadows under eyes
Window light only — changes throughout the day
Single hard light — flat and unflattering
Coloured light directly on your face (it should be on the background)
4. Audio: Where Most Streams Fail
Viewers will forgive bad video. They won’t forgive bad audio. Yet audio is consistently the most under-invested area in amateur streaming.
Microphone options ranked by quality:
Webcam mic: avoid. Always.
USB condenser mic (Blue Yeti, Rode NT-USB): acceptable for solo creators, but sensitive to room noise and reflections.
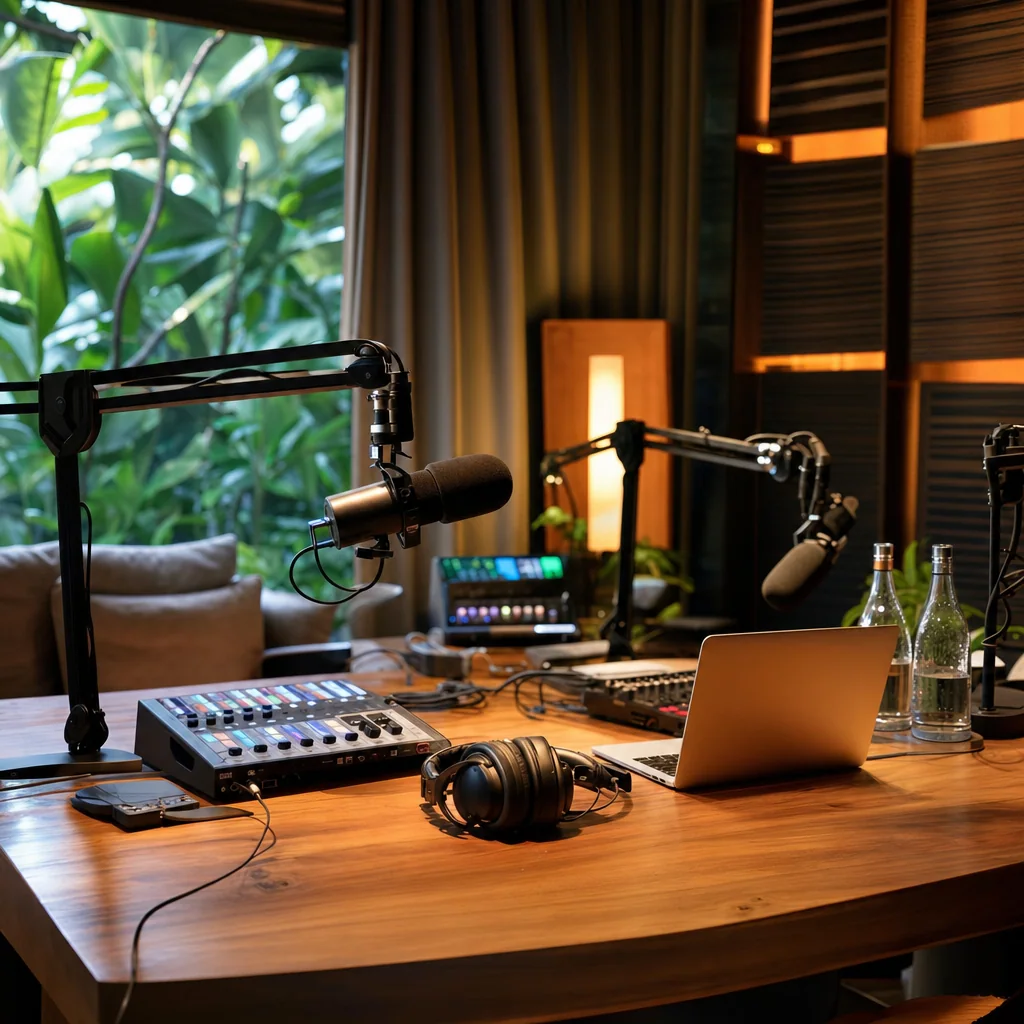
Dynamic broadcast mic (Shure SM7B, Rode PodMic): the standard for professional streaming. Rejects room noise, sounds rich and clean. Requires an audio interface.
Lavalier microphone: excellent for streams where you move around. Sennheiser and DPA lavaliers are industry standards.
Shotgun mic on boom: for multiple people without lavaliers, a shotgun positioned overhead delivers clean sound.
Critical audio infrastructure:
Audio interface: Focusrite Scarlett, Universal Audio Volt, or RodeCaster Pro to convert mic signal to USB.
Acoustic treatment: a room with hard walls echoes badly. Soft furnishings, foam panels, or full acoustic treatment dramatically improves audio quality.
Real-time processing: noise gates, compressors, and EQ applied live make your audio sound polished. RodeCaster Pro and OBS plugins both offer this.
Monitoring: wear headphones so you can hear what your audience hears. This catches issues live.
5. Streaming Software: Choosing and Configuring
Your streaming software is the central nervous system of your broadcast — it captures cameras, mixes audio, adds graphics, and pushes the stream to your platforms.
OBS Studio (free): the industry standard. Powerful, flexible, well-supported. The right choice for most streamers.
Streamlabs Desktop (free): built on OBS but with simpler UI and built-in alerts for Twitch and YouTube creators.
vMix (paid): professional-grade switching software used by broadcast operations. Better multi-camera handling, more polished output. Steeper learning curve.
StreamYard (web-based): excellent for guests-on-stream formats. No installation required, easy guest invites. Limited customisation.
Restream Studio (web-based): similar to StreamYard, with strong multi-platform broadcasting.
Key configurations to get right:
Output resolution: 1920×1080 at 30 or 60 fps is standard. Don’t push 4K unless your audience benefits — it uses far more upload bandwidth.
Bitrate: 6000 kbps for 1080p60, 4500 kbps for 1080p30. Higher isn’t always better — platforms cap incoming bitrate.
Encoder: use hardware encoding (NVENC on Nvidia GPUs, QuickSync on Intel) rather than CPU when possible.
Keyframe interval: set to 2 seconds for most platforms.
Audio bitrate: 160 kbps minimum, 320 kbps preferred.
6. Internet: The One Thing You Can’t Fake
Even the best stream setup falls apart on bad internet. Live streaming has very different requirements from regular web use — you need consistent, symmetric upload speed with low latency.
Bandwidth requirements:
720p30: 3 Mbps upload minimum
1080p30: 5 Mbps upload minimum
1080p60: 6–7 Mbps upload minimum
Multistream (3 platforms): roughly 3x the single-platform requirement, unless using a cloud restreaming service.
What actually matters beyond bandwidth:
Symmetric speed: upload speed equal to download. Most home connections are wildly asymmetric — 200/10 Mbps connections will struggle with streaming.
Low latency: jitter and packet loss kill streams faster than low bandwidth.
Wired connection: Wi-Fi is unreliable for streaming. Always use ethernet.
Network isolation: on a shared network, someone watching Netflix can disrupt your stream. Use a dedicated connection or QoS settings.
Backup connection: for high-stakes streams, a backup ISP or 4G/5G failover (LiveU, Pearl Nano) is non-negotiable.
This is where Villo Studio’s infrastructure pays for itself instantly. Symmetric fibre, backup connection, wired ethernet to every device, dedicated streaming network — the kind of setup that takes weeks to build at home is just there, ready to use.
7. Multi-Camera and Scene Management
Single-camera streams lose viewers. Multi-camera streams hold attention. The difference is dramatic and well-documented.
How to add a second camera:
A second camera plus capture card connected to OBS
A second mirrorless or DSLR via USB or HDMI
A phone running NDI HX Camera or as USB webcam
A PTZ camera (Sony BRC, OBSBOT Tail) for remote-controlled angles
Scene management best practices:
Pre-build all scenes — title cards, multi-cam layouts, screen share, full-screen guest, sponsor reads — before going live.
Practice the transitions — hotkeys for scene changes, audio cues, graphics triggers all worked out in rehearsal.
Don’t switch too often — every 15–30 seconds for talking-head content is reasonable; every 5 seconds becomes distracting.
Have a “safe” scene — a branded holding screen for breaks, technical issues, or “we’ll be right back” moments.
8. Graphics, Branding, and On-Screen Elements
Professional streams are wrapped in graphics that reinforce the brand and guide the viewer. Done well, this is invisible. Done badly, it looks amateur.
Essential graphics elements:
Logo: a clean, properly sized logo in a corner. Not blinking, not animated.
Lower thirds: name and title for each person speaking, animated in and out.
Title card / intro: a holding card with the stream title, played before going live and during breaks.
Outro card: a closing graphic with CTAs, social links, or next-stream timing.
Transition stingers: short animations between scenes that feel branded.
Sponsor placements: if relevant, sponsor logos placed consistently (always one location, never overlapping content).
Tools for graphics: Stream Deck for triggering scenes, Streamlabs / OBS overlays, custom-designed graphics packs (often $50–200 from designers on platforms like Etsy and Fiverr).
9. Multi-Platform Broadcasting
You don’t need to choose just one platform. Modern streaming infrastructure can broadcast simultaneously to many destinations.
Multistream services:
Restream.io: the most popular multistream service. Broadcasts to 30+ platforms simultaneously.
Castr: alternative with strong analytics.
StreamYard / Riverside.fm: built-in multistream for browser-based workflows.
vMix: can multistream natively without third-party services.
Strategic considerations:
YouTube Live and Twitch are mutually exclusive for some categories — read the platform ToS.
LinkedIn Live requires application approval and works best for B2B audiences.
TikTok Live currently requires a connected mobile device and is harder to multistream into.
Custom RTMP destinations let you stream into webinar platforms (Zoom Webinar, Vimeo) alongside public platforms.
10. Pre-Stream Preparation Checklist
The single biggest factor in stream success is preparation. Here’s the checklist we run before every major stream:
24 hours before:
Full technical rehearsal — every camera, every scene, every transition
Internet speed test, backup confirmed working
Graphics finalised and loaded
Guest tech check completed
1 hour before:
Reboot every device involved
Audio levels checked across all mics
Camera framing and focus confirmed
Streaming software running, scenes loaded
Backup recording active
Stream key entered, destination confirmed
10 minutes before:
“Going live in X minutes” graphics up
Hosts and guests in position
Audio monitoring confirmed
Final check on visible test stream (private)
Going live:
Switch to title card, start stream
Confirm stream is live on destination platforms
Wait 30 seconds for viewers to load before starting content
11. Post-Stream Workflow
The stream isn’t over when you stop broadcasting. The post-stream workflow is where most of the value gets created.
Immediate post-stream:
Stop recording, verify backup recordings saved
Stop streaming on all destinations
Save chat log if relevant
Note any technical issues for the next stream’s debrief
Within 24 hours:
Upload edited replay to YouTube or Vimeo
Extract 3–10 short clips for social distribution
Send thank-you / follow-up to guests
Send replay link to attendee list
Within 7 days:
Analyse performance data — peak viewers, average watch time, engagement points
Adjust format for next stream based on what worked
Repurpose content as blog posts, newsletter content, or course material
12. When to Outsource: Why a Streaming Studio Makes Sense
You can build everything in this guide yourself. Many serious creators do. But for high-stakes streams — investor presentations, ticketed events, paid webinars, brand launches — outsourcing to a professional studio almost always pays for itself.
What you get at Villo Studio:
Multi-camera setup pre-configured, no rigging required
Symmetric fibre internet with backup connection
Broadcast-grade audio chain, acoustically treated room
Live director and technical operator managing the broadcast
Branded graphics package built for your stream
Multi-platform simulcasting handled by us
Full recording backup and same-day highlight clips
You focus on the audience. We focus on everything else.
Ready to Stream Like a Pro?
Whether you’re streaming once a week to a Twitch community, running a quarterly webinar series for your business, or planning a major live event — getting the technical foundation right makes the difference between a stream that builds your audience and one that loses it. Build it yourself with this guide, or skip the headache and broadcast from a studio that already has every box ticked.
Visit villostudio.com to book a streaming session, take a studio tour, or discuss a custom production for your next live event.
Need professional video content in Bali?
Villo Studio — a video production studio in Canggu, Bali. We help businesses create podcasts, social media videos, product photography, and creative content.
villostudio.com · Canggu, Bali
Ready to put the plan into practice? See our multi-camera live stream production in Canggu.