Step-by-Step Guide to Building a Home Studio for Creators
The creator economy is booming. According to Goldman Sachs, it is projected to reach $480 billion by 2027 — and at the heart of it are creators who need reliable spaces to produce content consistently. That is why more and more people are building home studios for photo, video, and podcast production without the constraints of rental schedules or location availability.
Setting up a functional home studio may seem daunting at first, but with the right approach you can create a versatile space fully tailored to your needs — and often for less than you’d expect. Follow this detailed guide to transform your room into a creative hub.
Step 1: Choose the Right Room
Your room is the foundation of everything. The wrong space will create problems that no amount of equipment can fix. Look for a room that meets these criteria:
- Quiet and isolated: away from high-traffic areas of the house to minimize noise — especially critical for podcast recording. Even a room next to a busy street can introduce low-frequency rumble that is difficult to remove in post-production.
- Spacious enough: you need room for equipment, backdrops, and free movement. For video and photo work, aim for at least 12–15 m² (130–160 sq ft) as a minimum. Anything smaller quickly becomes frustrating when you add a tripod, lights, and a backdrop stand.
- Natural light access: windows provide beautiful, free illumination for photography. However, make sure you can control it — install blackout curtains or roller blinds so you can switch between natural and artificial light depending on the shoot.
💡 Tip: if space is limited, even a dedicated corner of a larger room can work. The key is managing noise sources and having consistent control over lighting. A closet or walk-in wardrobe can even double as a surprisingly effective vocal booth for podcasts.
Step 2: Invest in Essential Equipment
Quality recordings start with the right tools. The specific gear you need depends on your content type, but here is a breakdown of the essentials:
Photography
- Camera: a DSLR or mirrorless camera with interchangeable lenses. Entry-level options like the Canon EOS R50 or Sony a6400 deliver excellent results without breaking the bank.
- Lenses: a versatile 24–70 mm zoom for general work and a 50 mm prime for portraits (the “nifty fifty” is one of the best value lenses in photography).
- Tripod: essential for sharp images, especially in low light or for self-portraits.
- Lighting: softboxes, ring lights, or LED panels.
- Backdrops and props: solid-color fabric or paper backdrops plus accessories for visual variety.
Videography
- Camera and lenses: a camera capable of recording in high resolution (4K is the minimum professional standard today) with a lens kit suited to your content style.
- Microphone: a lavalier or shotgun microphone for clean audio. Remember: viewers will forgive slightly imperfect video, but bad audio makes them click away instantly.
- Stabilization: a gimbal for moving shots or a sturdy tripod for static setups.
- Lighting: dimmable LED panels with adjustable color temperature (bi-color).
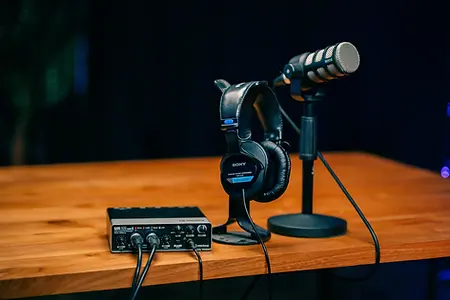
Podcasting
- Microphone: a high-quality condenser (e.g., Audio-Technica AT2020) or dynamic mic (e.g., Shure SM7B — the industry favorite used by Joe Rogan and countless top podcasters).
- Audio interface: connects your microphone to your computer and gives you control over input levels. The Focusrite Scarlett series is a reliable and affordable starting point.
- Headphones: closed-back headphones to prevent sound leakage during recording.
- Soundproofing: acoustic panels or foam to reduce room noise and echo.
📊 Budget reality check: a functional home studio can be built starting from around $500–$800 for a basic podcast setup, $1,000–$2,500 for photography, and $2,000–$5,000 for video — depending on whether you buy new or second-hand.
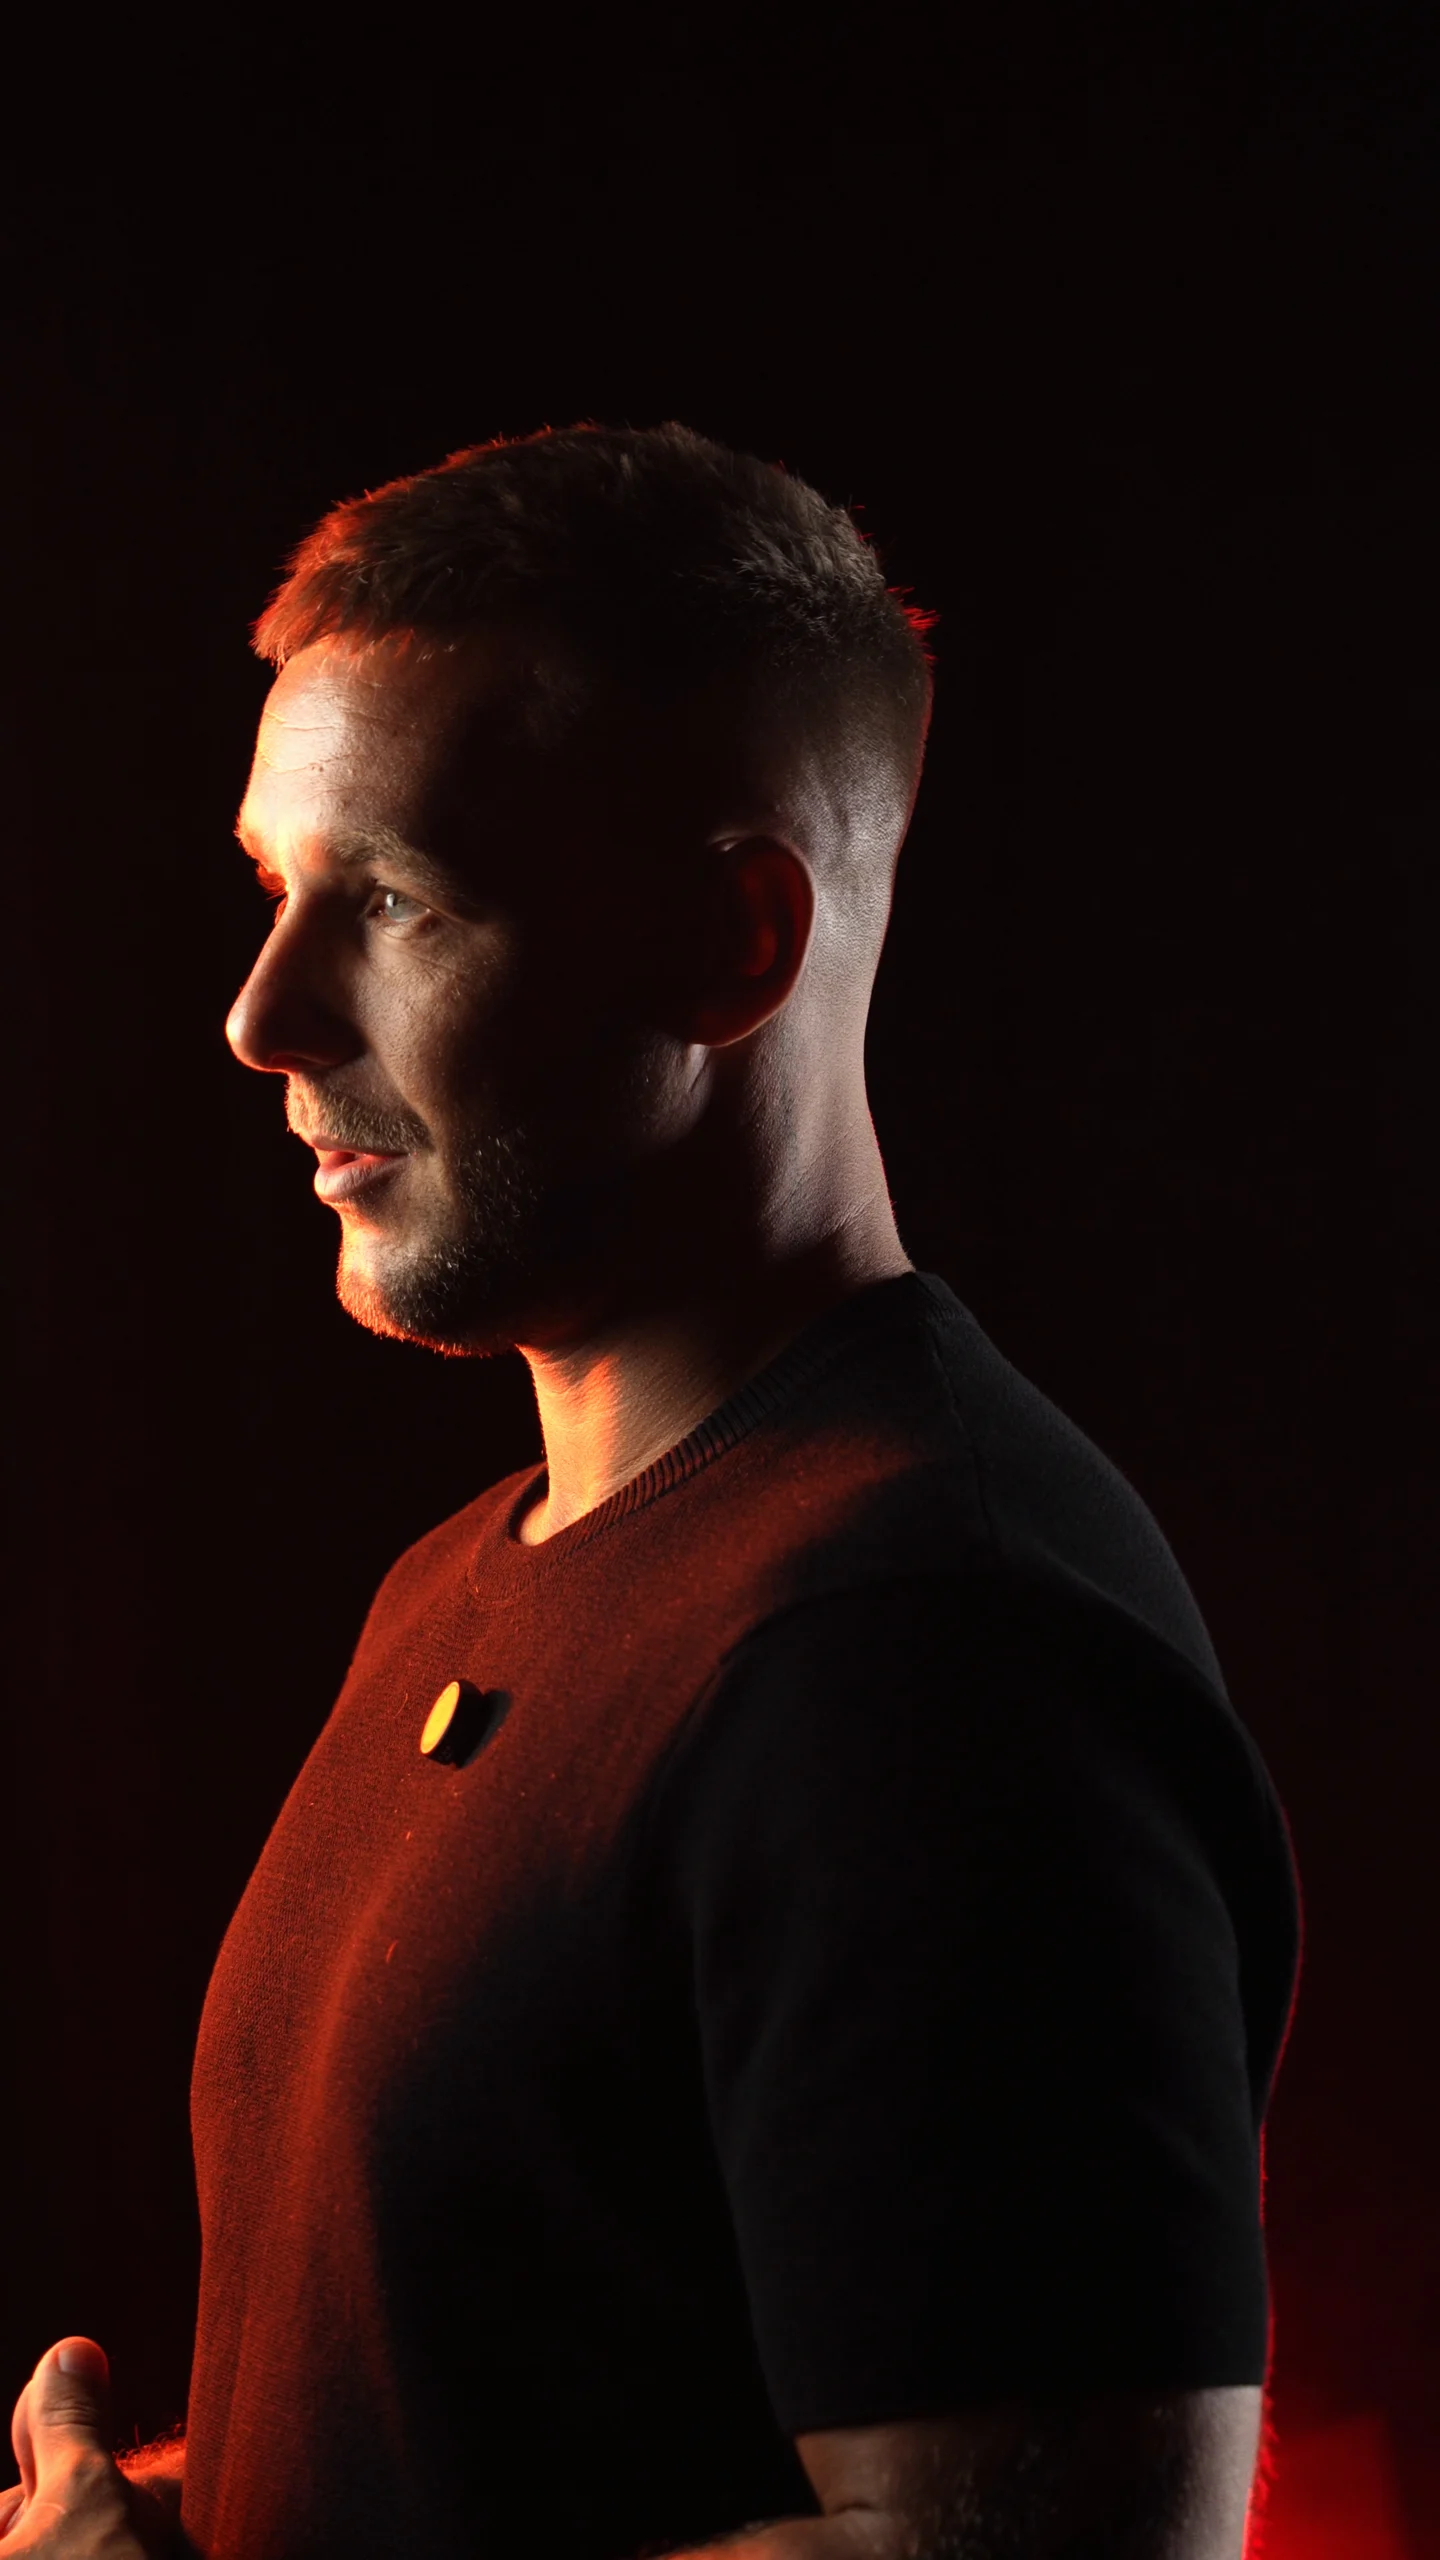
Step 3: Set Up Your Lighting
Lighting is arguably the single most impactful element in any studio. A $500 camera with great lighting will outperform a $5,000 camera with poor lighting every time.
- Three-point lighting: the classic setup — key light, fill light, and backlight — creates depth, dimension, and a professional look. Master this before anything else.
- Soft light for photography: softboxes and diffused light eliminate harsh shadows and produce flattering, even illumination.
- Creative light for video: LED panels or RGB lights to set mood and atmosphere (warm tones for interviews, colored accents for creative content).
- Even light for podcasts: soft, stable, and glare-free illumination. If you record video podcasts, a simple two-light setup (key + fill) is usually sufficient.
💡 Tip: always use lights with adjustable brightness and color temperature (measured in Kelvin). This gives you the flexibility to match any shooting scenario — from warm, cinematic tones (3200K) to cool, daylight-balanced looks (5600K).
Step 4: Soundproof Your Space
Good audio is non-negotiable. Studies show that viewers are far more likely to stop watching a video because of bad audio than because of bad visuals. Fortunately, basic acoustic treatment does not have to be expensive.
- Acoustic panels: reduce echo and reflections. Focus on the walls directly behind and in front of the microphone first (first reflection points). Foam panels, fabric-wrapped panels, or even thick moving blankets work surprisingly well.
- Rugs and curtains: absorb sound from hard surfaces like floors, windows, and walls. A thick rug on a hardwood floor makes an immediate, noticeable difference.
- Equipment isolation: move noisy devices (PCs, air conditioners, fans) away from the recording area or use quieter models. A shock mount for your microphone also helps eliminate vibrations transmitted through the desk.
📊 Fact: a room with zero acoustic treatment can have a reverberation time (RT60) of over 1 second. Professional studios aim for 0.3–0.5 seconds. Even a few strategically placed panels can cut your room’s reverb in half.
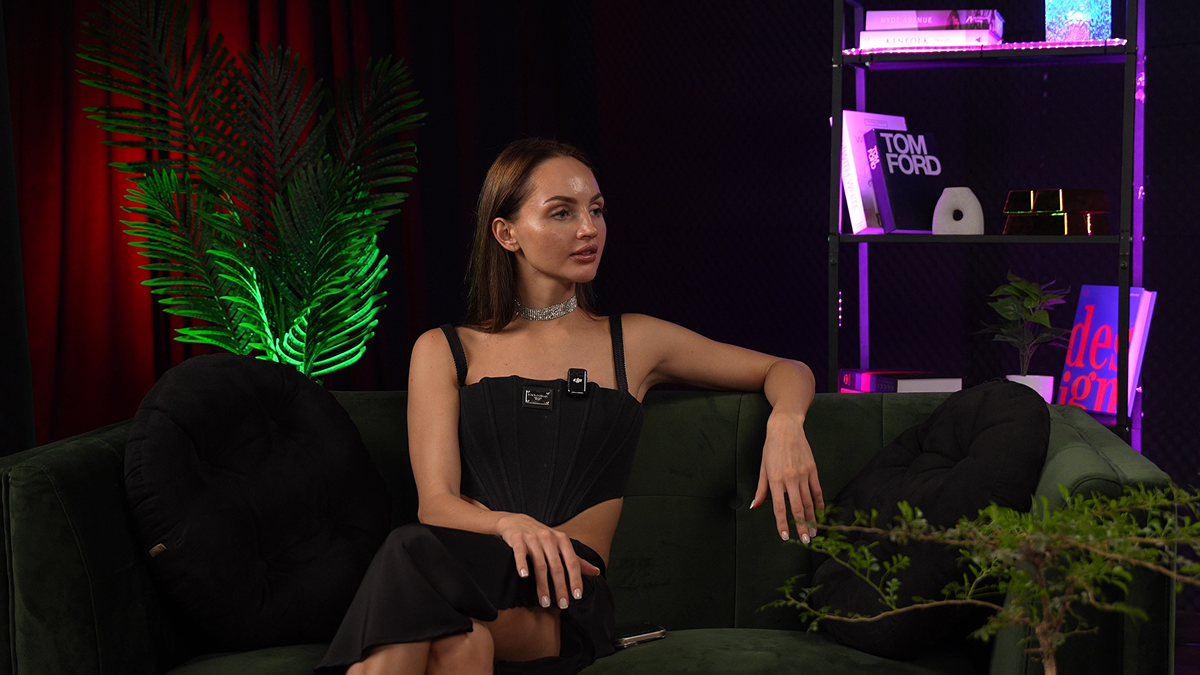
Step 5: Prepare Backdrops and Décor
Backdrops and décor make your studio versatile and visually engaging. They also define your brand’s visual identity on screen.
- Photography backdrops: a backdrop stand with fabric or paper rolls in neutral colors (white, gray, black) or brand-specific tones. Paper rolls are inexpensive and easily replaceable.
- Video backgrounds: minimalist décor — plants, framed art, shelves with books — adds visual interest without distracting from the subject. Avoid clutter; every element in the frame should serve a purpose.
- Podcast backgrounds: even if your primary format is audio-only, a visually interesting background adds professionalism for video clips, social media teasers, and guest recordings. Acoustic panels in branded colors can serve double duty — treating sound and looking great on camera.
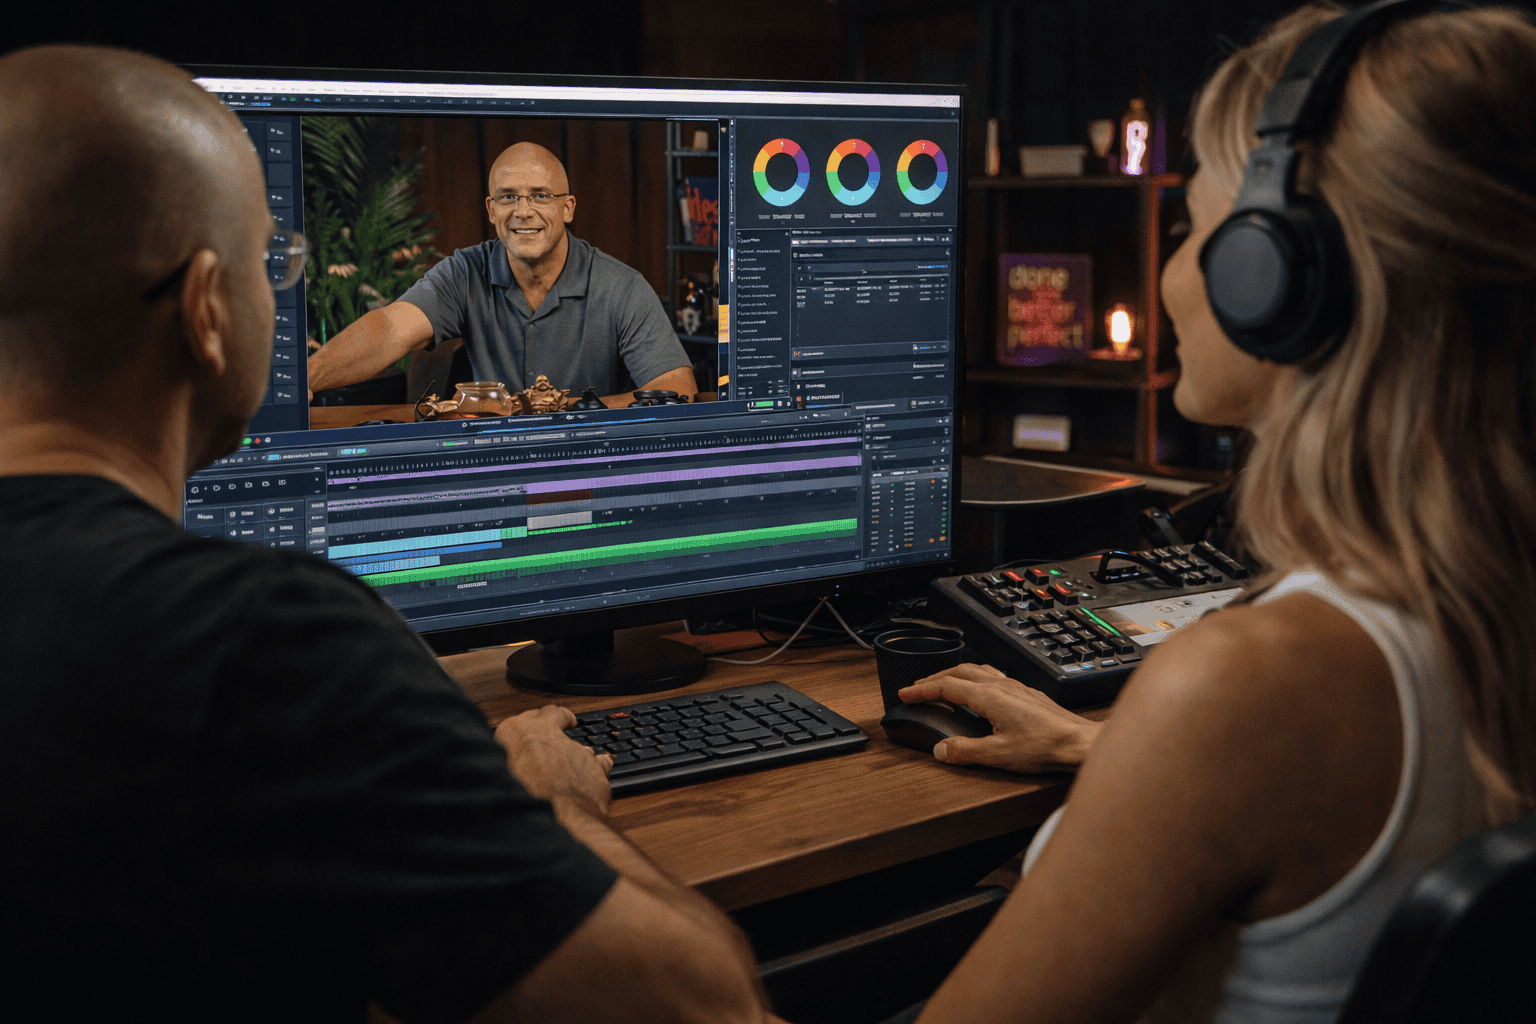
Step 6: Optimize Your Workflow
A well-organized studio saves hours over time. Small efficiencies compound into major productivity gains across dozens of sessions.
- Dedicated workstation: a separate area for your computer, audio interface, and editing software. Ideally, position it so you can monitor both the screen and the recording area without moving around.
- Smart storage: containers, shelves, and wall mounts for lenses, microphones, lights, and accessories. Label everything. A place for every item and every item in its place — this alone can save 15–20 minutes per session.
- Cable management: clips, cable channels, and velcro ties keep things tidy and — more importantly — safe. Tripping over a cable during a take is a nightmare every creator has experienced at least once.
💡 Tip: create a “session checklist” — a simple printed list of everything you need to set up before hitting record. This prevents the classic mistake of recording an entire episode only to realize the microphone was on the wrong input.
Step 7: Test and Fine-Tune
Once everything is installed, resist the urge to jump straight into production. Take the time to test every element of your setup.
- Light and shadows: experiment with different angles and intensities. Record short clips and review them on a calibrated monitor — what looks good to the eye does not always translate well to camera.
- Audio levels: record test segments and listen back with headphones. Check for background hum, echo, or clipping. Speak at your normal volume and at your loudest — make sure neither distorts.
- Image quality: take test photos and record sample video to dial in exposure, white balance, and focus. Save your final settings as presets so you can replicate them instantly in future sessions.
📊 Fact: professional studios typically run 2–3 full test sessions before going live with a new setup. Don’t skip this step — the time you invest in testing will pay dividends in every session that follows.
Building a home studio takes time, effort, and investment, but the payoff is a dedicated space where you can create on your own terms — anytime, with no rental clock ticking.
However, if your time or budget is limited, or your project demands equipment and an environment that go beyond what a home setup can provide — welcome to Villo Studio.
We offer a fully equipped professional studio for photo, video, and podcast production in Bali. From Sony FX30 Cinema Line cameras and Godox lighting to a soundproofed recording space and expert support — we handle the technical side so you can focus on what matters most: creating outstanding content.
Visit Villo Studio and book your session today.