Home / Mastering high-quality audio recording techniques
Creating clean, professional-sounding audio is one of the most valuable skills you can develop as a modern content creator. Whether you are a podcaster, musician, voiceover artist, or video creator, the quality of your audio directly affects how your audience perceives your content — and how long they stay engaged with it. Poor sound drives people away faster than almost any other production flaw, while great sound builds trust and credibility from the very first second. In this guide, we cover the essential principles and practical techniques that will help you achieve consistently excellent recordings, regardless of your current setup or experience level.
Before you touch a single piece of equipment, the most impactful thing you can do for your audio quality is to address the space you are recording in. The acoustic properties of your room will shape your sound more than almost any other factor — including the microphone you use. A mediocre microphone in a well-treated room will almost always outperform an expensive microphone in an untreated one.
Choose a space with as little background noise as possible. Soft furnishings like carpets, curtains, bookshelves, and upholstered furniture naturally absorb sound and reduce unwanted reflections. A separate, dedicated recording room is ideal — but even a well-furnished bedroom or a walk-in closet can produce surprisingly good results when set up thoughtfully.
If you want to take your acoustic treatment further, install foam panels or acoustic tiles on the walls around your recording position. These materials reduce flutter echo and standing waves, resulting in a tighter, cleaner sound that requires far less correction in post-production. If professional panels are outside your budget, heavy blankets draped around your microphone can serve as an effective improvised alternative — the principle is the same: add mass and softness to absorb sound energy.
Investing in a quality microphone is one of the highest-return decisions you can make for your audio production. A good microphone captures your voice with far greater accuracy and nuance than budget models, and the difference is immediately audible to any listener. The two main types you will encounter are condenser and dynamic microphones, and each has a distinct use case.
Condenser microphones are generally recommended for vocals, podcasting, and any application where capturing fine detail and a wide frequency range is the priority. They are sensitive, highly accurate, and produce a rich, present sound. Dynamic microphones, on the other hand, are more robust and better suited to louder sound sources like live instruments. They are also more forgiving in acoustically imperfect environments, making them a popular choice for home studios where background noise is harder to control. Choose based on your specific recording context, not just price or brand recognition.
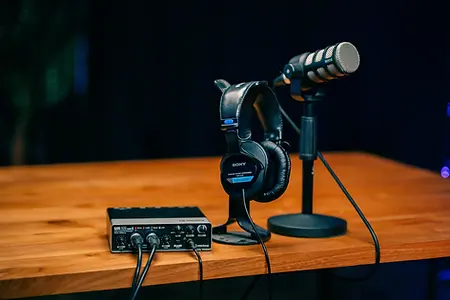
Beyond the microphone itself, an audio interface is the next most important piece of hardware in your recording chain. An interface converts the analog signal from your microphone into a clean digital signal that your computer can process — and it does this far more accurately than the built-in sound card in a standard laptop or desktop. Look for an interface that provides phantom power (required for condenser microphones), low-latency monitoring so you can hear yourself in real time while recording, and clean preamps that add minimal coloration to your signal. Entry-level interfaces from brands like Focusrite, SSL, and Universal Audio offer excellent quality at accessible price points and represent a worthwhile investment at any stage of your audio journey.
Even with the right room and equipment in place, how you position yourself and configure your levels during a session has a significant impact on the final result. Many common audio problems — muddiness, harshness, distortion, and inconsistency — can be traced directly back to avoidable mistakes made at the recording stage. Getting these fundamentals right means less corrective work in post-production and a more natural, polished sound overall.
One of the most widespread recording mistakes is placing the microphone too far from the sound source. The farther away the microphone is, the more room sound it picks up relative to the direct signal — which translates to a hollow, echoey quality that is difficult to remove cleanly in post. For most voice recording applications, a distance of 15 to 30 centimetres from your mouth is the optimal starting point. From there, experiment with subtle adjustments in both angle and distance to find the position that gives you the fullest, most natural sound for your specific voice and microphone combination.
Using a pop filter is a simple and inexpensive addition that makes a noticeable difference, particularly for vocal recordings. Pop filters sit between your mouth and the microphone capsule and diffuse the bursts of air produced by plosive consonants like P and B — sounds that would otherwise cause low-frequency thuds and distortion in your recording. They are inexpensive, easy to set up, and worth using on every vocal session.
Recording at the right level is critical to capturing clean audio with sufficient headroom for post-production processing. Your target peak level should fall within the range of -10 to -6 dBFS — loud enough to capture good detail and signal-to-noise ratio, but with enough headroom to prevent clipping and digital distortion if your performance gets louder than expected. Adjust the gain on your audio interface before every session and record a test take to confirm your levels are in range. This simple habit can save you from discovering a clipped or unusable recording hours into a session.
Understanding the technical settings in your recording software is important for ensuring your files are suitable for their intended use — whether that is music production, podcast distribution, film scoring, or broadcast. The two main parameters to understand are sample rate and bit depth, and choosing the right combination depends on your project’s requirements and your available storage capacity.
Sample rate refers to how many times per second the audio signal is captured and converted into digital data. A higher sample rate captures more detail, particularly in the upper frequency range. For professional audio work, 48 kHz is the standard for podcast, broadcast, and video production, while 96 kHz is preferred for music projects where maximum fidelity is required. Bit depth determines the dynamic range of your recording — essentially how much difference there is between the quietest and loudest sounds the file can represent. A bit depth of 24 bits is the professional standard for recording and editing, as it provides a dynamic range of approximately 144 dB and leaves ample headroom for processing. Bear in mind that higher sample rates and bit depths produce larger file sizes, so plan your storage accordingly.
Before beginning any important recording session, run through a pre-recording checklist: confirm your microphone is connected and functioning, verify your levels are set correctly, check that your software is recording to the right location and format, and do a short test take and play it back. This simple preparation routine takes less than five minutes and eliminates the majority of technical errors that cause wasted sessions.
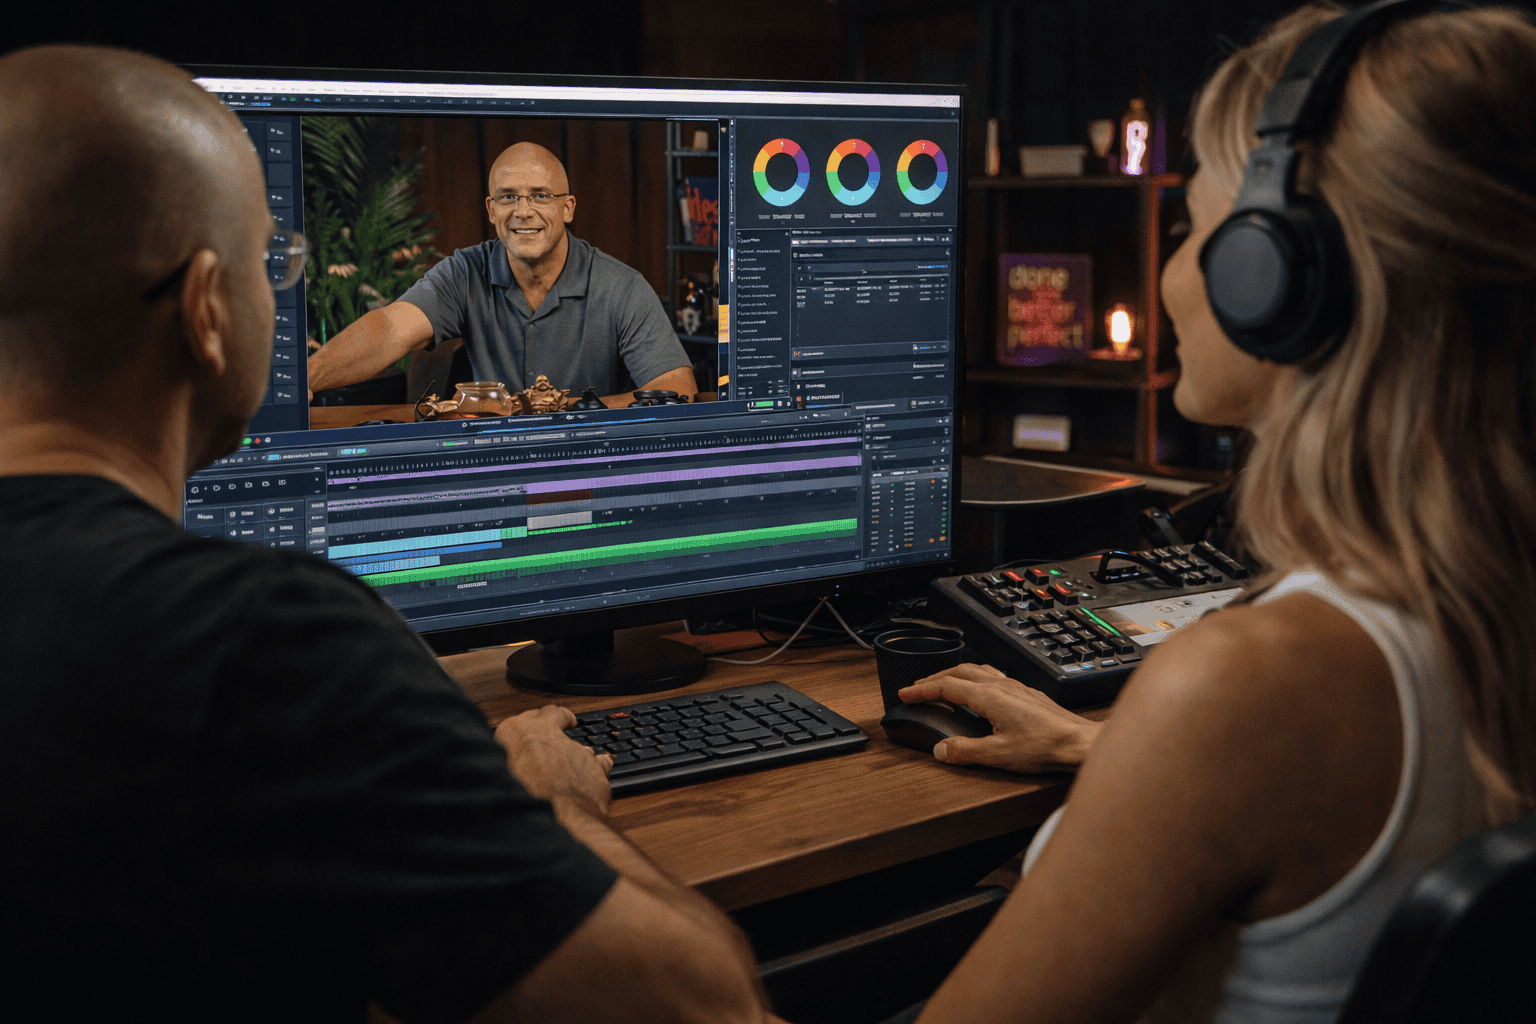
Even a well-recorded track will benefit from thoughtful post-production. The editing and processing stage is where your raw recording is transformed into a polished, broadcast-ready file — and having a clear, consistent workflow makes this process both faster and more effective. Tools like Audacity (free), Adobe Audition, and Logic Pro offer comprehensive processing capabilities suitable for everything from basic cleanup to advanced mastering.
Start your post-production process with noise reduction. Most professional audio editors include a noise reduction or noise gate tool that can identify and remove consistent background noise — air conditioning hum, computer fan noise, and room tone — without significantly affecting the quality of the main signal. Apply this subtly: over-aggressive noise reduction creates an unnatural, processed quality that is just as distracting as the original noise.
Next, apply compression to even out your dynamic range. Compression reduces the volume of the loudest parts of your recording and raises the overall level, resulting in a more consistent and controlled sound that is easier to listen to over an extended period. For spoken word and podcast audio, a compression ratio of 3:1 with a threshold of around -15 dBFS is a widely used starting point — but always use your ears rather than relying solely on preset values. Compression should make the audio feel more even and present, not pumped or squeezed.
Finally, use an equalizer to refine the tonal balance of your recording. For voice, a gentle boost in the 3 to 5 kHz range adds presence and clarity, making speech more intelligible and cutting through a mix effectively. Rolling off low frequencies below 80 to 100 Hz removes low-end rumble and muddiness that can make a voice recording sound thick and unclear. Approach EQ with restraint — small adjustments of 2 to 3 dB are usually all that is needed, and subtlety is always preferable to heavy-handed correction.
Mastering high-quality audio recording is a combination of creating the right environment, choosing and using the right equipment, and applying consistent post-production techniques. None of these elements works in isolation — great audio is the result of all three working together. The good news is that significant improvements are possible at almost every budget level, and the most important factor is not how much you spend, but how deliberately and consistently you apply what you know.
Participate in workshops, online communities, and mentorship programs to accelerate your development. Study recordings you admire and train your ear to identify what makes them work. Record regularly, review your work critically, and make incremental adjustments. With consistent practice and a genuine curiosity about sound, you will reach a level of quality that keeps your audience engaged, builds your credibility as a creator, and makes every recording session a rewarding creative experience.
If you are looking for a professional recording environment that eliminates the technical challenges of home setup, Villo Studio in Bali provides fully soundproofed studios, professional microphones, audio interfaces, and expert support — everything you need to focus entirely on your content and your performance. Book your session today and hear the difference a professional studio makes.