Home / Filming Mistakes That Turn Editing into a Nightmare (and How to Avoid Them)
Editing is often described as the magic that transforms raw footage into a polished, professional video. But here is the reality: no matter how skilled your editor is, poor footage can turn even the simplest project into an exhausting, time-consuming ordeal. Every shaky shot, every poorly recorded audio track, every missing angle adds hours to post-production — and in some cases, these mistakes simply cannot be fully fixed, no matter how much time or money you throw at them.
To save you time, budget, and unnecessary frustration, here are the most common filming mistakes that slow down the editing process — and exactly what you can do to prevent each one before you ever press record.
A slight camera shake might seem insignificant on set, but it becomes glaringly obvious in the edit suite. Shaky footage looks unprofessional and is notoriously difficult to fix in post-production. While modern editing software does include stabilization tools, their capabilities have real limits. Aggressive stabilization crops the frame, reduces overall sharpness, and often still leaves visible residual vibration that undermines the quality of the shot. What looks like a minor issue during filming can cost hours of corrective work — and the result is still rarely as clean as stable footage captured properly in the first place.
How to avoid it:
Lighting can make or break a video — and it is one of the most common areas where filmmakers cut corners, often without realizing the consequences until the edit. Footage that is too dark will become visually noisy when you try to brighten it in post, introducing grain and color artifacts that degrade the image quality significantly. Overexposed footage loses highlight detail permanently — information that cannot be recovered once it is blown out. Even the most advanced color grading tools cannot restore what was never properly captured in the first place.
How to avoid it:
Remember: consistent lighting across all your shots dramatically simplifies the editing process and produces a far more cohesive final video.
Jump cuts are not inherently bad — used intentionally, they can create rhythm and energy. But constantly shifting compositions, inconsistent framing between takes, and mismatched eyeline angles make a video feel chaotic and visually incoherent. To hide these inconsistencies in the edit, editors are forced to apply artificial digital zoom, awkward cropping, or forced transitions — all of which take significant time and almost always reduce the overall quality and resolution of the final output.
How to avoid it:
Deliberately capture coverage from multiple intentional angles rather than relying on accidental extra takes to fill gaps in the edit.
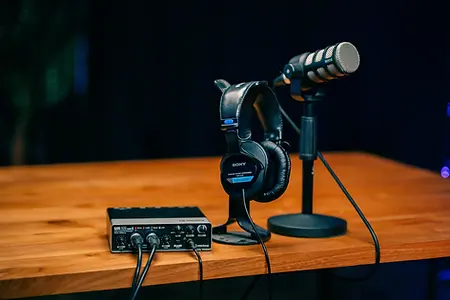
A visually stunning image will not save bad audio — and audiences are far less forgiving of poor sound than they are of imperfect visuals. Echo, background noise, wind interference, and muffled dialogue are extremely difficult and sometimes completely impossible to fix in post-production. A skilled audio engineer might spend hours cleaning up a problematic recording, and even after all that work, the result will often still sound noticeably processed and unnatural. Bad audio is one of the fastest ways to lose your audience’s trust and attention, regardless of how good everything else looks.
How to avoid it:
Always record a short test take and review it through headphones before starting your main recording session.
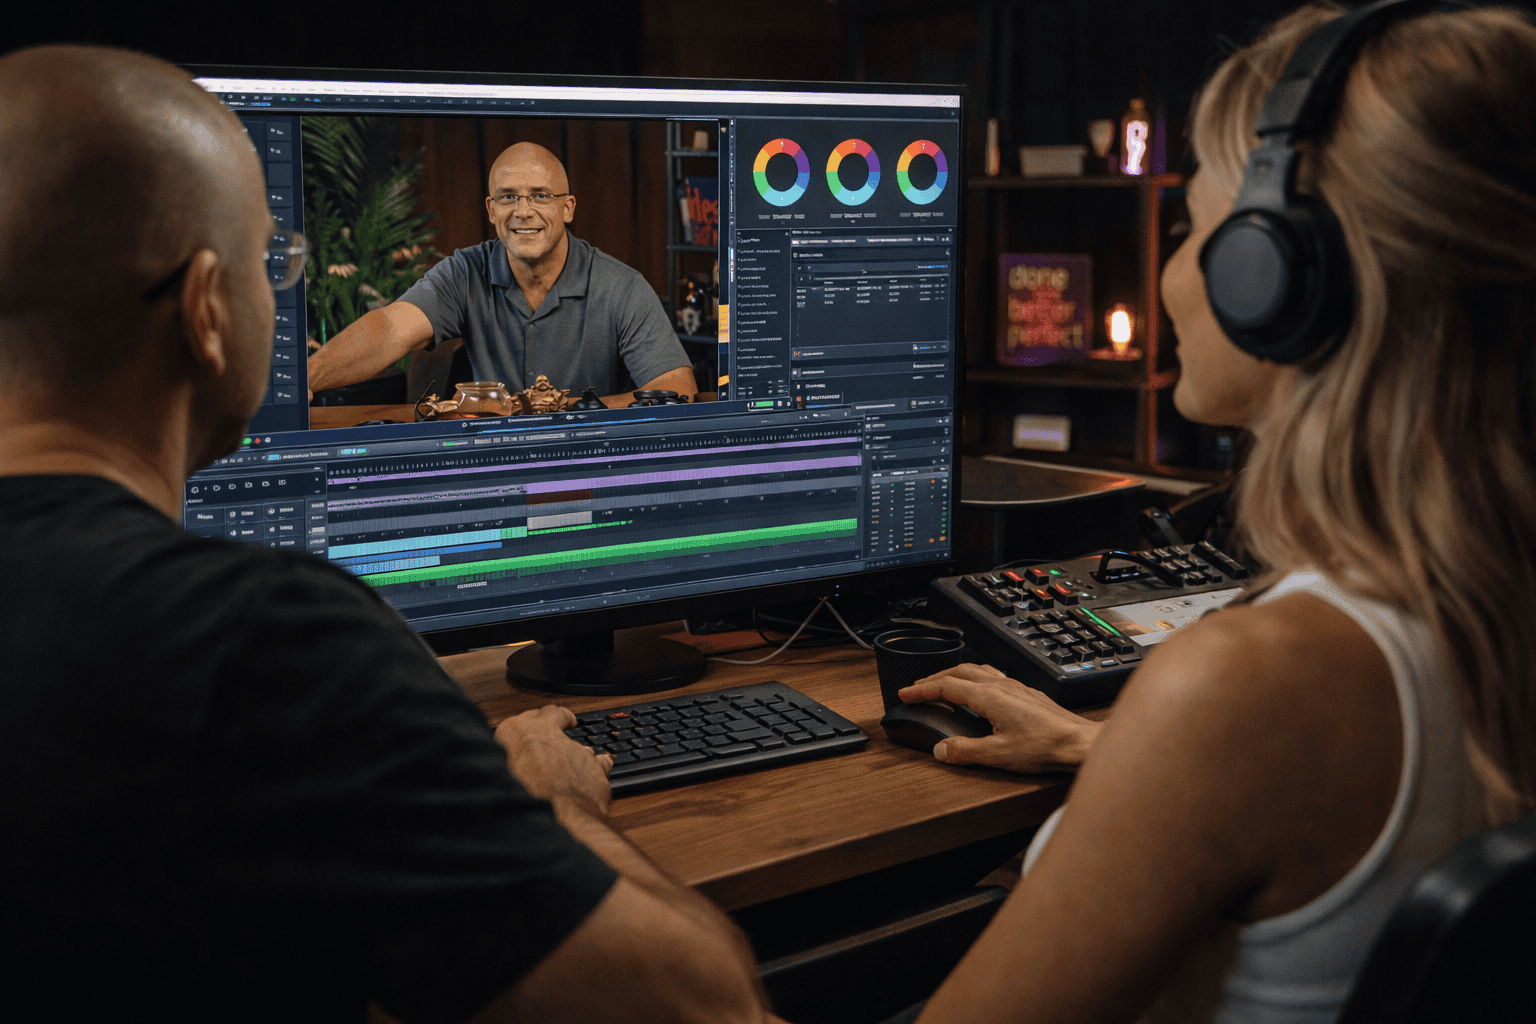
B-roll is the supporting footage that gives editors the flexibility to cover cuts, mask mistakes, maintain visual interest, and control the pacing of a video. Without it, editors are severely limited in what they can do — the result is awkward jump cuts, repetitive visuals, and a finished video that feels flat and static compared to professional productions. This is one of the most common oversights among less experienced filmmakers, and it is also one of the easiest to fix with a small amount of deliberate planning before and during the shoot.
How to avoid it:
Going into a shoot without a plan is perhaps the single most costly mistake a content creator can make — and it is also one of the most common. When you spend hours capturing random, unstructured footage, your editor is forced to sift through everything to find the usable pieces, piece together a narrative from fragments that were never designed to work together, and fill in structural gaps with whatever happens to be available. The result is wasted time, an inflated post-production budget, and a finished video that lacks the clarity, flow, and intentionality of content that was properly planned from the start.
How to avoid it:
Always keep the story structure you want to tell at the front of your mind throughout every moment of the shoot.
The best editing in the world cannot compensate for footage that was not properly captured. By avoiding these six common filming mistakes, you will not only save significant time and money in post-production — you will also arrive at the editing stage with material that is genuinely strong, giving your editor the tools they need to create something that truly stands out. The investment you make in getting the shoot right is always returned many times over in the quality and efficiency of the final result.
Avoid these in every production:
If you have already filmed your content and feel overwhelmed by the prospect of turning raw footage into a polished final video, Villo Studio is here to help. Our team of professional editors specializes in transforming raw and imperfect material into clean, compelling content — from stabilization and audio correction to narrative structure and final visual polish.
Hand the heavy lifting to Villo Studio and focus your energy on creating content that genuinely resonates with your audience.