
Creating high-quality video requires more than a good camera and strong editing skills. One of the most critical elements that can either elevate or undermine your footage is lighting. The right light improves mood, flatters your subject, and ensures your content looks polished and professional from the very first frame. Whether you are shooting interviews, tutorials, product videos, or creative projects, mastering a reliable lighting setup is one of the highest-return investments you can make as a video creator.
Before diving into advanced techniques, it is essential to understand the foundational principles of video lighting. The primary goal is to illuminate your subject clearly while simultaneously creating depth, dimension, and visual interest. The most widely used and effective technique for achieving this is the three-point lighting system — a framework that professional cinematographers have relied on for decades across every genre of video production.
The three-point system uses three distinct light sources, each serving a specific role:
This system balances light and shadow in a way that makes your subject stand out naturally, without harsh contrasts or unflattering angles.
Understanding the theory is the starting point — but how you physically set up your lights makes the difference between footage that looks professional and footage that looks improvised. These practical principles apply across almost every lighting scenario you will encounter:
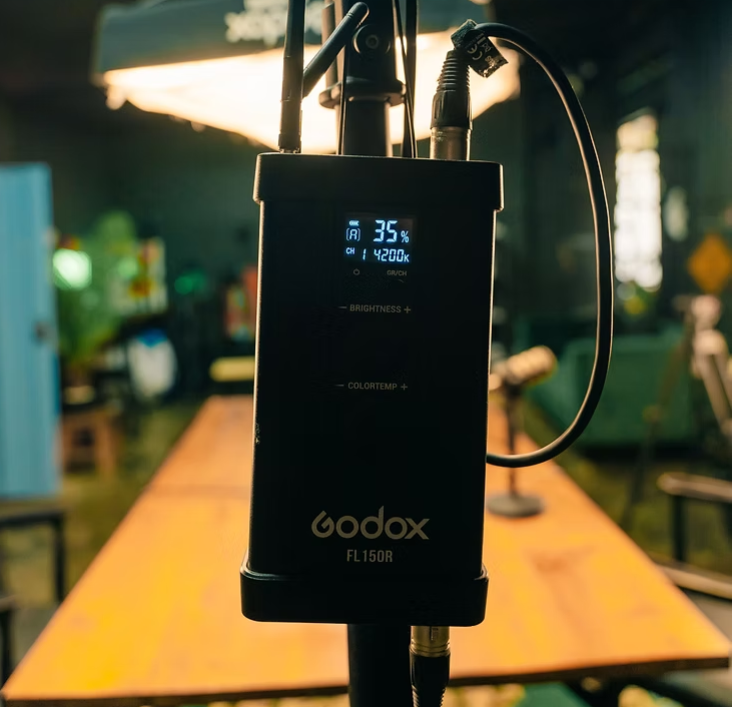
Color temperature, measured in Kelvin, is one of the most important — and most overlooked — variables in video lighting. It determines whether your image feels warm, neutral, or cool, and it has a direct impact on the emotional tone your footage conveys. A color temperature of around 3200K produces a warm, incandescent quality that feels intimate and domestic. At 5600K, light mimics natural daylight and produces a clean, neutral look that works well for interviews, product videos, and professional content. Always set your camera’s white balance to match your primary light source, and use color correction gels when mixing sources with different temperatures to maintain consistency across your frame.
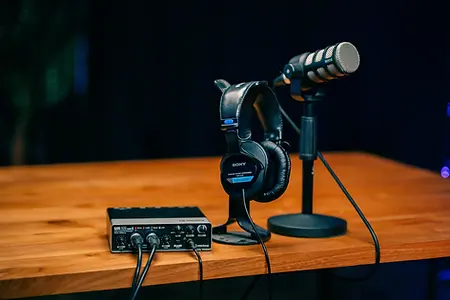
Selecting the appropriate lighting equipment depends on your budget, the size of your shooting space, and the type of content you produce most frequently. The good news is that professional-quality results are achievable at a wide range of price points — what matters most is choosing the right tool for each specific job and learning to use it well. Here are the most commonly used options in professional and semi-professional video production:
When purchasing lighting equipment, prioritize fixtures with adjustable color temperature control, smooth dimming without flicker, and compatibility with standard light modifiers. These three features give you the greatest creative flexibility as your needs evolve.
Even the best lighting equipment will underperform if it is not set up safely, securely, and efficiently. A well-organized lighting rig not only produces better results — it also makes your workflow faster, reduces the risk of accidents, and ensures consistency between sessions. These fundamentals apply whether you are working in a dedicated studio or setting up a temporary shooting space.
YouTube creators and bloggers typically look for lighting solutions that are versatile, affordable, and easy to set up without a full production team. The most common setups you will encounter across the creator space include ring lights for their even, flattering facial illumination — particularly popular in beauty, lifestyle, and tutorial channels. Softbox kits are widely used by creators who want a more professional, cinematic look without the complexity of a full studio rig. Adjustable LED panels are valued for their portability and color temperature flexibility, making them suitable for both indoor and outdoor supplemental use. Some creators also rely entirely on natural light, shooting near large windows and using reflectors to manage shadows.
For beginners, a single ring light combined with available natural light can dramatically improve video quality without significant investment. More experienced creators typically progress toward a full three-point LED setup, which provides the control and consistency needed for high-production-value content.
Consistency is one of the hallmarks of professional video production — and it starts with your lighting rig. Mark the positions of your light stands on the floor with tape so you can reproduce your setup exactly in future sessions. Document your light settings — intensity, color temperature, and angle — either in a notebook or with a quick photo on your phone. If you are shooting a series or recurring format, consistency in your lighting creates a visual identity that audiences recognize and associate with your brand, which is as valuable as any piece of equipment you own.
Lighting needs change significantly depending on the type of video you are producing. A setup that works beautifully for a sit-down interview will feel completely wrong for a product shoot or an outdoor vlog. Understanding how to adapt your approach to each scenario is what separates creators who produce consistently strong content from those whose quality varies unpredictably from video to video.
Use the three-point lighting system as your foundation, positioning the key light at 45 degrees to the side of and slightly above your subject’s face. Apply a diffused fill light on the opposite side to soften shadows without flattening the image entirely. Position your back light above and behind the subject to create a rim of separation from the background, adding depth and a sense of three-dimensionality. Avoid hard, undiffused light sources in close proximity to your subject’s face — the result is unflattering shadows and exaggerated skin texture that cannot be easily corrected in post.
Shoot during the golden hour — the period shortly after sunrise or before sunset — for soft, warm, directional light that flatters virtually every subject and produces an inherently cinematic quality. Use a reflector to bounce sunlight into shadow areas on your subject’s face, effectively acting as a natural fill light without any additional power source. Avoid shooting under direct midday sun: the harsh overhead light creates unflattering shadows under eyes and nose and causes subjects to squint. If you must shoot in harsh light, find open shade or use a diffusion scrim to soften the direct sunlight falling on your subject.
For product videos, the goal is even, shadow-controlled illumination that reveals the product’s details, colors, and textures accurately. Use soft, diffused light sources positioned to minimize directional shadows. For small items, a lightbox or light tent is an excellent solution — it wraps the product in diffused light from multiple directions simultaneously, virtually eliminating shadows and producing clean, consistent results. For larger products, a two-light setup with a large softbox as key and a reflector as fill provides excellent control over texture and highlight placement.
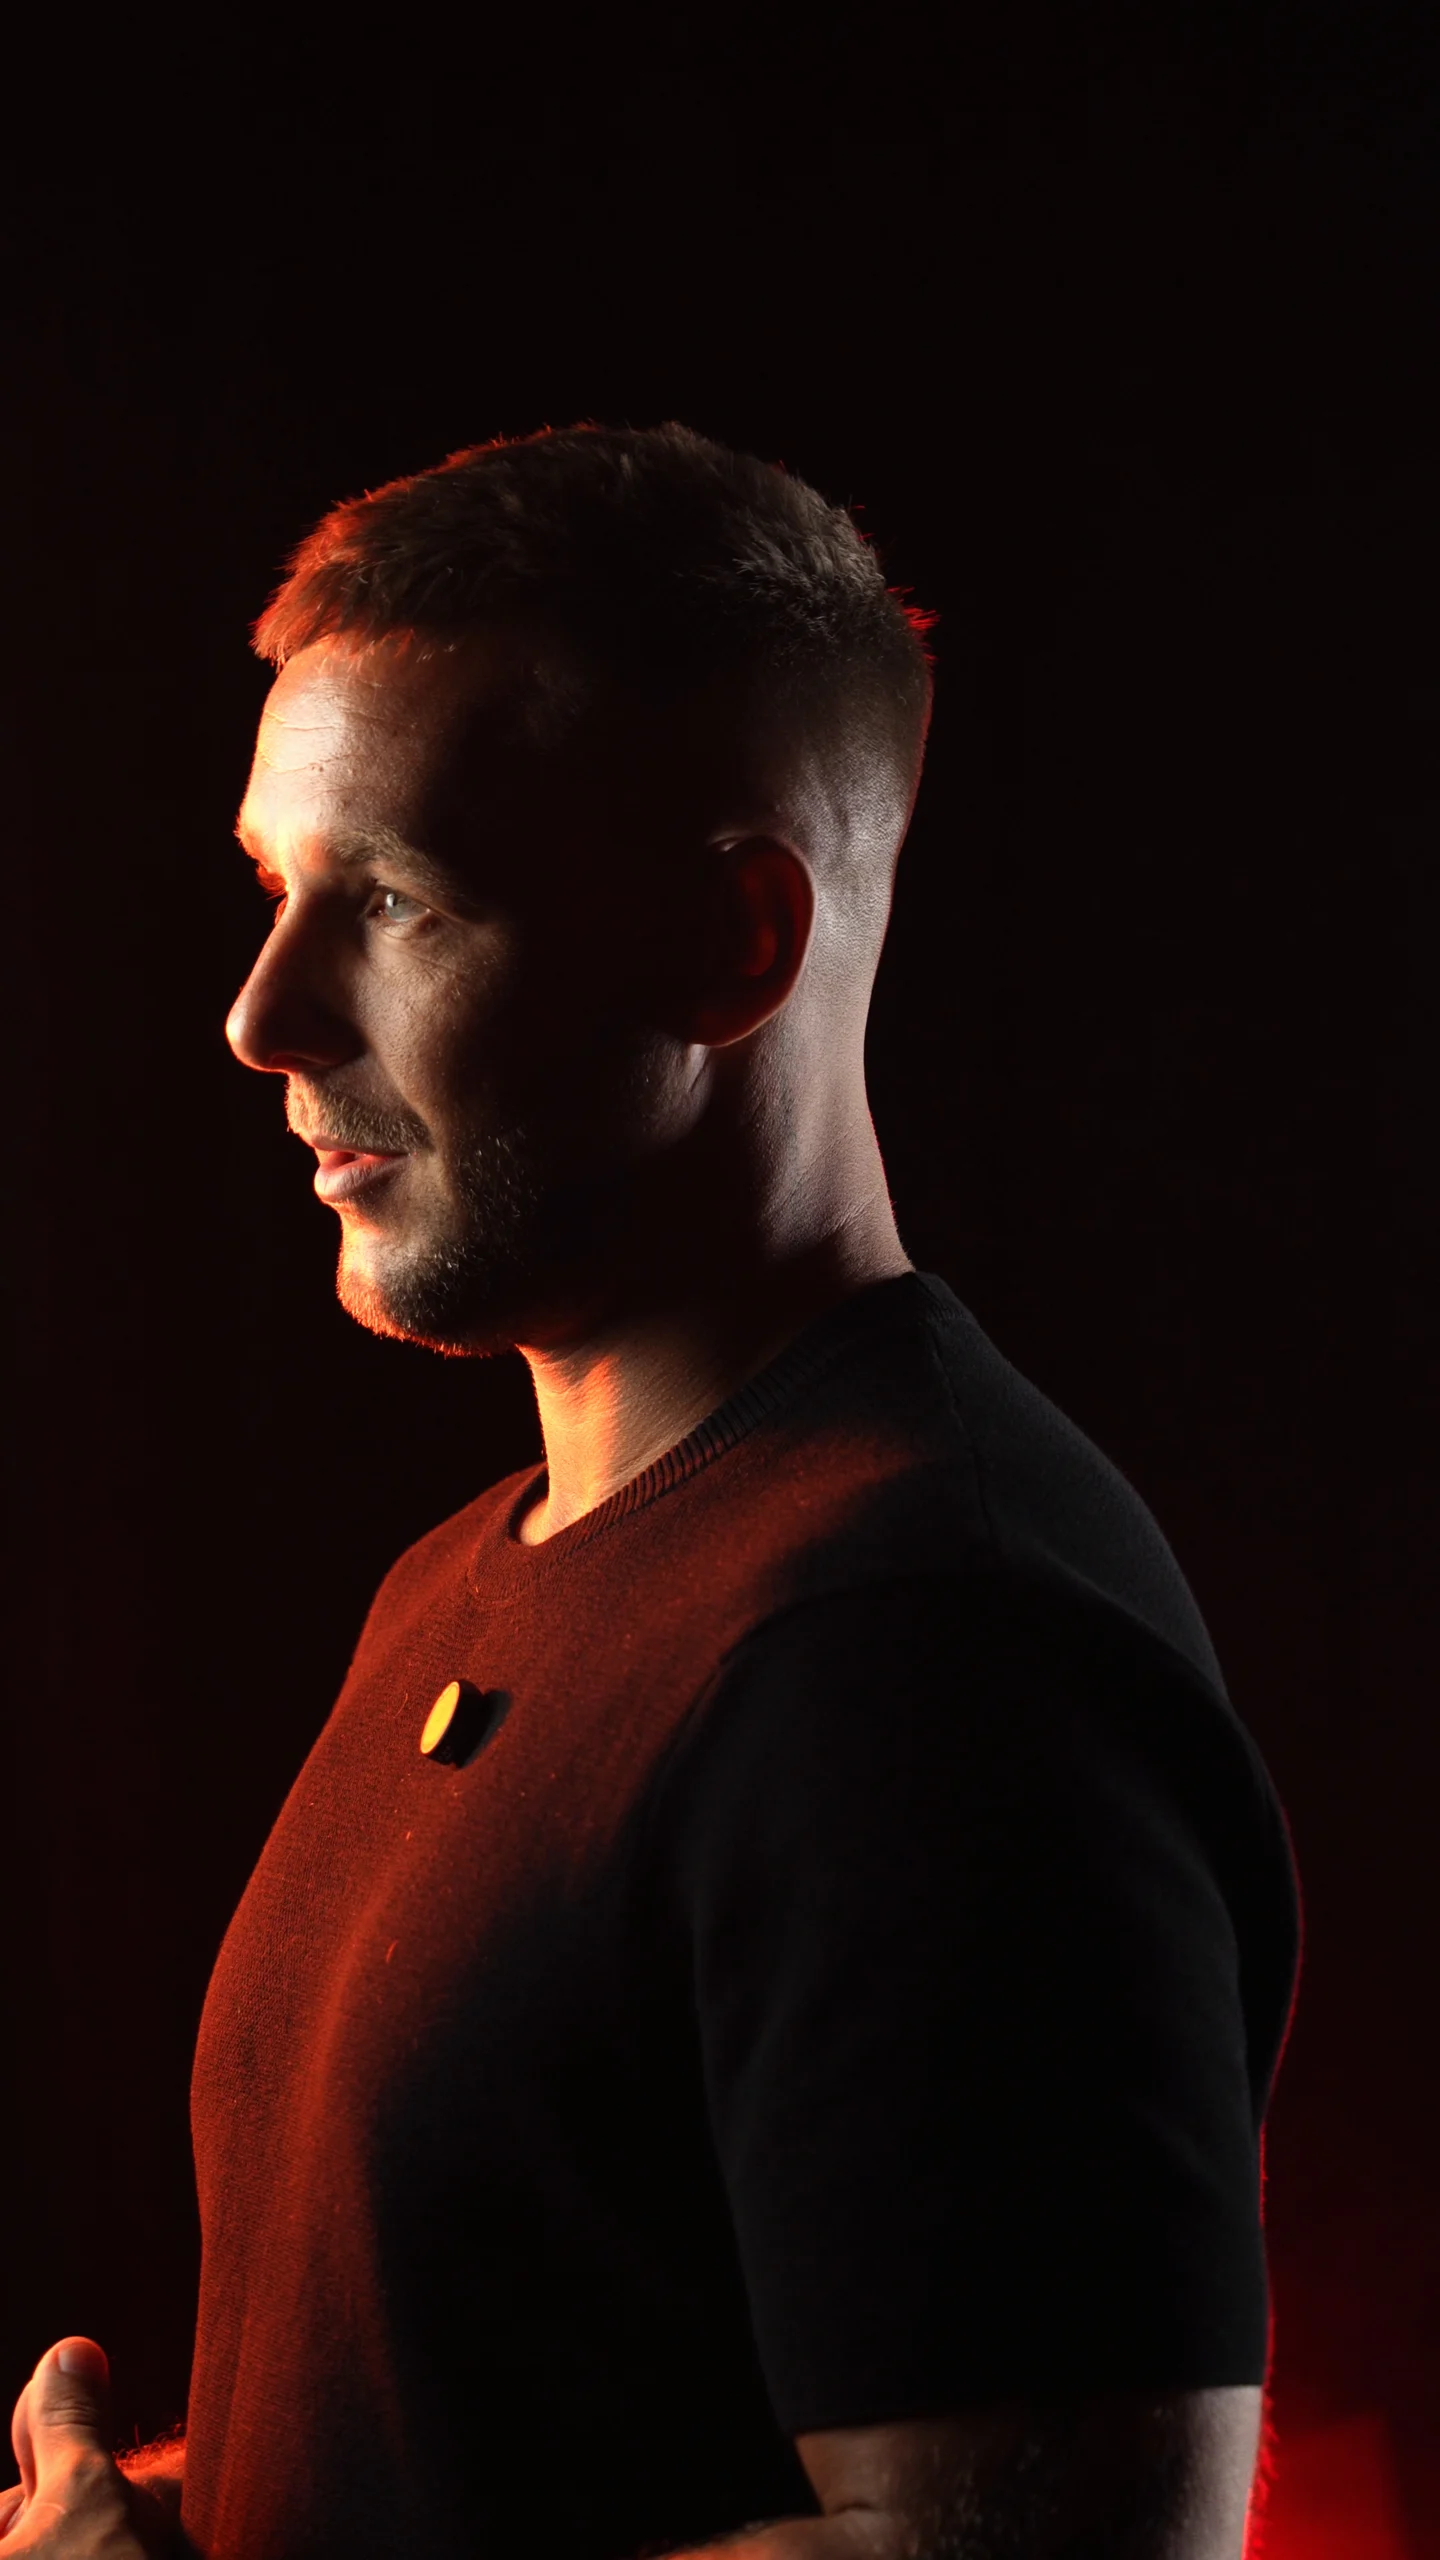
When the goal is atmosphere rather than flattery, the rules change. Play intentionally with contrast and shadow to establish mood — a single hard light source with no fill creates dramatic, high-contrast images associated with tension and mystery. Use colored gels on your lights to shift the emotional quality of a scene: cool blues suggest coldness or isolation, warm ambers suggest intimacy or nostalgia, and vibrant colors create a stylized, editorial feel. Experiment with back lighting and silhouettes for dramatic graphic imagery, or use practical lights within the frame — lamps, candles, neon signs — as both light sources and compositional elements.
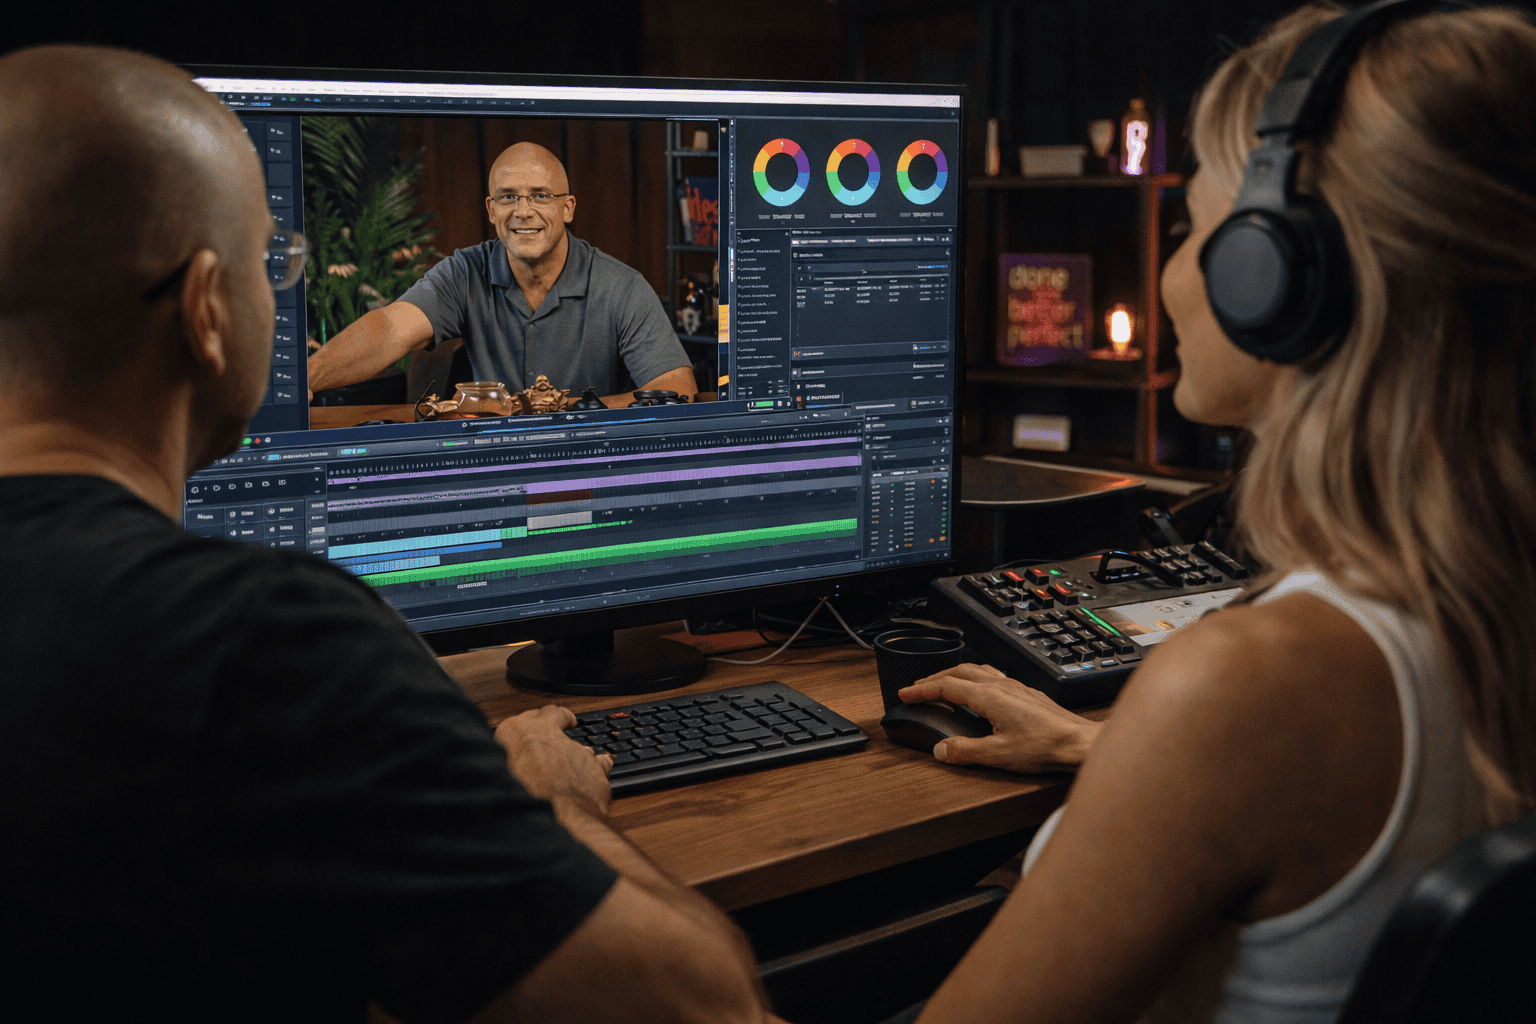
Achieving a consistently polished result requires both the right equipment and a deliberate, disciplined approach to how you use it. The technical side of lighting — understanding exposure, color temperature, and modifier behavior — can be learned relatively quickly. The creative side — developing an eye for how light shapes mood, depth, and emotion — takes practice and honest self-evaluation over time. Both are worth investing in, because great lighting is visible in every single frame and communicates professionalism and intention to every viewer.
Always test your full lighting setup before the main recording session — do a short test take, review it on a calibrated monitor or screen, and make any necessary adjustments before you commit. Use your camera’s histogram or an external light meter to verify your exposure objectively rather than relying solely on how the image looks on a small monitor. Give careful thought to your background: separately lighting the background area adds depth and prevents your subject from blending into it. Finally, pay attention to the color of surrounding walls and surfaces in your shooting space — colored walls and reflective objects can bounce tinted light onto your subject, subtly affecting skin tones and color accuracy in ways that are difficult to correct in post-production.
Building and maintaining a professional lighting rig at home or in a private space is a genuine investment — in both equipment and the time it takes to set up, calibrate, and consistently reproduce results. For many creators, brands, and businesses, accessing a professionally equipped studio is a more practical and cost-effective solution, particularly for high-stakes shoots where quality cannot be compromised. A professional studio provides pre-configured, calibrated lighting rigs, a controlled environment free from ambient light interference, and the ability to focus entirely on the content of your shoot rather than the technical logistics of making your space work. If you are based in Bali or planning a production visit, Villo Studio offers fully equipped video studios with professional LED lighting rigs, softboxes, modifiers, and expert support — everything you need to produce content at the highest level.
Mastering video lighting is a journey that combines technical knowledge with creative experimentation. Start with the fundamentals, invest in versatile equipment, and continuously adapt your approach to the specific demands of each project. With consistent practice and a genuine curiosity about how light shapes the world on screen, your videos will become more engaging, more professional, and more visually compelling with every production.
Remember: great light is not just a technical choice — it is a creative statement. And it is the foundation of every piece of compelling video content.
Ready to shoot in a fully equipped professional studio? Book your session at Villo Studio in Bali today and experience firsthand what professional lighting can do for your content.