Home / Creating clear, high-quality audio for podcasting
In the world of content creation and podcasting, clean audio quality is the make-or-break factor. Visuals may grab attention, but it is sound that keeps an audience listening. Research confirms this: a study by USC and the Australian National University found that listeners rate speakers as less competent and less trustworthy when the audio quality is poor — even when the content is identical.
Unfortunately, achieving great sound at home is not always straightforward. Background noise, room echo, poor microphone placement, and a lack of acoustic treatment can easily ruin a recording. The good news? Most of these problems can be solved without a massive budget — if you know what to focus on.
Below are 7 practical tips that will help you achieve studio-quality sound from the comfort of your home, whether you are launching a podcast, recording interviews, or producing voiceovers.
Your microphone is the first and most important link in the audio chain. A poor choice here cannot be compensated for in post-production. For voice recording, there are two main types to consider:
📊 Fact: the Shure SM7B is the microphone behind The Joe Rogan Experience, while the RODE NT1-A has become the global standard for home studios thanks to its exceptional price-to-quality ratio.
💡 Tip: always use a pop filter (starting from around $10). It eliminates harsh plosive sounds — “P,” “B,” “T” — that create unpleasant “pops” in the recording and are nearly impossible to remove cleanly during editing.
You could buy a $500 microphone, but if it sits in a bare room with tile floors and concrete walls, it will sound worse than a $100 mic in an acoustically treated space. Hard surfaces reflect sound waves and create reverberation, making your voice sound “washed out” and unprofessional.
What helps:
📊 Fact: an untreated room can have a reverberation time (RT60) of over 1 second. For podcasting, the ideal range is 0.3–0.4 seconds. Even 4–6 acoustic panels placed at the right points can cut your room’s reverb in half.
💡 Budget hack: no budget for panels? Hang thick blankets or towels on the wall behind your microphone. This trick actually works — location sound engineers do exactly this on field recordings.
Microphone distance is a balancing act. Too far away — you record the room instead of your voice. Too close — you get distortion, clipping, and the sound of every breath.
The sweet spot: 6–8 inches (15–20 cm) from your mouth. Keep the microphone slightly off-center (about 15–20° off-axis) so that the airflow from plosive consonants does not hit the capsule directly.
💡 Tip: use a boom arm instead of a desktop stand. It lets you lock the microphone in the ideal position and frees up your hands. A boom arm also isolates the mic from desk vibrations — keyboard taps and accidental bumps won’t make it into the recording.
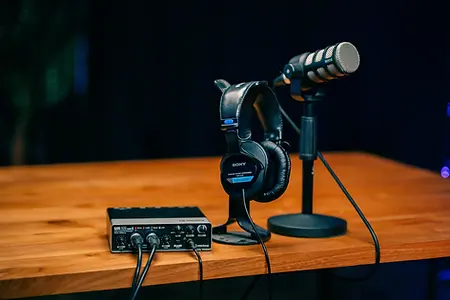
If your microphone has an XLR connection (and all professional microphones do), you need an audio interface to connect it to your computer. This device performs three critical tasks:
Proven options: Focusrite Scarlett 2i2 (from ~$170), RODE AI-1, Universal Audio Volt 1. For multi-guest podcasts, consider the RODE Rodecaster Pro II, which combines an interface, mixer, and effects processor in a single device.
⚠️ Important: never use the built-in microphones of laptops, earbuds, or webcams for podcast recording. They capture sound from all directions — including keyboard noise, fan hum, and room reflections. For a video call, acceptable. For a podcast, absolutely not.
Noise reduction in post-production is a useful tool, but it has limits: aggressive noise removal inevitably degrades voice quality, adding characteristic “metallic” artifacts. That is why the best noise reduction is preventing noise before you hit “Record.”
Pre-session checklist:
💡 Tip: before starting your session, record 10–15 seconds of “room silence.” This sample (called room tone) is essential for post-production — most noise reduction software uses it as a reference profile to filter out background hum accurately.
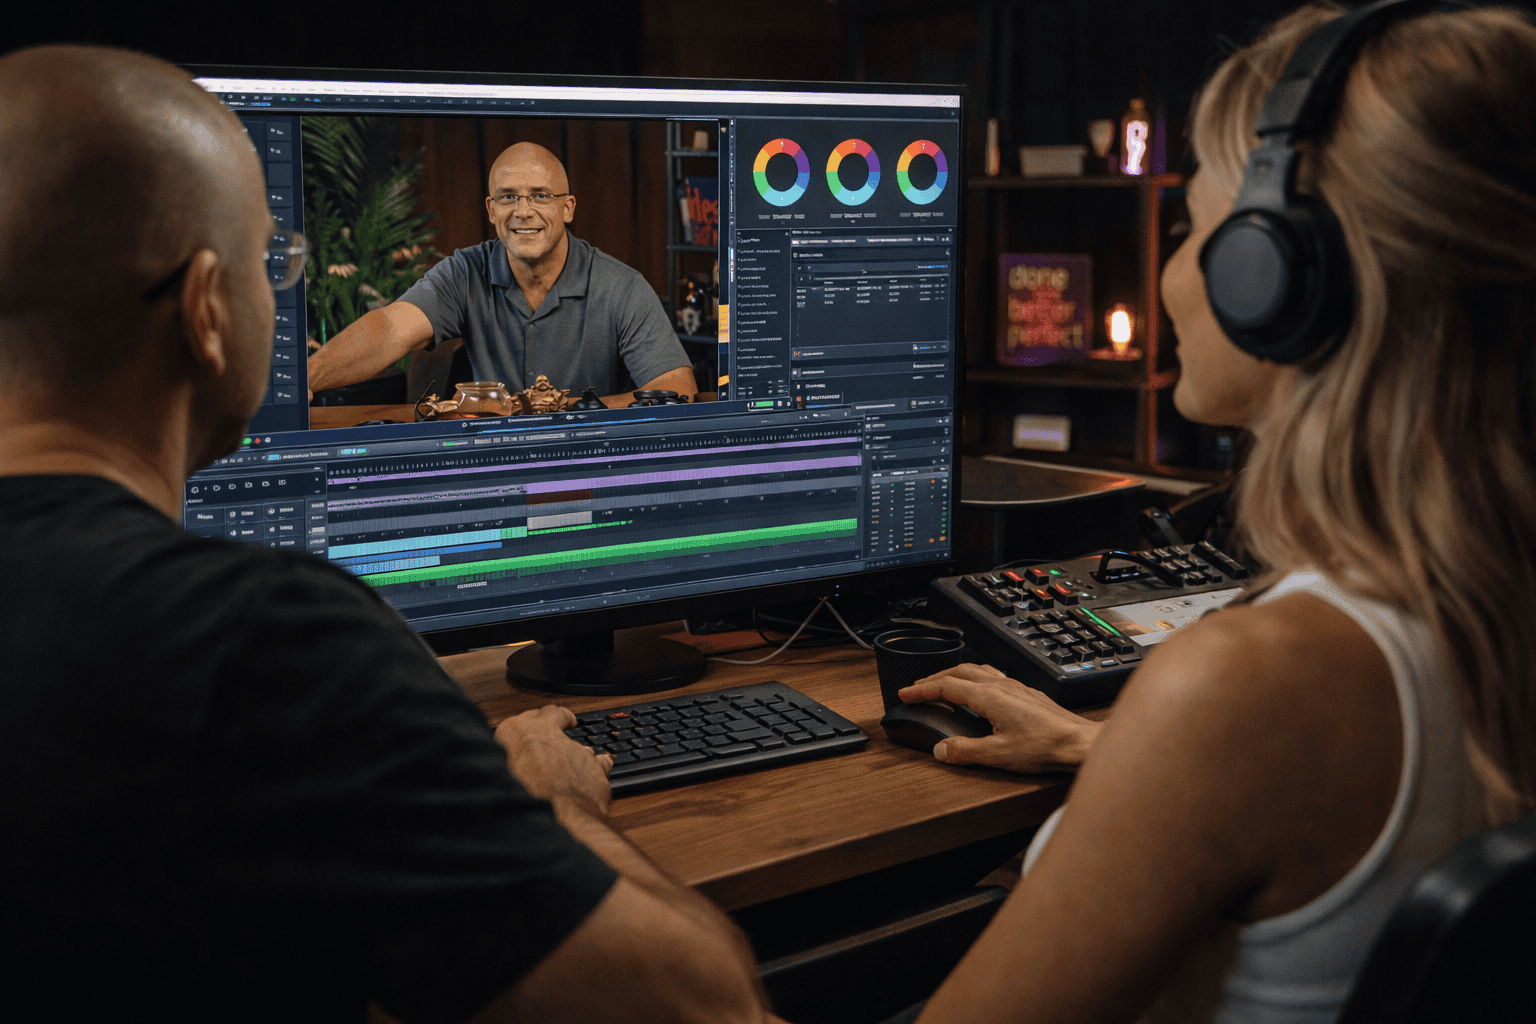
Recording into your phone’s voice memo app or into Zoom is quick but extremely limited. Professional software (DAW — Digital Audio Workstation) gives you a level of control that simple applications cannot match:
What a DAW gives you:
📊 Fact: the loudness standard for podcasts is −16 to −14 LUFS (integrated). Most platforms (Apple Podcasts, Spotify) normalize volume automatically, but if your file falls significantly outside this range, it will either sound quiet compared to other podcasts or compressed and distorted.
Recording without monitoring is like filming with the lens cap on. Use closed-back headphones (e.g., Audio-Technica ATH-M50x, Sony MDR-7506) to hear yourself in real time as you record.
What you are listening for:
⚠️ Important: use specifically closed-back headphones. Open-back and semi-open models let sound leak outward, and the microphone can pick it up — creating feedback or a faint “ghost” echo of your own voice in the recording.
Achieving great audio at home is absolutely possible, but it requires time, equipment, and experience. Even after all the effort, the result depends on the acoustics of your specific room — the one variable that is hardest to control.
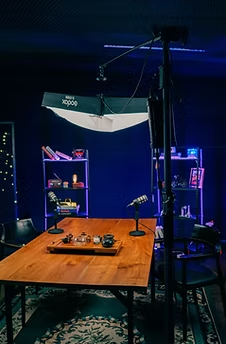
If you want a guaranteed professional result without the DIY trial and error, record at Villo Studio in Bali.
Our studio in Canggu is purpose-built for audio production:
Whether you are a creator, entrepreneur, or expert — we make sure your voice sounds clear, confident, and professional.
Book a session at Villo Studio today and get audio that matches your ambitions.