Пошаговое руководство по созданию домашней студии для креаторов
С ростом популярности создания контента все больше людей решают оборудовать домашние студии для съемки качественных фото и видео или записи подкастов. Обустройство функциональной домашней студии может показаться сложной задачей, но при правильном подходе вы сможете создать универсальное пространство, отвечающее вашим потребностям. Следуйте этому подробному руководству, чтобы превратить свою комнату в настоящий творческий центр!
Также читайте:
Как зарабатывать в социальных сетях с помощью качественного студийного контента
Как создавать захватывающий контент для подкастов: советы и хитрости, чтобы удержать внимание слушателей
Фотографы недвижимости на Бали
Шаг 1: Выберите подходящую комнату или место
Первый шаг к созданию домашней студии — поиск подходящего помещения. В идеале комната должна обладать следующими характеристиками:
- Тихая и изолированная: Вдали от мест с высокой проходимостью, чтобы избежать шумовых помех, особенно важных для записи подкастов.
- Просторная: Убедитесь, что достаточно места для оборудования, фонов и ваших перемещений, особенно для фото- и видеосъемки.
- Естественный свет: Комната с хорошим естественным освещением позволит сэкономить на оборудовании для подсветки, особенно для фотографии. Однако, если в комнате есть окна, продумайте установку блэкаут-штор, чтобы контролировать свет при необходимости.
Если площадь ограничена, подойдет даже угол в большой комнате. Просто учитывайте потенциальные источники шума и наличие естественного света.
Шаг 2: Инвестируйте в необходимое оборудование
Для создания качественного контента нужны правильные инструменты. Вот разбивка необходимого оборудования по типу контента:
Фотография
Камера: Идеально подойдет зеркальная или беззеркальная камера со сменными объективами.
Объективы: Для начала можно приобрести универсальный зум-объектив 24–70 мм и фикс-объектив 50 мм для портретов.
Штатив: Устойчивый штатив критически важен для получения четких кадров, особенно при съемке в условиях недостаточного освещения.
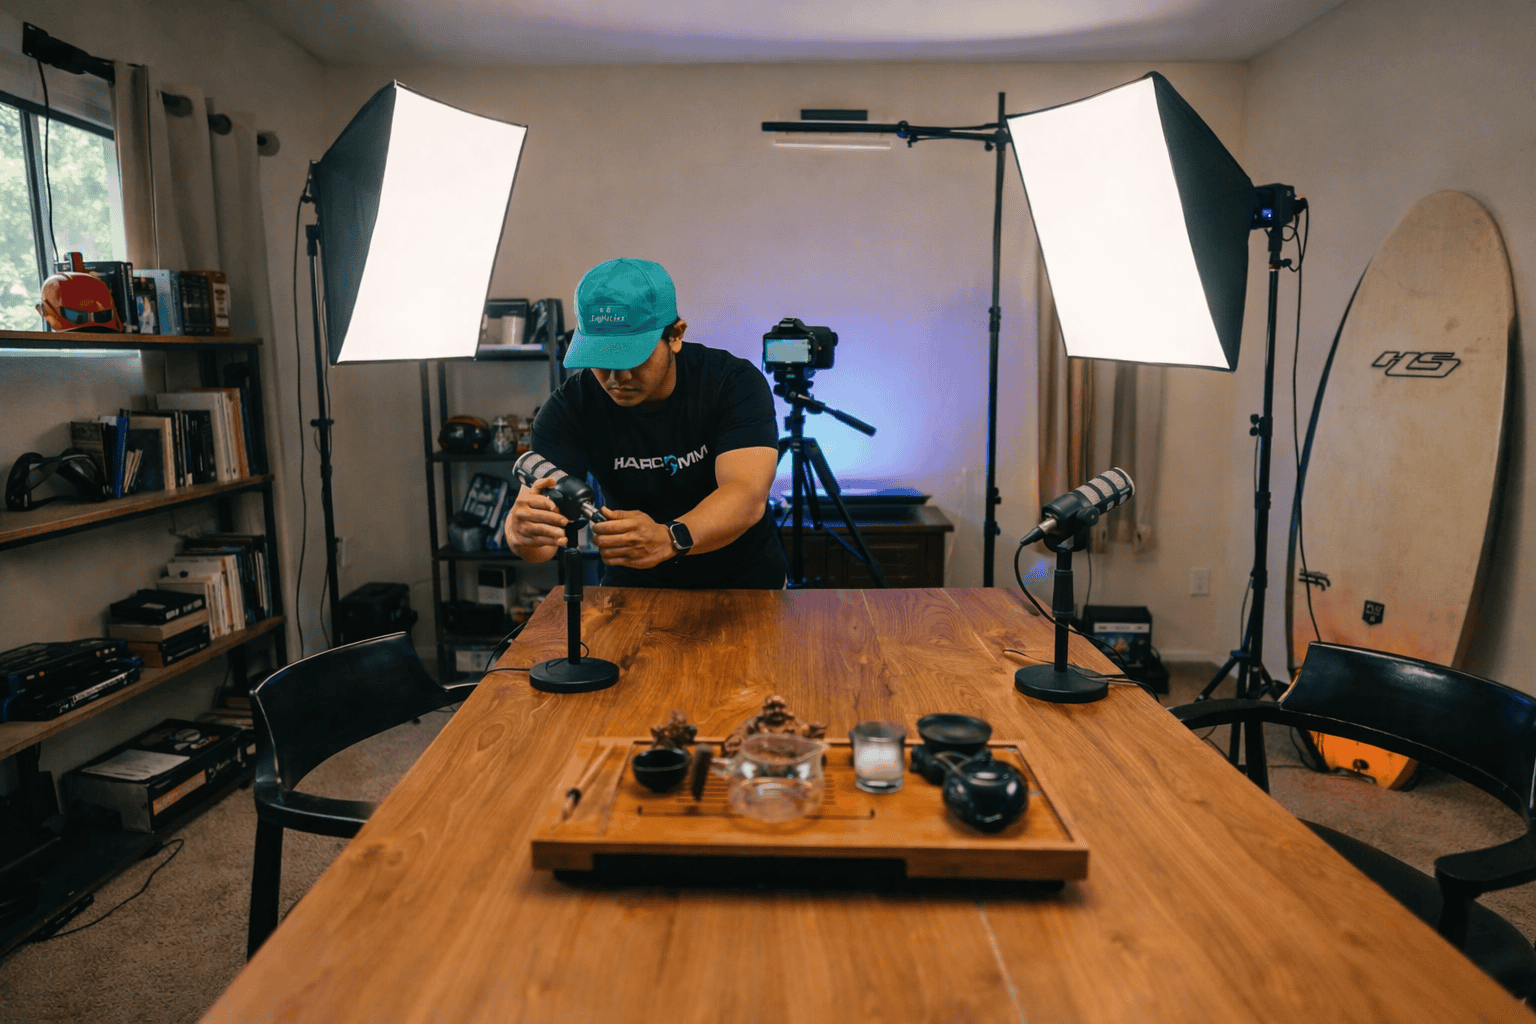
Освещение: Софтбоксы, кольцевые лампы или светодиодные панели помогут контролировать освещение в помещении.
Фон и реквизит: Приобретите несколько однотонных фонов и экспериментируйте с реквизитом, чтобы улучшить свои кадры.
Видеосъемка
Камера и объективы: Выбирайте камеру с возможностью съемки видео высокого разрешения (минимум 4K, если возможно) и набор объективов в зависимости от ваших задач.
Микрофон: Качество звука в видео имеет решающее значение. Рассмотрите направленный («пушка») или петличный микрофон для чистого и направленного звука.
Стабилизаторы и штативы: Использование стабилизаторов (гимбалов) или надежных штативов обеспечит плавные и профессиональные кадры.
Освещение: Светодиодные лампы с регулируемой яркостью популярны среди видеографов благодаря своей гибкости.
Подкастинг
Микрофон: Инвестируйте в качественный микрофон, например, конденсаторный или динамический, для чистой записи звука.
Аудиоинтерфейс: Аудиоинтерфейс подключает микрофон к компьютеру и помогает контролировать уровень звука.
Наушники: Закрытые наушники предотвращают утечку звука, позволяя контролировать аудиодорожку без обратной связи.
Звукоизоляция: Звукоизоляционные материалы, такие как акустические панели, помогут устранить нежелательные шумы и улучшить качество звука.
Шаг 3: Настройте освещение
Освещение может как создать, так и разрушить вашу студийную работу, особенно для фото- и видеоконтента. Вот несколько советов по освещению:
- Трехточечный свет: Классическая схема, включающая рисующий, заполняющий и контровой свет, придает глубину и объем.
- Мягкий свет для фото: Софтбоксы и рассеянный свет предотвращают появление жестких теней, создавая выигрышный вид для портретов.
- Динамический свет для видео: Используйте светодиодные панели или RGB-освещение для создания разного настроения и стилей.
- Постоянное освещение для подкастов: Убедитесь, что свет в студии подкаста остается мягким и ровным, чтобы избежать резких бликов.
Рассмотрите возможность использования регулируемых светильников, которые позволяют менять яркость или цветовую температуру, — это обеспечит большую гибкость для различных задач.
Шаг 4: Звукоизолируйте помещение
Для получения качественного звука, особенно в видеосъемке и подкастинге, крайне важно минимизировать фоновый шум:
- Акустические панели: Размещение панелей на стенах помогает уменьшить эхо.
- Ковры и шторы: Звук отражается от твердых поверхностей, поэтому добавление ковров, штор или мягкой мебели поможет поглощать его.
- Изолируйте оборудование: Держите шумное оборудование (например, компьютеры или кондиционеры) подальше от зоны записи или приобретите более тихие модели.
Шаг 5: Установите фоны и декор
Фоны и декор позволяют персонализировать пространство и сделать его универсальным для разных проектов:
- Фоны для фото: Инвестируйте в стойку для фона и несколько тканевых или бумажных декораций нейтральных цветов или с определенными принтами, соответствующими вашему бренду.
- Фоны для видео: Для видео оформите пространство так, чтобы добавить ему индивидуальности, но избегайте захламленности. Популярны растения, картины в рамах или стеллажи.
- Фоны для подкастов: Хотя для подкастов главное — звук, визуально интересный фон добавит профессиональности и индивидуальности, если вы снимаете свои выпуски на видео.
Шаг 6: Оптимизируйте рабочий процесс
Организуйте пространство и оборудование так, чтобы все было под рукой, и оптимизируйте свои действия:
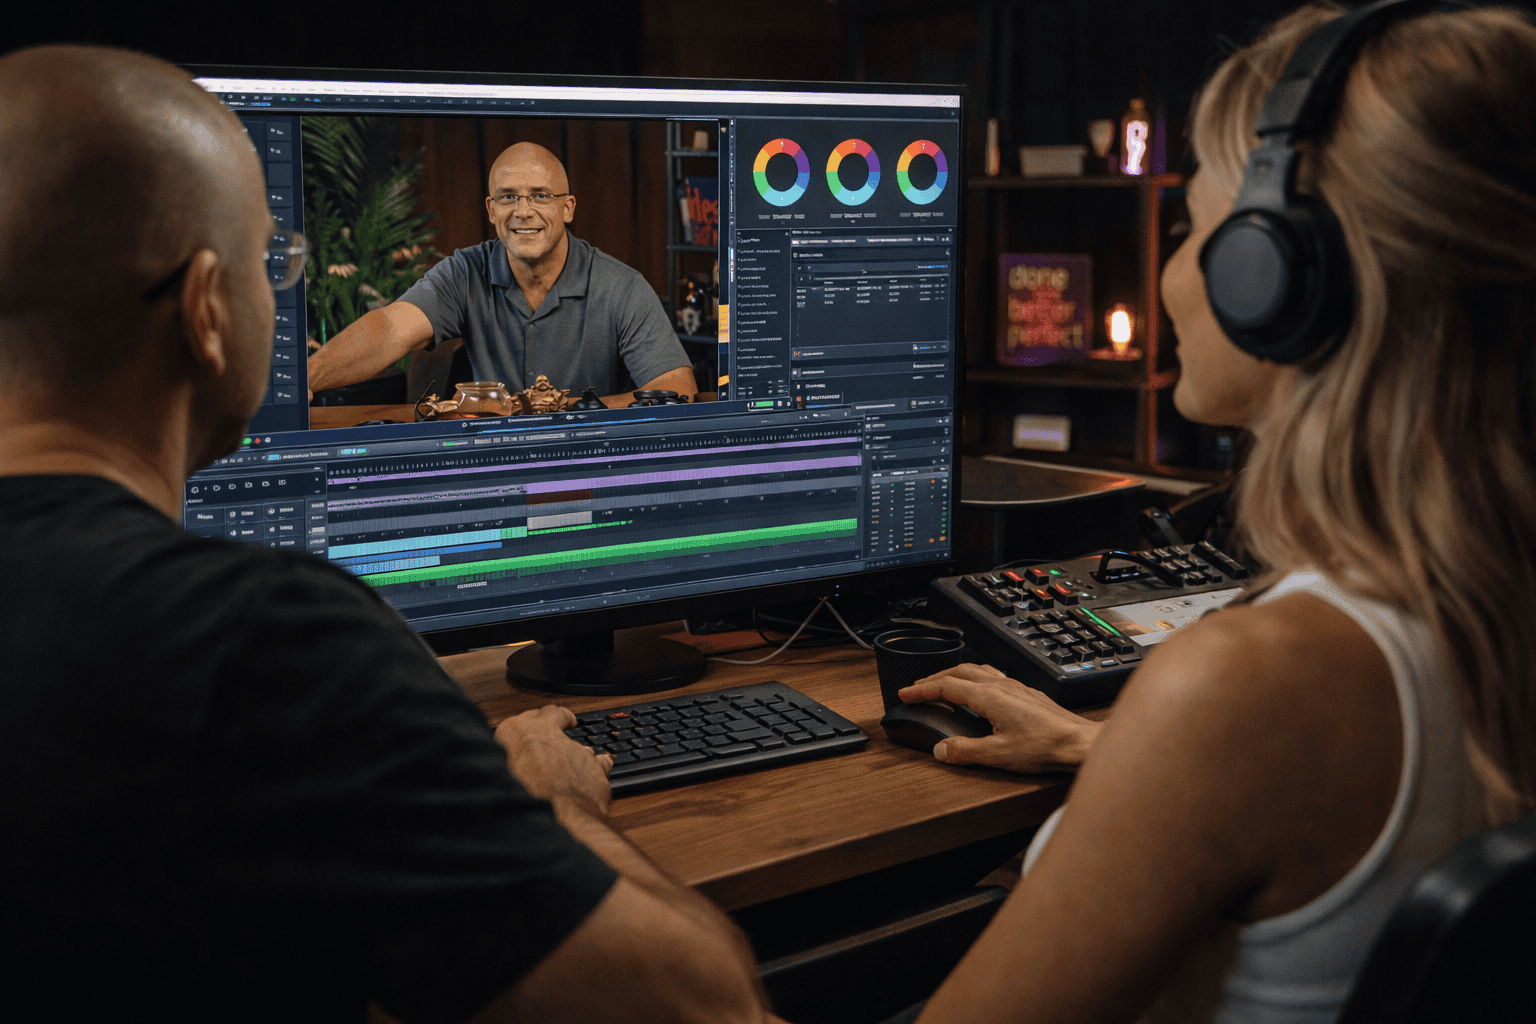
- Рабочий стол: Организуйте выделенную зону с компьютером, аудиоинтерфейсом и программами для монтажа.
- Системы хранения: Держите оборудование в порядке с помощью контейнеров, стеллажей или настенных креплений, чтобы студия не была загромождена.
- Управление кабелями: Закрепите провода с помощью клипс или кабель-каналов, чтобы избежать риска споткнуться и сохранить пространство опрятным.
Шаг 7: Тестируйте и корректируйте
Когда все настроено, потратьте время на тестирование оборудования и конфигурации, чтобы найти наилучший вариант:
- Проверьте свет и тени: Поэкспериментируйте с разными углами и интенсивностью освещения.
- Уровни звука: Запишите тестовые фрагменты, чтобы убедиться, что звук чистый и лишен фоновых шумов.
- Визуальное качество: Сделайте несколько тестовых снимков или видеороликов, чтобы убедиться, что настройки обеспечивают наилучшее качество для вашего типа контента.
Заключение
Обустройство домашней студии требует времени, усилий и ресурсов, но результатом станет личное пространство, предназначенное для воплощения ваших творческих идей в жизнь. Однако, если вы ограничены во времени или бюджете, но все еще хотите иметь доступ к качественному оборудованию и помещению, приходите в Villo Studio!
Мы предоставляем полностью оборудованную профессиональную студийную среду, идеально подходящую для фотосъемки, видеосъемки и записи подкастов. Позвольте нам позаботиться об организации, чтобы вы могли сосредоточиться на том, что у вас получается лучше всего: создании исключительного контента.
Заходите к нам на Villo Studio, чтобы забронировать сессию уже сегодня!


