Home / Common Mistakes When Recording Webinars and Video Tutorials — And How to Avoid Them
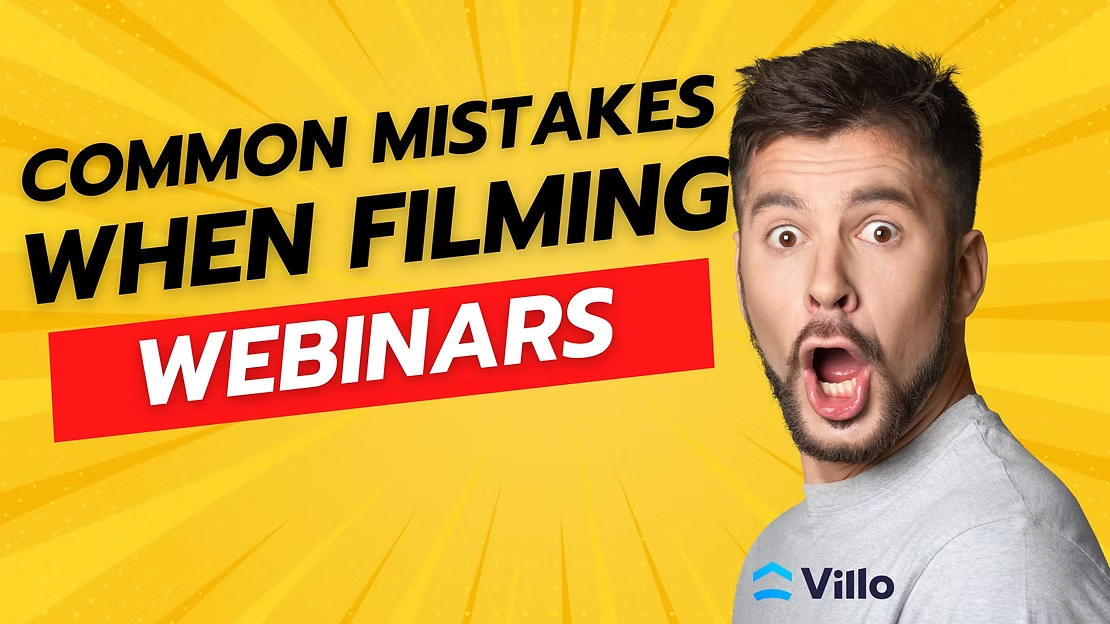
Creating professional webinars, live streams, and video tutorials is no easy task, but it’s essential for making a lasting impression on your audience. Yet many creators still fall into common traps that can significantly reduce the quality of their content. Whether it’s an unflattering outfit, poor lighting, or ignoring the basics of video production, these mistakes can cost you dearly.
Below, we’ll highlight the most common mistakes and share practical tips to help you avoid them and achieve outstanding results every time. Let’s dive in!
Cameras tend to amplify imperfections such as blemishes, dark circles, and oily skin. While post-production can smooth things out, it’s always better to address these issues with makeup beforehand. Even a light application can dramatically improve your appearance on camera.
How to get it right:
Clothing with thin stripes, checkered patterns, or overly bright fabrics can create distracting visual effects on camera, leading to unwanted glare and optical illusions. Skin-toned clothing can also look unprofessional on video.
How to get it right:
Sitting may seem like the easier option, but it affects your energy and posture on screen. Getting a great seated shot requires either professional know-how or a team of specialists monitoring your appearance.
How to get it right:
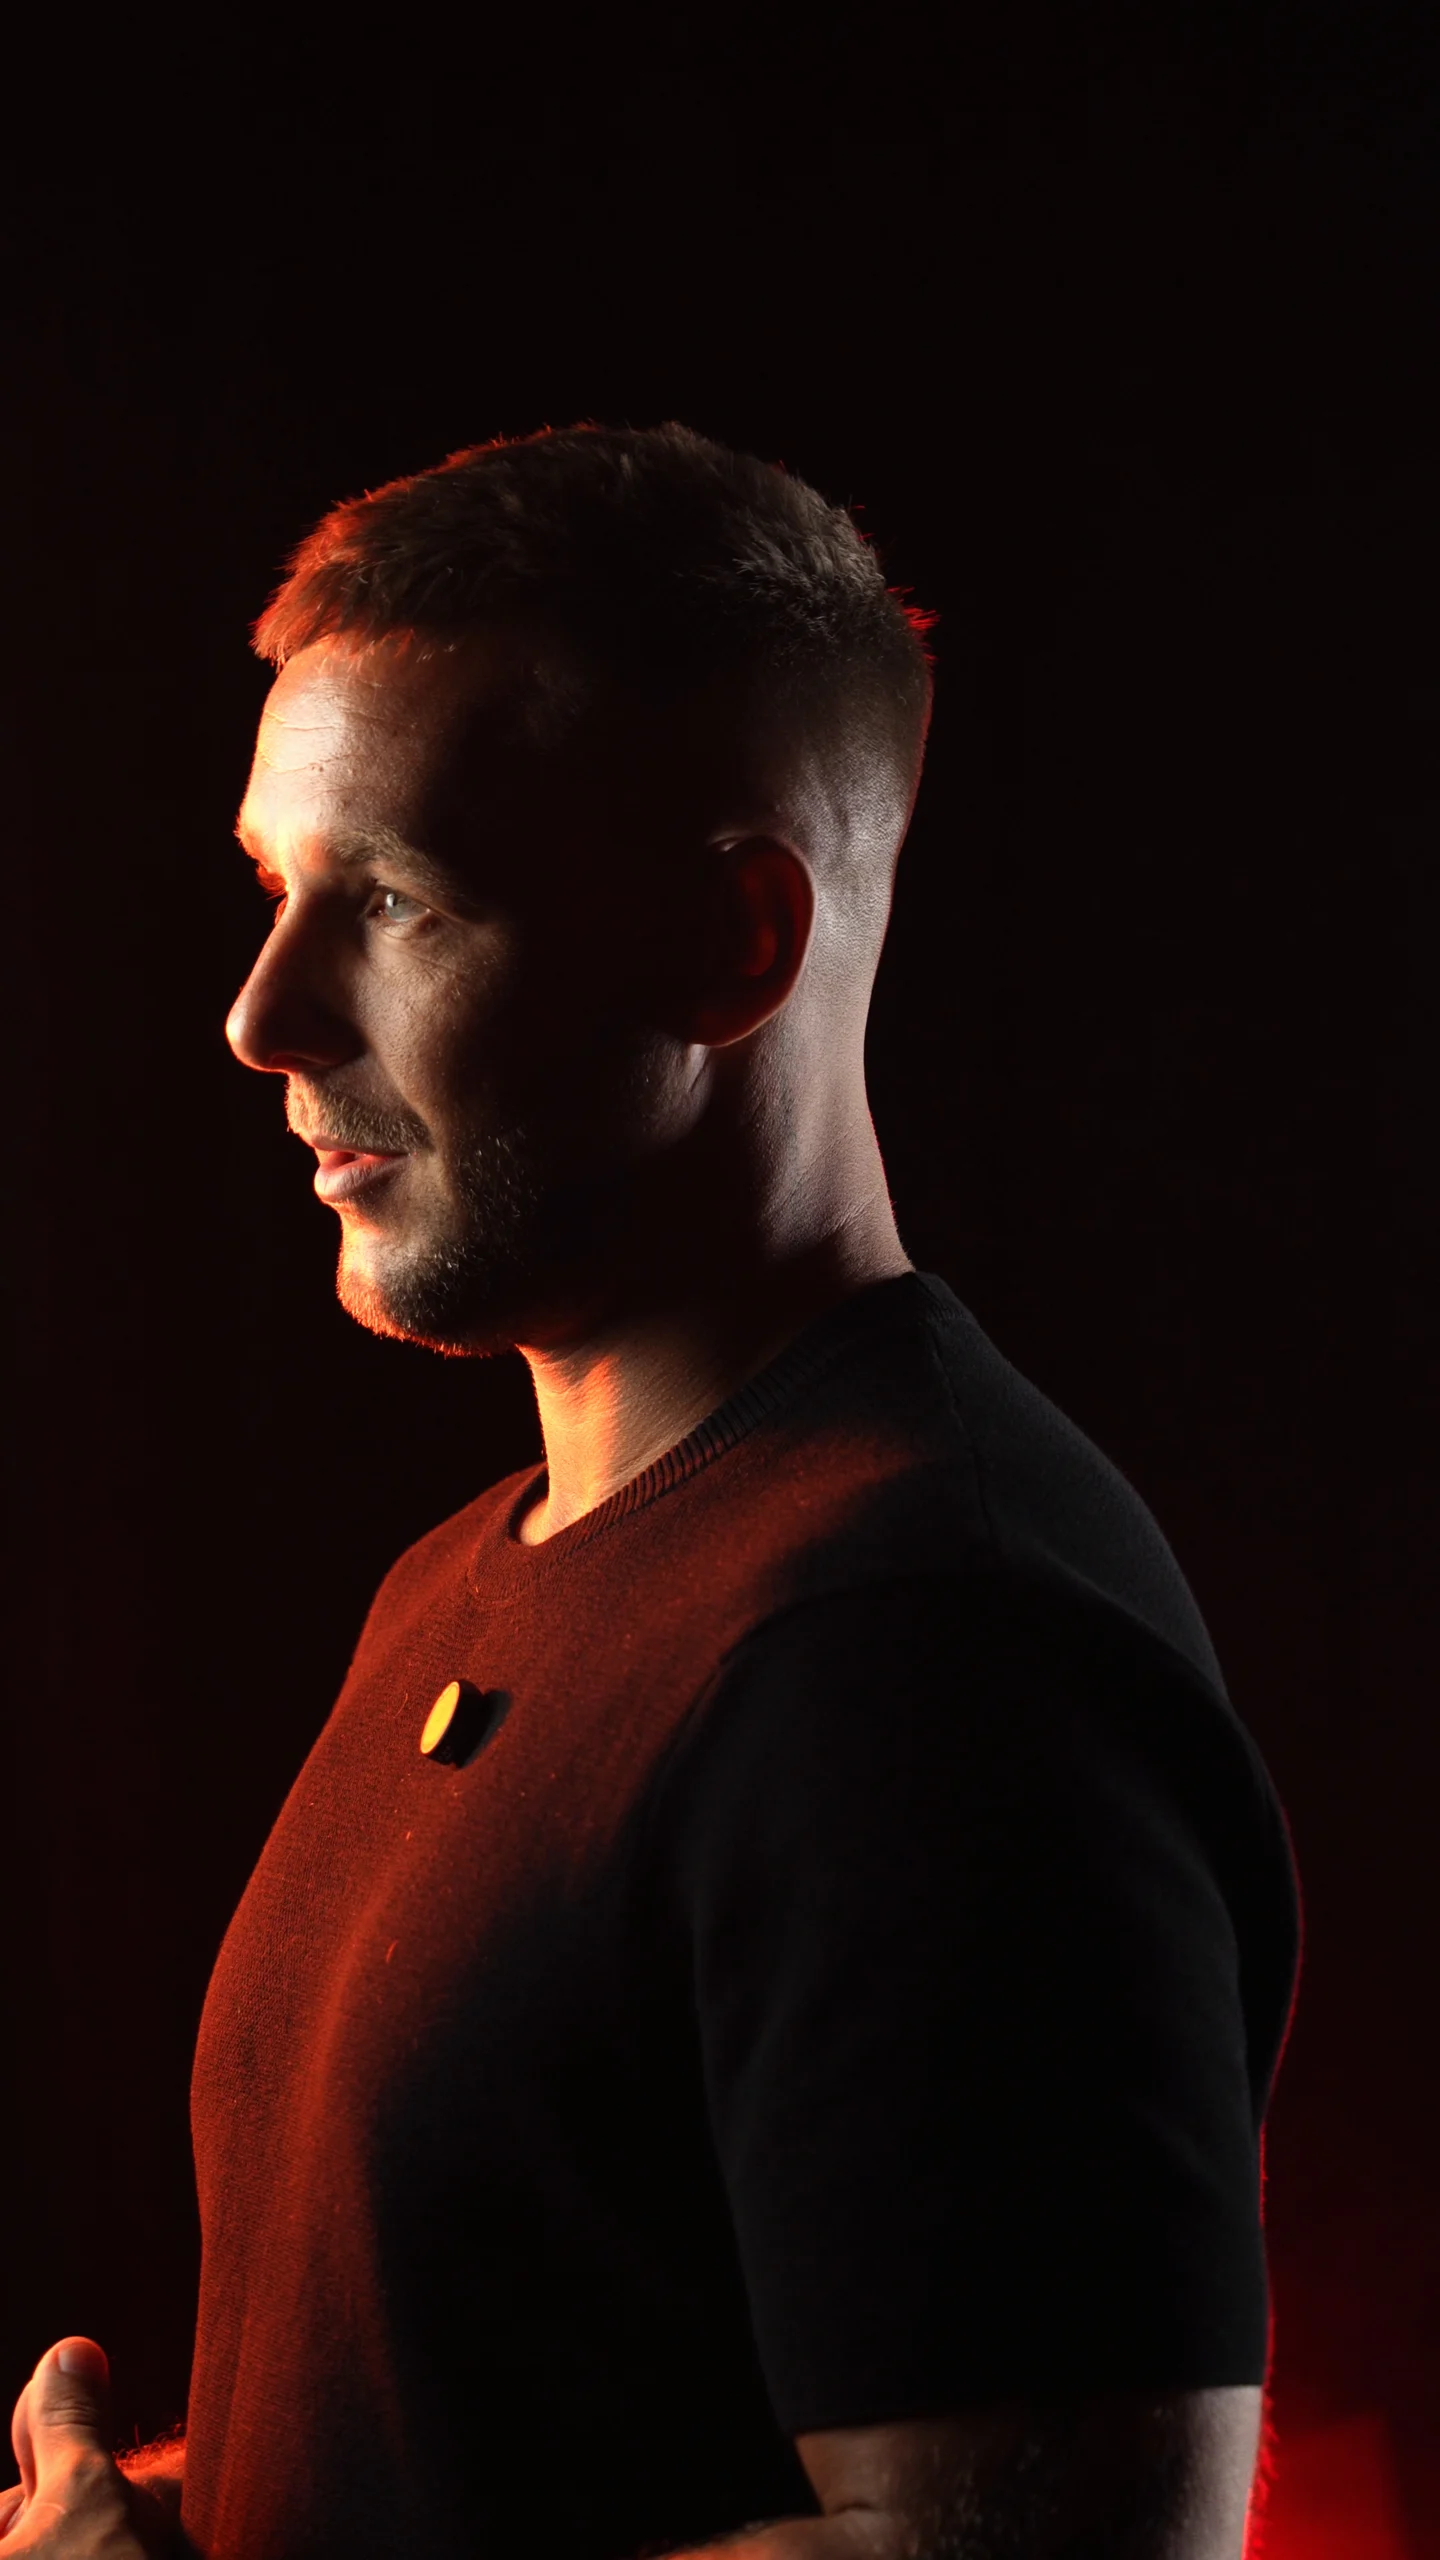
Lighting can make or break the quality of your video. Poor light leads to dark, grainy footage, and incorrect placement can dramatically alter your appearance by emphasizing unwanted features.
How to get it right:
A cluttered background easily distracts viewers and draws attention away from your message. Too many objects behind you make the frame look chaotic and unprofessional.
How to get it right:
Audio quality is crucial. Poor sound will drive your audience away faster than minor video issues. Even if your content is strong, bad audio will prevent people from staying engaged.
How to get it right:
No matter how experienced you are, it’s easy to lose your train of thought in front of the camera. Preparing talking points or even using a teleprompter will help you stay focused and deliver your message smoothly.
How to get it right:
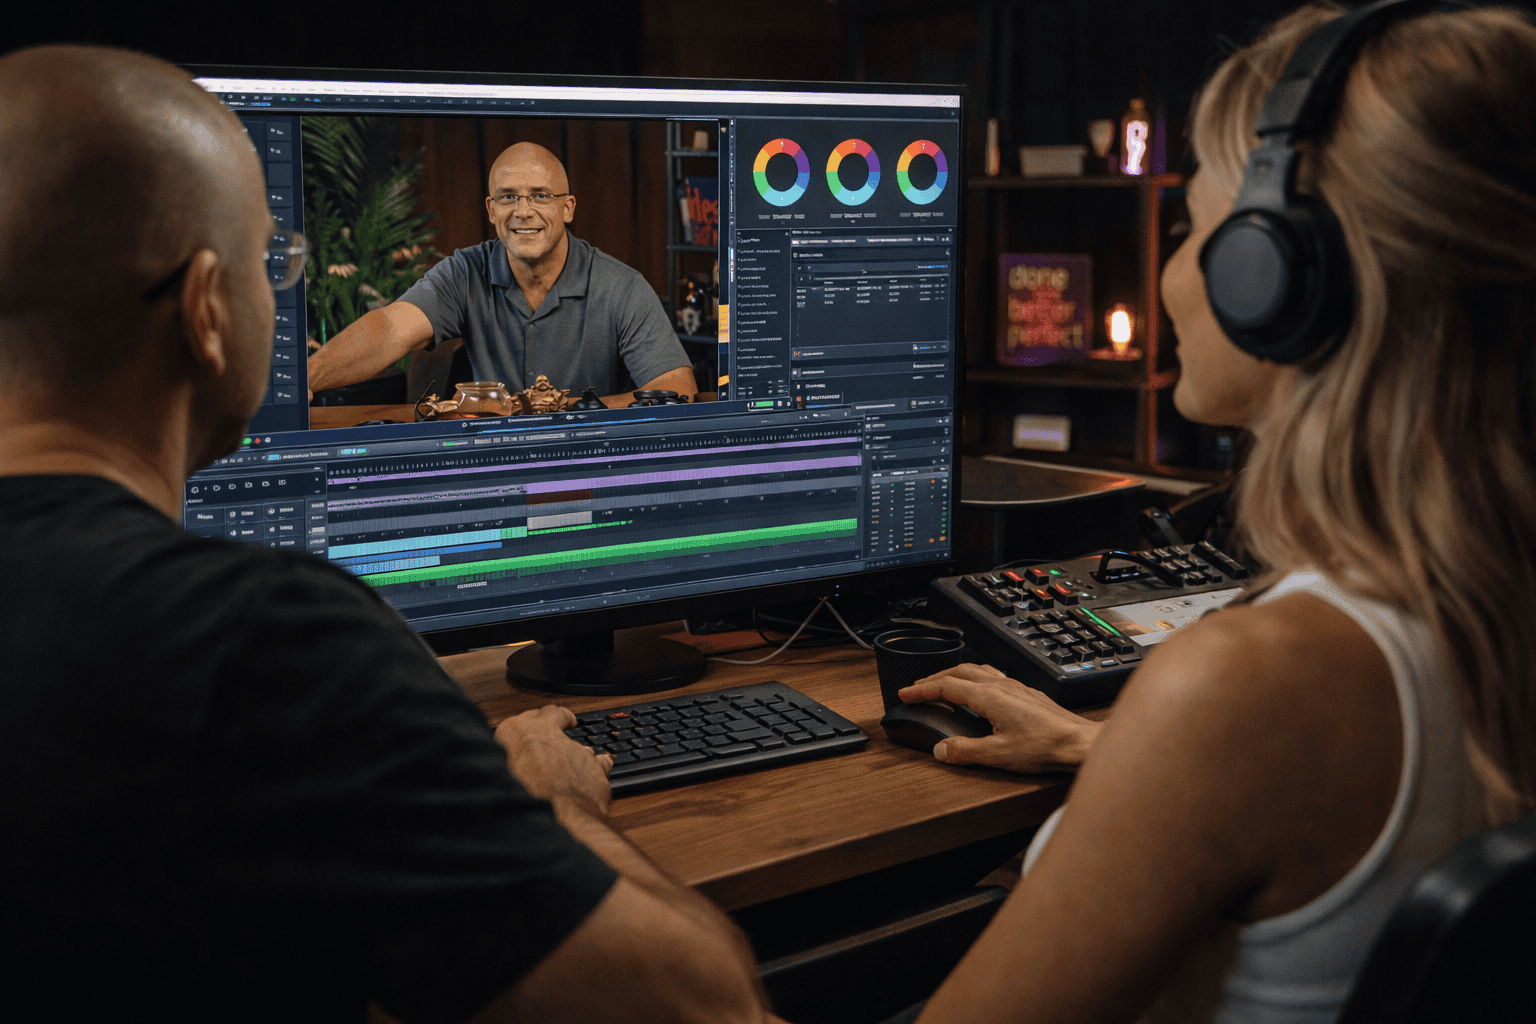
Editing is essential for making your video polished and professional. Simple cuts can remove awkward pauses, mistakes, and filler words.
How to get it right:
Different platforms have their own technical requirements, but you don’t need to shoot separate videos for each one. It’s much easier to create one high-quality video and then reformat it for different platforms.
How to get it right:
Creating professional webinars and video tutorials takes time and effort, but by following these tips, you can avoid common pitfalls and produce content that truly shines. At Villo Studio, we offer fully equipped video studios for recording your webinars, courses, and live streams. Let us handle the technical side so you can focus on delivering your message.
Visit us or make your first booking here: villostudio.com